After installation and activation for PSI PowerLink diagnostic software you need to set up preferences and your diagnostic adapter for it. PSI PowerLink will display the Preferences Wizard to help with your application setup. The Preferences Wizard may be accessed at any time by selecting the Application Settings – Preferences Wizard toolbar option.
Related Contents:
How to Install PSI PowerLink Diagnsotic Software
PowerLink from PSI PowerLink 2.3.1 Diagnostic Tool Free Download
2024 JPRO Noregon Commercial Fleet Diagnostics Free Download
Procedures:
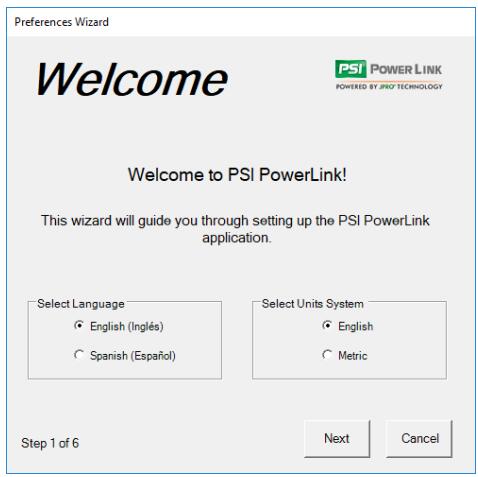
1 On the Welcome Screen, choose the Language and Units System and then select Next
2 The Report Setting window displays next. You may customize your Diagnostic Report by specifying a logo and choosing to add your company name and address to the report header. The name and address fields will be pre-populated with the information provided at the time of registration but may be edited on this screen.
You may select the Print Preview button see what the report header will look like.
3 Select Next to configure PSI PowerLink to generate a report with each vehicle connection. You can view automatically generated reports from the Vehicle History window. You may also specify a different location for saving the automatic files.
4 Select Next to specify the Location. If your company has multiple locations, setting the Location value enables you to easily identify the location where the vehicle is being serviced. This value is used as a prefix to the name of the automatic files viewable in Vehicle History. Select Next when done.
5 You will be asked if you track vehicles by Unit Number, also known as Truck or Bumper Number. If this is enabled, the application will attempt to read the Unit Number from the vehicle and prompt the user for this information if it is unable to retrieve it from the vehicle. Select Next.
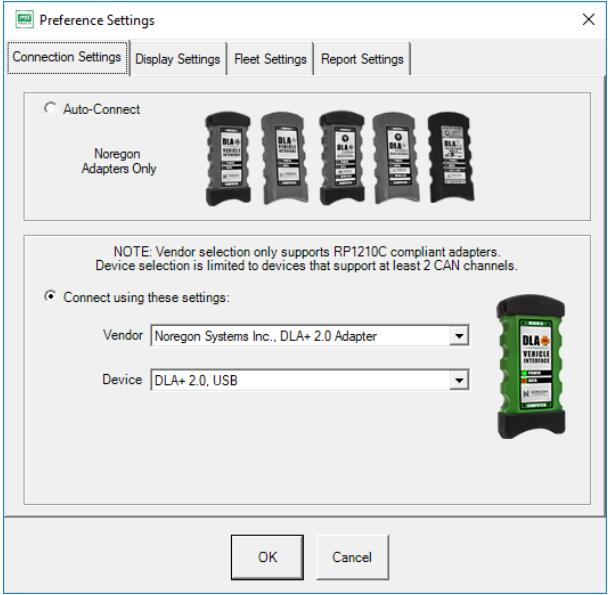
6 The last step is setting up Connection Settings. If you are using a Noregon adapter,select “Yes (Auto-Connect”) on this screen.
If you are using a device other than a Noregon adapter, select “No, (Advanced Settings)” and specify the Vendor and Device with which to connect.
7 Select Finish to save your newly configured application settings.
Changing Preference Settings
At any time, you may choose to re-run the Preferences Wizard via the Application Settings – Preferences Wizard toolbar option.
You may also quickly access a single setting via the Application Settings – Preferences toolbar option which displays the Preferences Settings window in a simple tabbed dialog