Here is a step-by-step guide on how to remove shift bar housing for Eaton fuller heavy duty transmission.
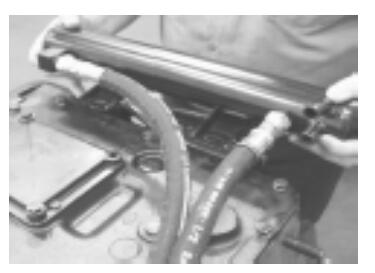
Before removing the Shift Bar Housing, the Air Lines must be disconnected.For models equipped with an Oil Pump and/or Cooler Assemblies, make sure to disconnect the Oil Line connected to the Shift Bar Housing.
There are three (3) sizes of Cap Screws. The 1 1/2″ Cap Screws are used with the Lifting Eyes. The 1 1/4″ are used on all other locations except the left front corner at the Roll Pin location. This Cap Screw is 1 3/4″.Be careful when removing the Shift Bar Housing to prevent damaging the Oil Tube with the Shift Yokes.
2022 EATON ServiceRanger 4.10 and 4.2 + Activator Free Download
Procedure
1.From the Shift Bar Housing, remove the two Retaining Cap Screws securing the Oil Cooler. Remove Oil Cooler and set aside.
2.Remove Slave Valve.

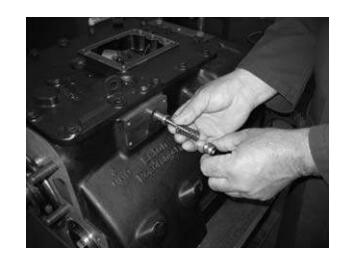
3.Remove Interlock parts (Pin, Spring, and Sleeve).
4.From the Shift Bar Housing rim, remove the Retaining Cap Screws.
5.To break the Gasket seal, jar the Shift Bar Housing.

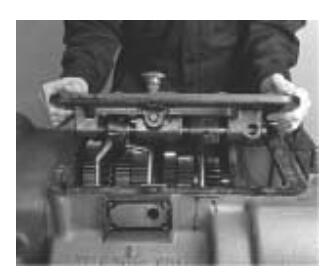
6.Remove the Shift Bar Housing.
7.Inspect the Roll Pin, replace if damaged.
8.Remove the Gasket and clean all mounting surfaces of gasket material.
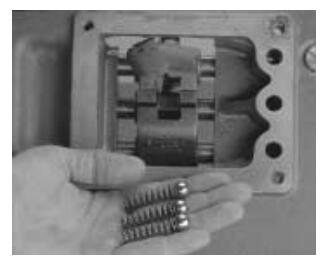
9.If the three (3) sets of Tension Springs and Balls from the Housing top Bores are loose, tilt the Assembly and remove them.