This instruction show you guide on how to remove and install Fascia Assembly for Tesla Model S.
Removal
1.Remove the front underhood apron.
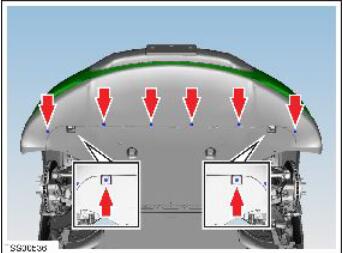
2.Remove the plastic rivets (x8) that secure the undershield to the chin spoiler
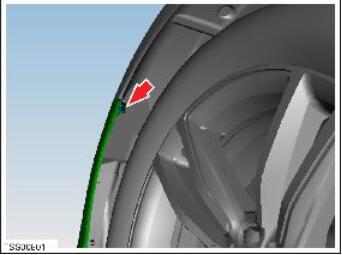
3.Remove the screw that secures the fascia panel to the LH front fender (torque 1.5 Nm).
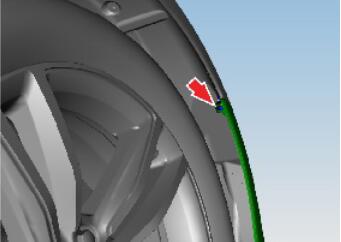
4.Remove the screw that secures the fascia panel to the RH front fender (torque 1.5 Nm).
5.Disconnect the fascia harness connector and release the clips (x3) that secure the fascia harness to the front fascia carrier.
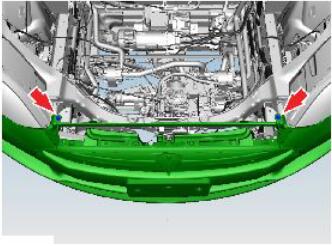
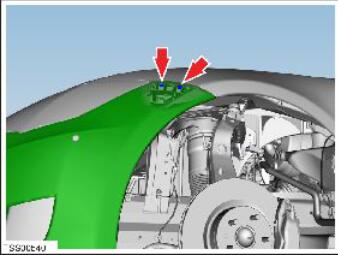
6.Remove the bolts (x2) that secure the fascia and applique to the fascia carrier (torque 4 Nm).
7.Carefully release the fascia from the LH and RH fender bracket lugs (x2).
8.With assistance, release the fascia panel from the fascia carrier.
9.Remove the fascia assembly.
10.Remove any debris from the radiator and condensers.
Installation
Installation procedure is the reverse of removal, except for the following:
If equipped, calibrate the front radar sensor