This instructions show you guide on how to remove and install EGR valve for Scania P,G,R,T series 9 and 13 litre engine truck.For more information about Scania truck,please refer to:Scania Trouble Repair.
Related Contents:
2024.07 Scania SDP3 V2.61.2 V2.40 Diagnostic Software Free Download
2023 2018 Scania Multi EPC Parts Catalogue Free Download
Procedures:
Removal
1.Drain the coolant.
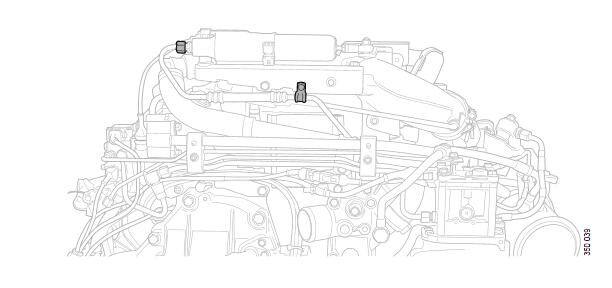
2.Disconnect the harness-to-component connector.
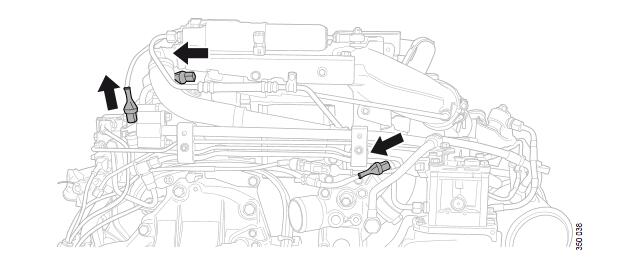
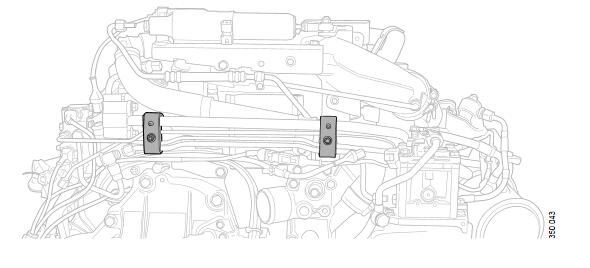
3.Detach the air connection on the EGR valve actuator. Remove the clamp that holds the air pipe.
4.Detach the air connections.
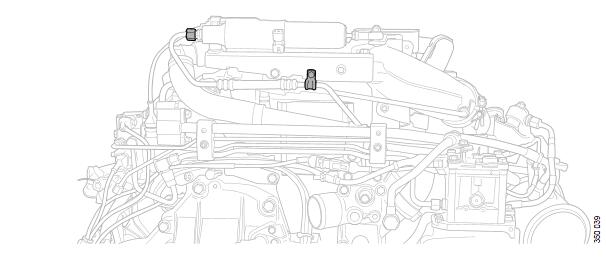
5.If the vehicle is fitted with an injection valve: Disconnect the injection valve air connection and the coolant pipe with clamp.
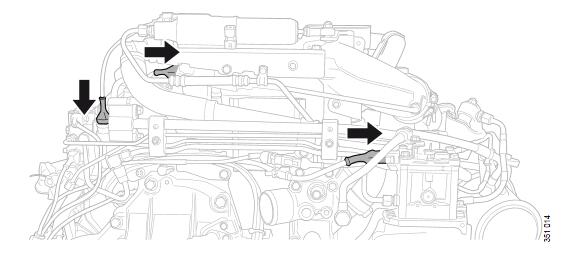
6.Undo the hose clamp securing the coolant pipe.
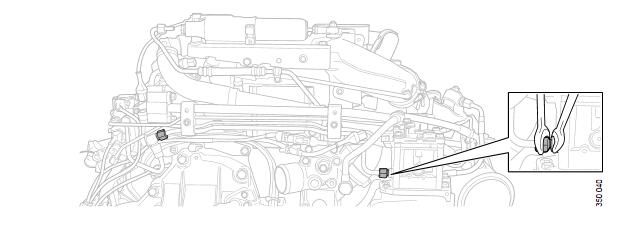
7.Remove the caps holding the air and coolant pipe.
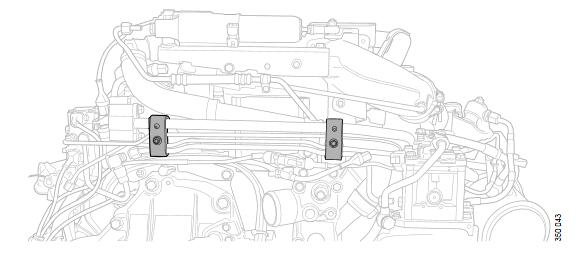
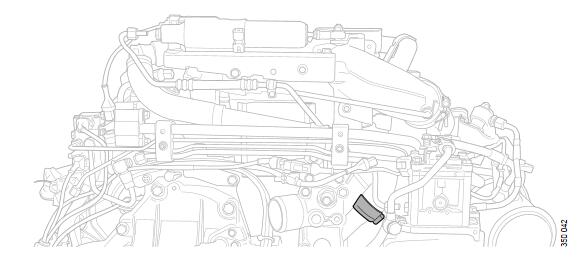
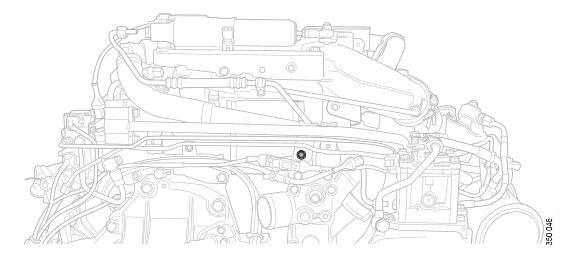
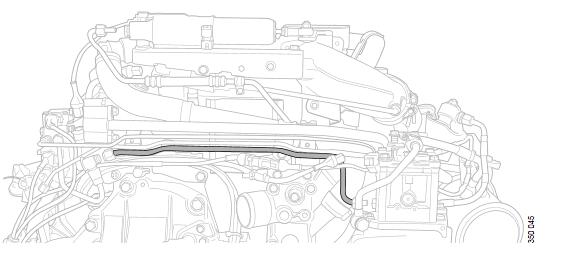
8.Remove the screw securing the bracket to the EGR cooler coolant pipe.
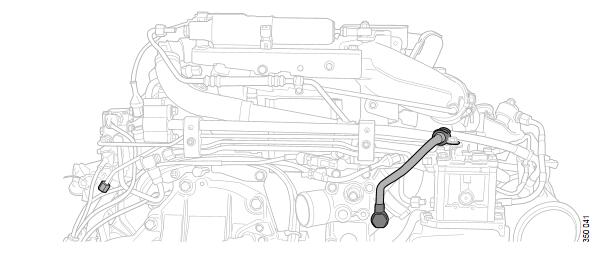
9.Remove the air pipe.
10.Remove the bracket screw.

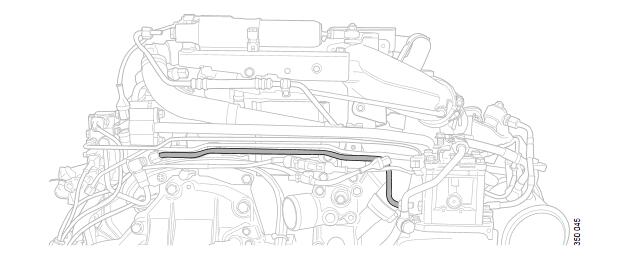
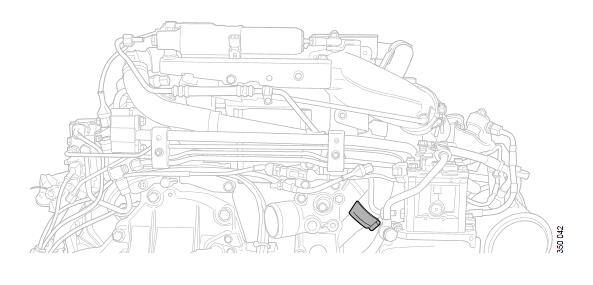
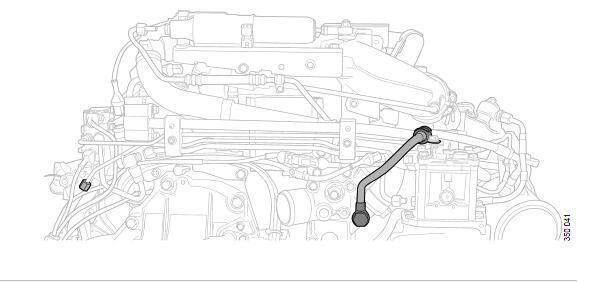
11.Remove the EGR pipe by undoing the V-clamp and unscrewing the screws attached to the exhaust manifold.
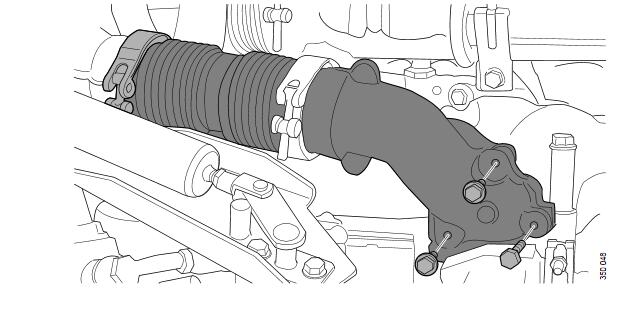
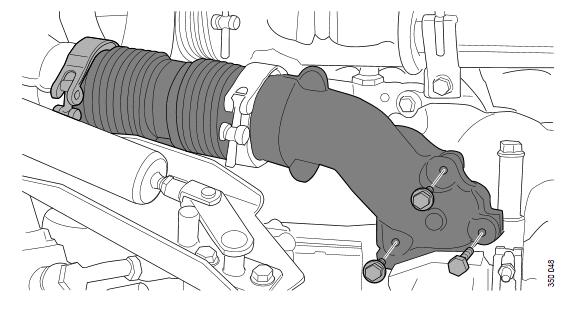
12.Undo the V-clamp. Remove the flange pipe and heat shield.
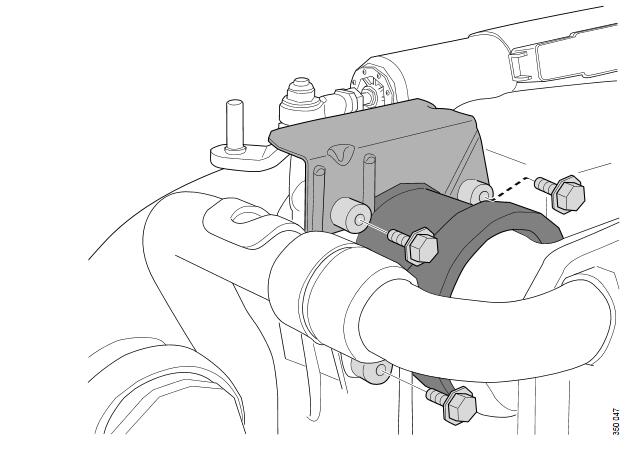
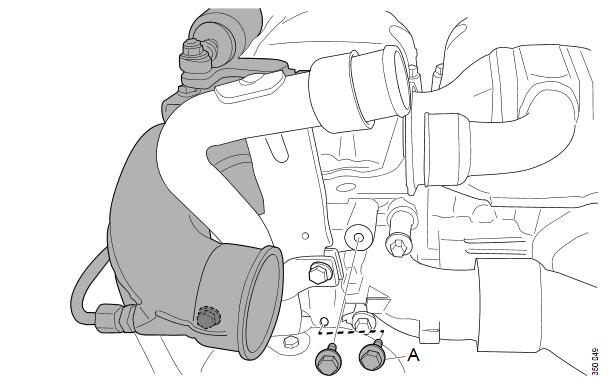
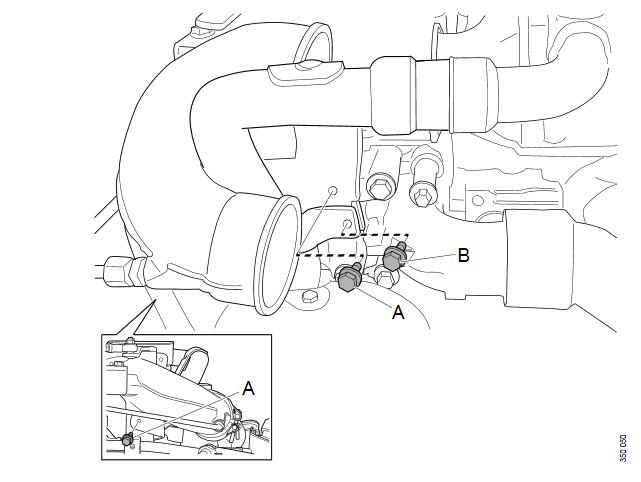
13.Remove screw A. Unscrew B so that it is flush with the weld nut on the back. Move the EGR cooler coolant pipe so that the bracket is as far past the EGR valve bracket as possible.
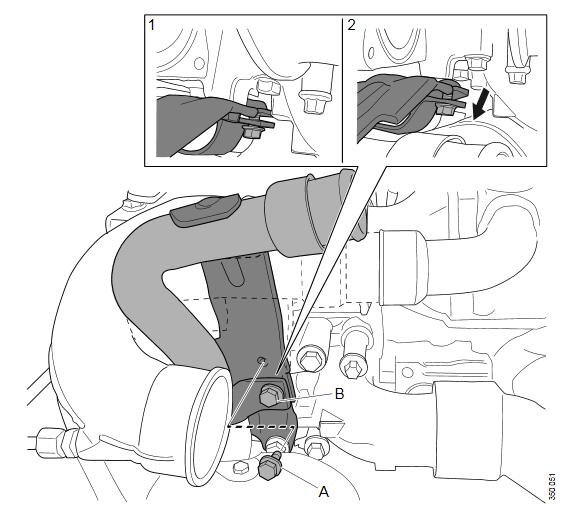
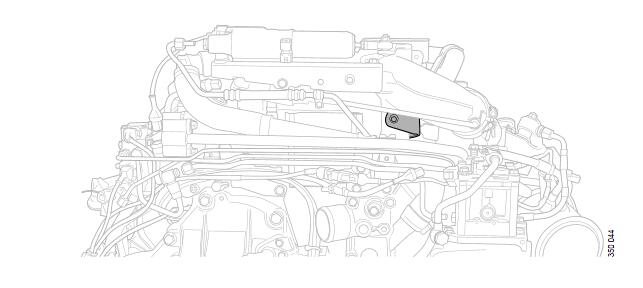
14.Remove the EGR valve. Screw A can be best accessed from the rear.
Installation:
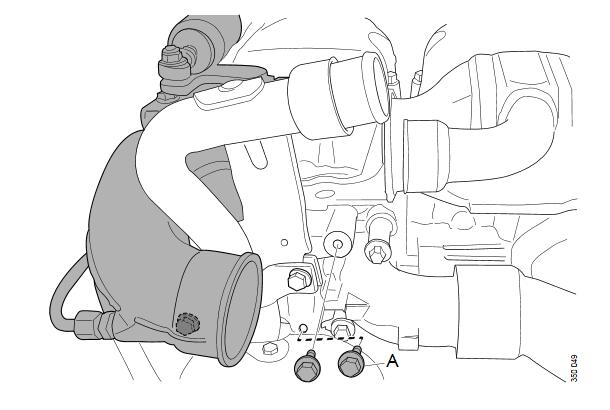
1.Fit the EGR valve. Fit all screws before tightening them.
2.Fit screw A. Connect the coolant pipe to the EGR cooler. Fit all screws before tightening them.
3.Fit the heat shield and flange pipe. Fit the V-clamp. Note: Use new gaskets.
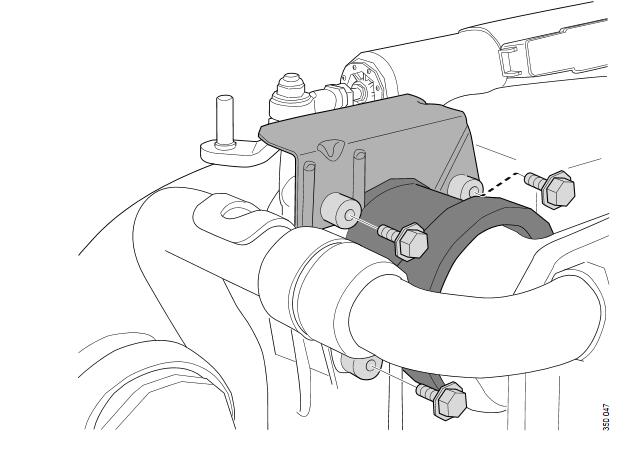
4.Fit the EGR pipe. Tighten the screws before the V-clamp is fitted to avoid stresses.
5.Fit the bracket screw.
6.Fit the air pipe. Do not tighten it before the caps are in place in order to avoid stresses.
7.Fit the caps and connect the air pipe.
8.Fit the hose clamp.
9.If the vehicle is fitted with an injection valve: Fit the injection valve air connection and the coolant pipe with clamp.
10.Fit the air connection for the EGR valve actuator. Fasten the clamp.
11.Fit all harness-to-component connectors.
12.Fill with coolant
Done!