This instruction show you guide on how to do coolant chambers test for MTU 12-16V 4000 engine.
Related Contents:
2022 MTU DiaSys 2.74 2.72 Engine Diagnostic Software Free Download
MTU Engine Diagnostic USB-to-CAN Adapter with Cables
Note: After assembling engine, pressure-test coolant jackets with treated coolant and check
for leaks.
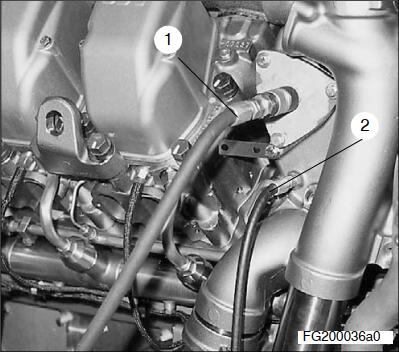
Connect supply hose line (1) of hydraulic pressure testing device to thermostat housing.
Connect vent line (2) to thermostat housing.
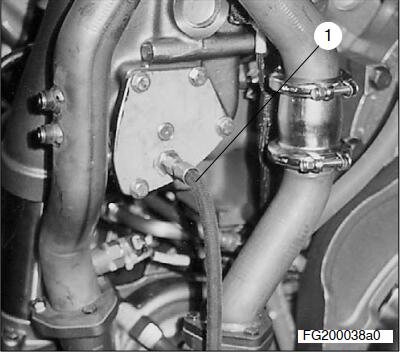
Connect vent line (1) to thermostat housing, free end.
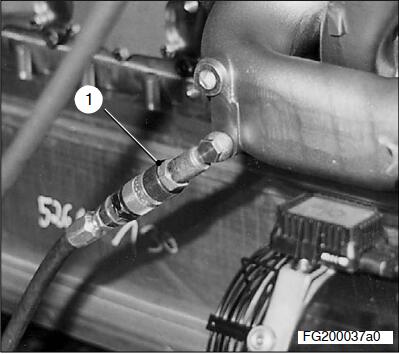
Connect coolant supply line (1) to elbow of engine coolant pump.
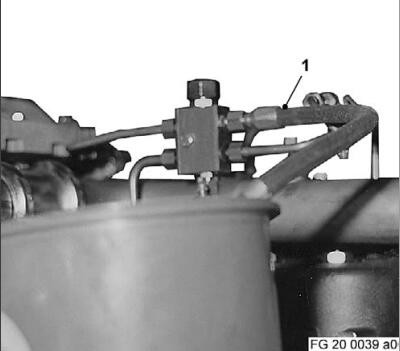
Connect vent line (1) of hydraulic pressure testing device to engine vent.
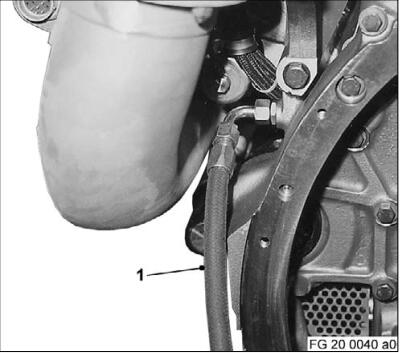
Connect drain hose line (1) of hydraulic pressure testing device to crankcase, left engine side (driving end).
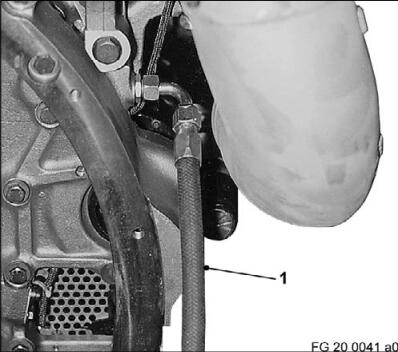
Connect drain hose line (1) of hydraulic pressure testing device to crankcase, right engine side (driving end).
Connect pressure unit and fill engine coolant jackets with treated coolant. MTU DiaSys
Vent piping system.
Pressure-test coolant chambers with water at 80 C for one hour.
Test pressure = 5 bar
Check all coolant-retaining components for leaks.
After completion of pressure testing, relieve test pressure.
Drain system.
Remove hydraulic pressure testing device.
Refit plugs with new sealing rings.
More topic about MTU,please refer to https://www.car-auto-repair.com/tag/mtu-engine-repair/