This post show you guide on how to install valve harness for CLAAS Lexion 700 series steering ready combine.For more workshop repair manual,please refer to:Claas WebTIC Offline Repair & Service 2017 2015 Free Download
Procedures:
1.Start with the valve harness (P/N 115-4001-236) outside the cab on the left side.
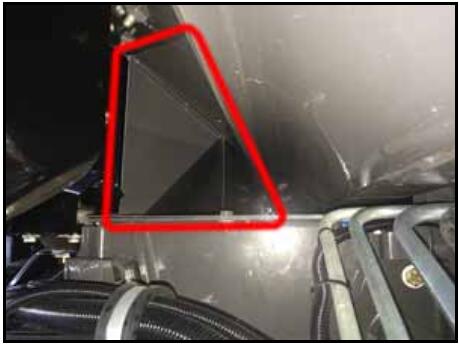
2.Route the 12-pin connector behind the cab to the right side of the machine.
3.Route the 12-pin connector into the cab through the access panel in the back-right corner of the cab.
Note: It may be necessary to cut a hole in the access panel to achieve cable routing.
4.Open the fuse panel cover inside the cab.
5.Route the 12-pin connector forward and connect it to the mating connector on the node harness (P/N 115-4001-235)
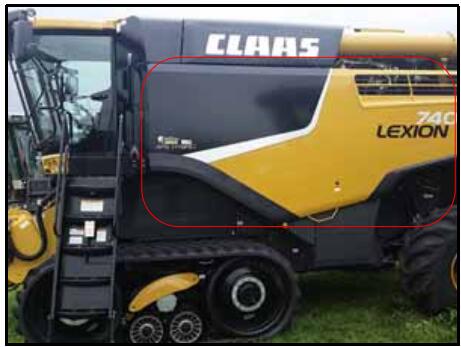
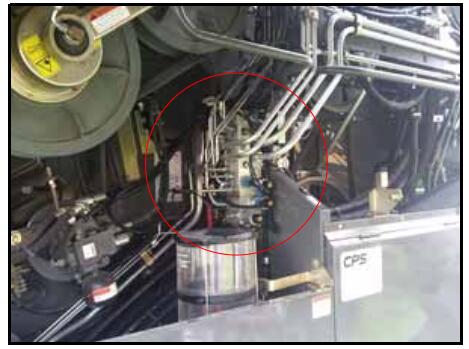
6.Open the left side access panel on the machine.
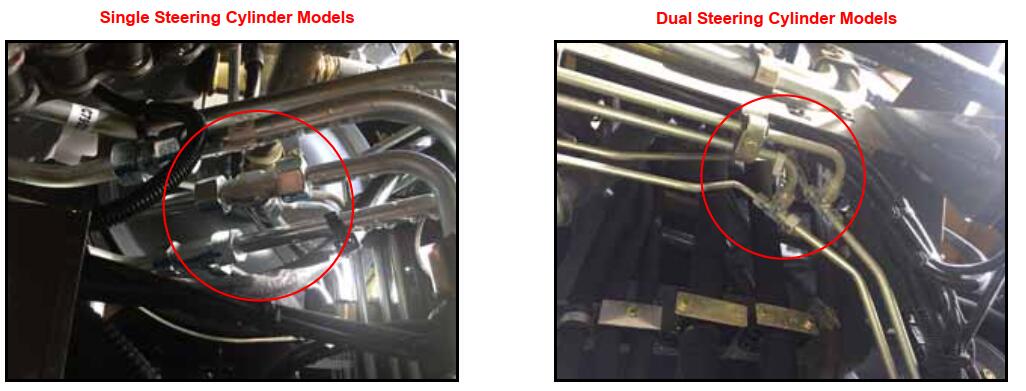
7.Locate the hydraulic steering cylinder lines at the rear axle.
8.Trace the steering lines forward to the point of entrance into the machine’s hydraulic valve.
Note: There will be hydraulic tee fittings between the valve and the axle.
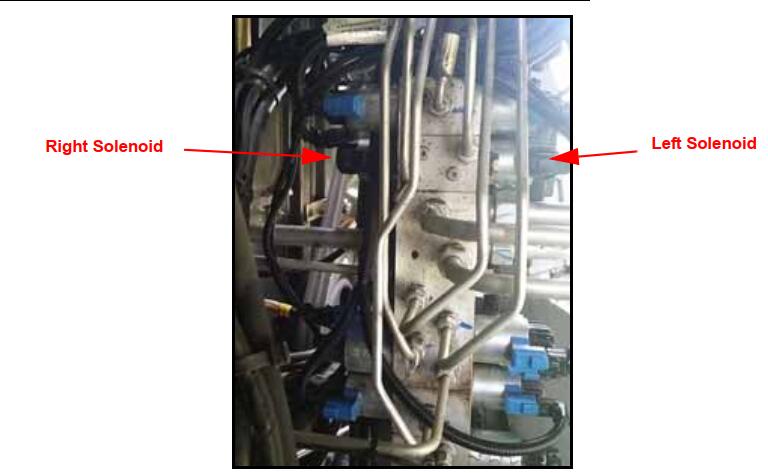
9.Disconnect the cable connectors from the steering solenoids on the machine’s hydraulic valve.
Note: The machine’s steering line solenoid connectors are not used in the SmarTrax system. 6
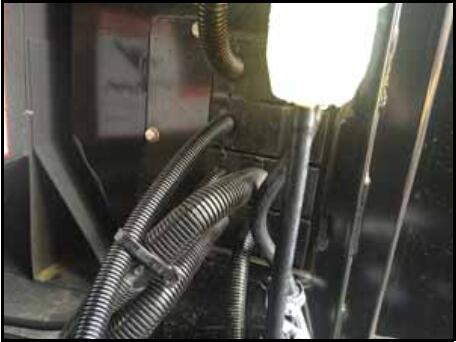
10.Route the LEFT and RIGHT cable connectors of the valve harness toward the machine’s hydraulic valve.
Important: Carefully route the cable along existing cable and hose paths, avoiding moving parts and heat sources.
Secure the cable connectors with plastic cable ties.
11.Remove the dust caps from the LEFT and RIGHT cable connectors of the valve harness and install them on the machine’s cable connections that were disconnected in step 9.
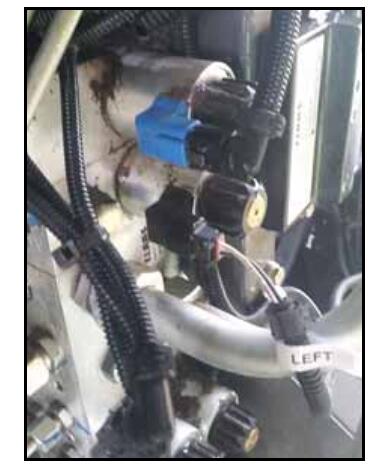
12.Connect the LEFT valve harness connector to the machine’s left steering solenoid connector.
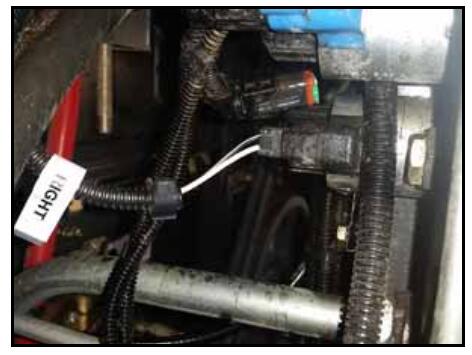
13.Connect the RIGHT valve harness connector to the machine’s right steering solenoid connector.
Note:The LEFT and RIGHT solenoid connectors are interchangeable. If the connectors are accidentally switched, the SmarTrax system will identify and correct the error during system calibration.
14.Route and connect the WAS cable connector to the WAS cable connector installed on the rear axle.
Important: Carefully route the cable along existing cable and hose paths, avoiding moving parts and heat sources.
Secure the cable connectors with plastic cable ties.
More repair case for CLAAS,please refer to CLAAS Trouble Repair