This post share the step-by-step guide on how to install Scania XCOM V2.30 diagnostic software on your pc.
Note:This installation guide only work on paid version download from car-auto-repair.com
Preparations:
Scania XCOM V2.30 V2.27 Dongle Emulator Free Download
Procedures:
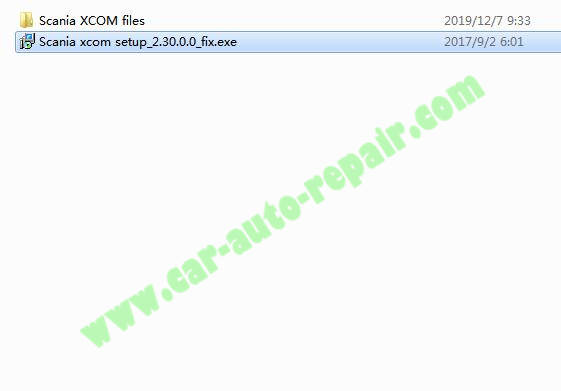
After you download the paid version,you will get below files.
Double click “Scania xcom stepup_2.30.0.0_fix.exe” to start installing
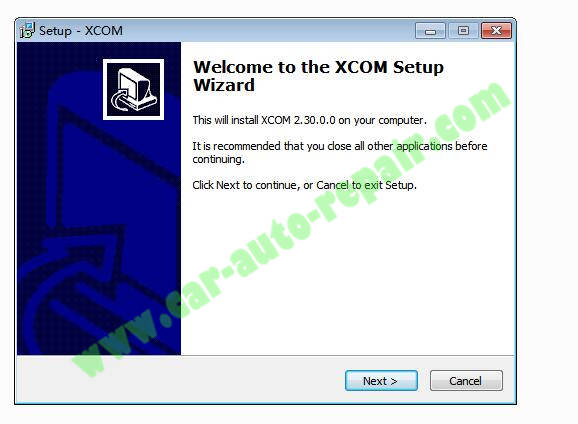
Click “Next” to continue
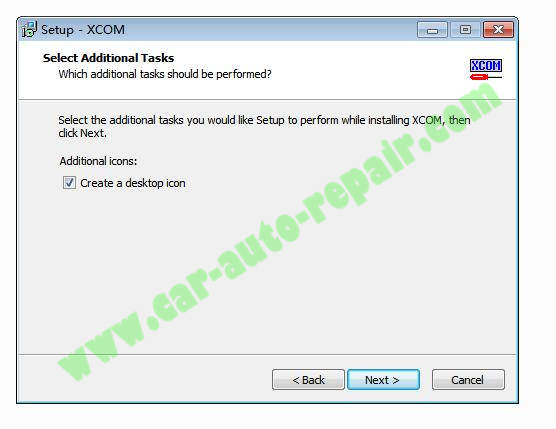
Select “Create a desktop icon”,then click “Next” to continue
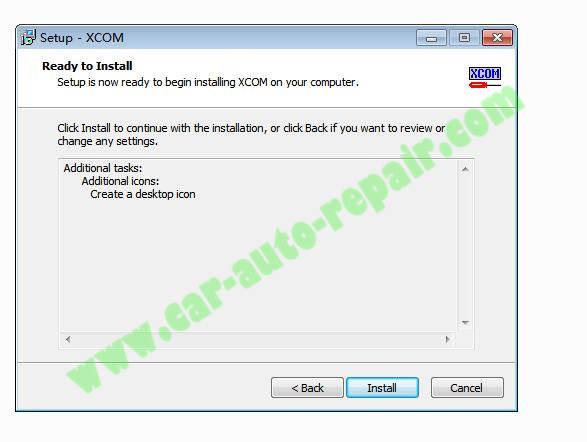
Setup is now ready to begin installing XCOM on your computer,click “Install”
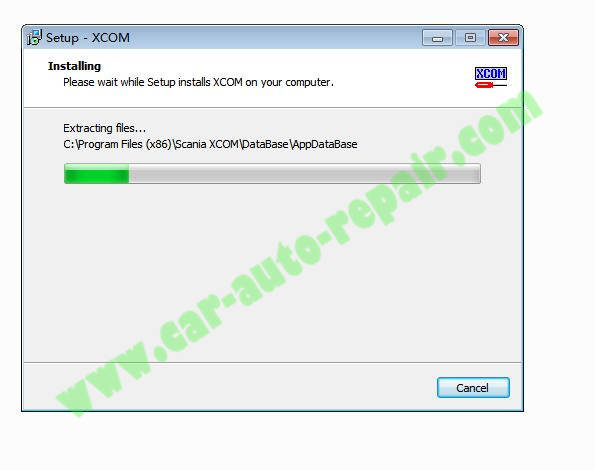
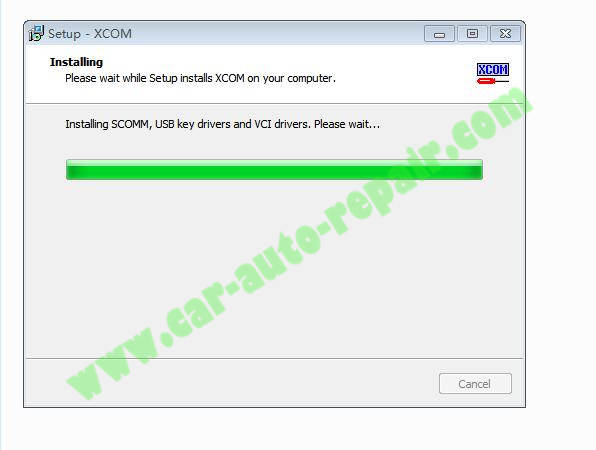
Wait for proceed…
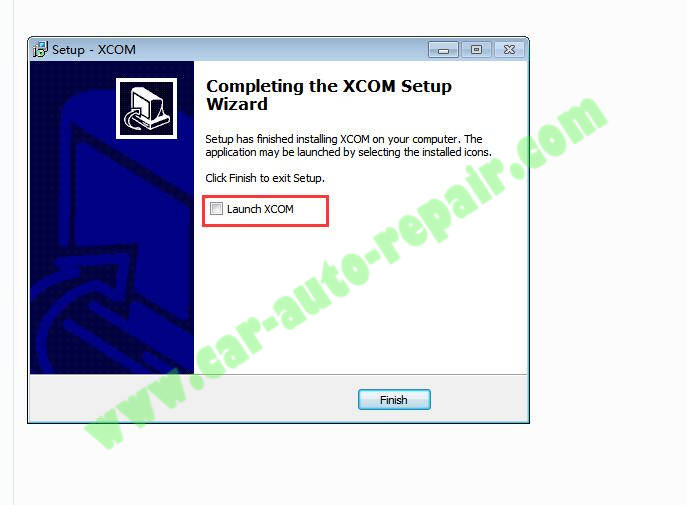
Scania XCOM Setup has finished,unselect “Launch XCOM”,then click “Finish”
Scania XCOM Installation Complete,now we need to activate it.
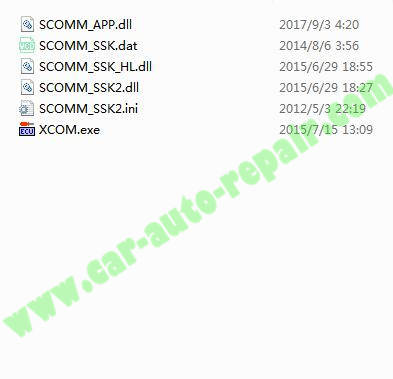
Open “Scania XCOM files” folder,then copy all files.
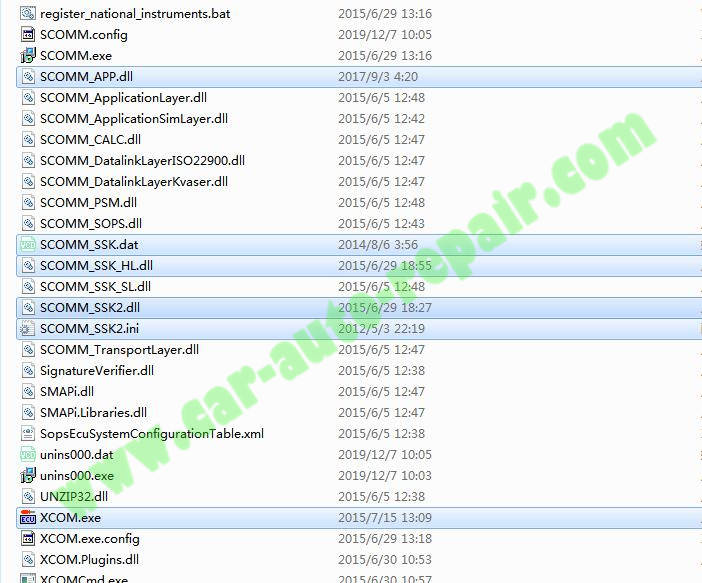
Open the “Scania XCOM” installation path,here it is “C:\Program Files (x86)\Scania XCOM” on my computer,then paste all files that copied from “Scania XCOM files” folder into it.
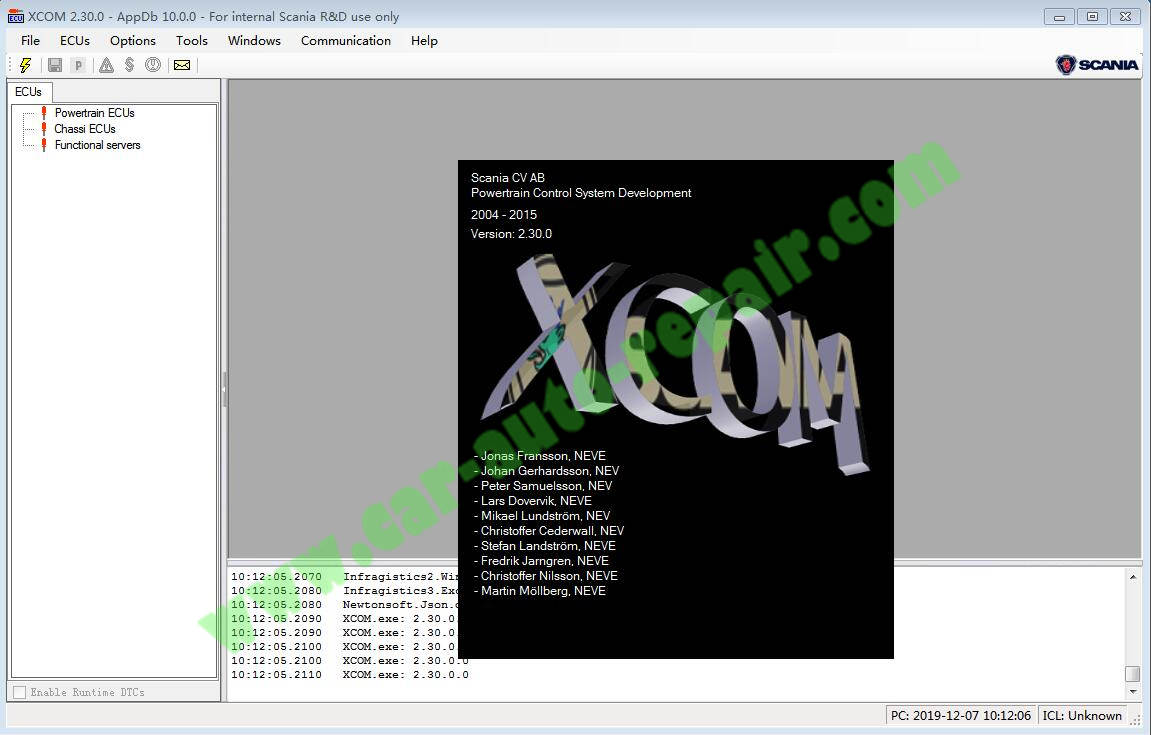
Now you Scania XCOM has been activated,it can run normally.