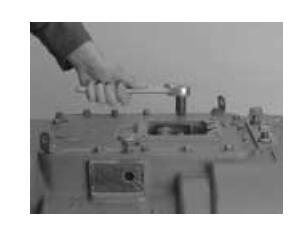
This instruction show the guide on how to install shift bar housing for Eaton heavy duty transmission TRSM1500.There are three (3) sizes of Cap Screws. The 1 1/2″ Cap Screws are used with the Lifting Eyes. The 1 1/4″ are used on all other locations except the left front corner at the Roll Pin. This Cap Screw is 1 3/4″.
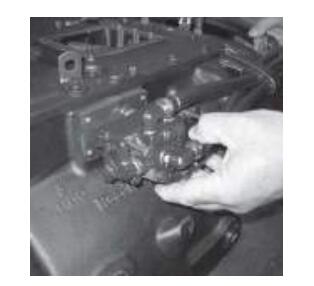
Be careful when removing the Shift Bar Housing to prevent damaging the Oil Tube with the Shift Yokes. The Slave Valve and Interlock parts must be removed prior to installing the Shift Bar Housing.
2022 EATON ServiceRanger 4.10 and 4.2 + Activator Free Download
Procedure
1.Place the Shift Bar Housing and Shift Blocks in the Neutral position.
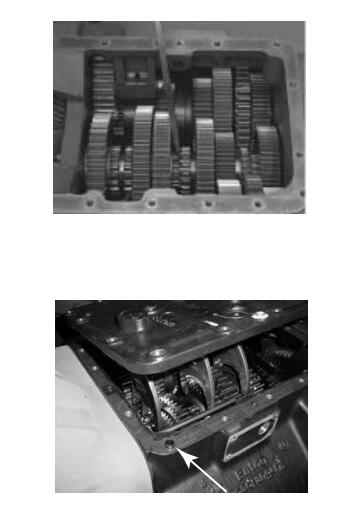
2.Place the Mainshaft Sliding Clutches in the Neutral position.
3.Position a new Shift Bar Housing gasket on the Shift Bar Housing mounting surface.
Note: The Slave Valve and Interlock Assembly must remain off, until the Shift Bar Housing is installed, to avoid damaging the Interlock Pin.
4.As you install the Shift Bar Housing, make sure the Yokes fit into the corresponding Sliding Clutch slots and the Housing aligns with the Roll Pin.
5.Apply Eaton® Sealant #71205 or equivalent to the Retaining Cap Screws. Torque the Cap Screws to 35–45 lb-ft (47.45–61.01 N•m).
6.Install Interlock parts (Pin, Spring and Sleeve).
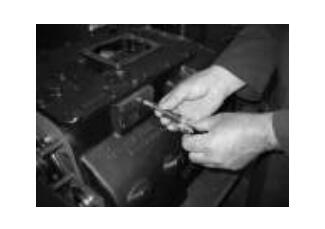
7.Install Slave Valve. Apply Loctite 242 to Cap Screw threads and torque to 8–12 lb-ft (10.85–16.30 N•m).