This instruction show you guide on how to remove the threshing drum for CLAAS Lexion 480 combine.
Related Contents:
CLAAS CDS 7.5 Diagnostic Software 2021 2020 Free Download
CLAAS 4 CAN Diagnostic Interface
Claas WebTIC Offline Repair & Service 2026 2015 Free Download
Removing the threshing drum
Support the machine safely under the front axle. Remove both wheels.
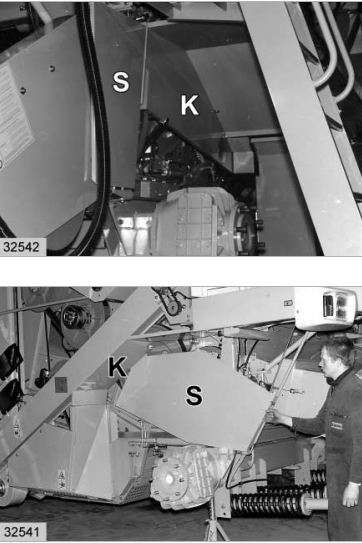
Remove the guard (S) and the mud guard (K)from the left- and right-hand side.
Removing the returns elevator,
On the right-hand machine side, remove the V-belt pulleys from the accelerator and threshing drum hubs.
Removing the right-hand drum bearing assembly.
Remove bearing on left-hand machine side – seepage 3.4.6, Removing the left-hand drum bearing assembly.
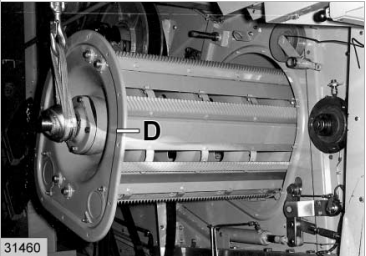
Loosen the assembly cover (D) on the right-hand side of the machine.
Attach a suitable lifting belt to the shaft end.
Lift the drum slightly and pull it slightly towards the right-hand side of the machine.
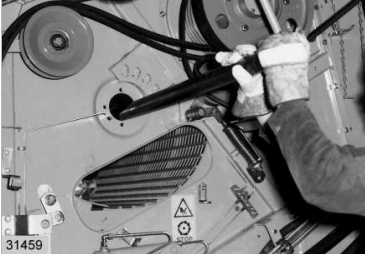
On the left-hand side of the machine, place a suitable tube onto the shaft end.
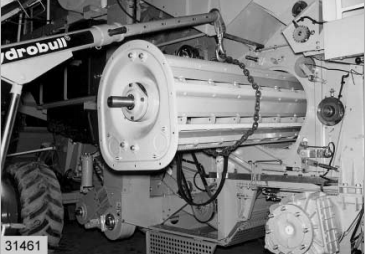
Now relocate the lifting tool to the centre of the drum and remove the drum completely.
More repair case for CLAAS,please refer to CLAAS Trouble Repair