This illustration show you guide on how to use Volkswagen ODIS diagnostic software Code Bus Master function.
Preparations:
Newest ODIS-E Engineering 17.0.1/12.2.0/9.0.1 Free Download
08.2023 VW ODIS 23.0.5 & 7.2.1 & 5.2.7 Diagnostic Software Free Download
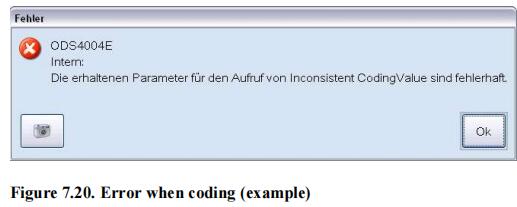
The Code bus master function is only available for control modules that are bus masters. A error message will appear if it is called up for any other control module.
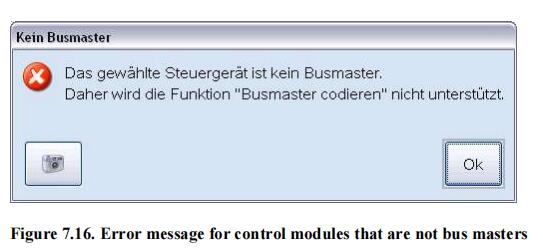
Ok: Closes the dialog without executing the function.
The coding of the components list for a Bust master control module (Gateway) is different from the coding for other control modules because it is an overall control module coding. A vehicle project may contain several bus masters.
The Code bus master view contains the components list in a table, meaning all control modules that are assigned to the selected bus master.
The table consists of three columns. The first column (“Specification”) determines if that control module should be included in the bus master components list. It is irrelevant if the control module to be added is a bus master control module itself. When opening the Code bus master view, the current code status is read from the control module. A check mark is entered in this column for all control modules that are already contained in the bus master control module components list.
The second column contains the current status of the control module in the components list (“Actual”). The systems have the following meanings:

The third column contains the diagnostic address, followed by the control module name separated by a hyphen. If no diagnostic address is specified for a control module, the node address will be displayed in brackets instead. The node address 0x00 is not displayed. If the control module name is unknown, “Unknown system” will be displayed instead.
Example: 00 – Unknown system or [49] – Unknown system
The table can be sorted in ascending and descending order by clicking on the column title.
The buttons below the table differ depending on whether the bus master is a KWP or UDS control module. The different views are described in the information that follows.
Coding KWP Bus Masters
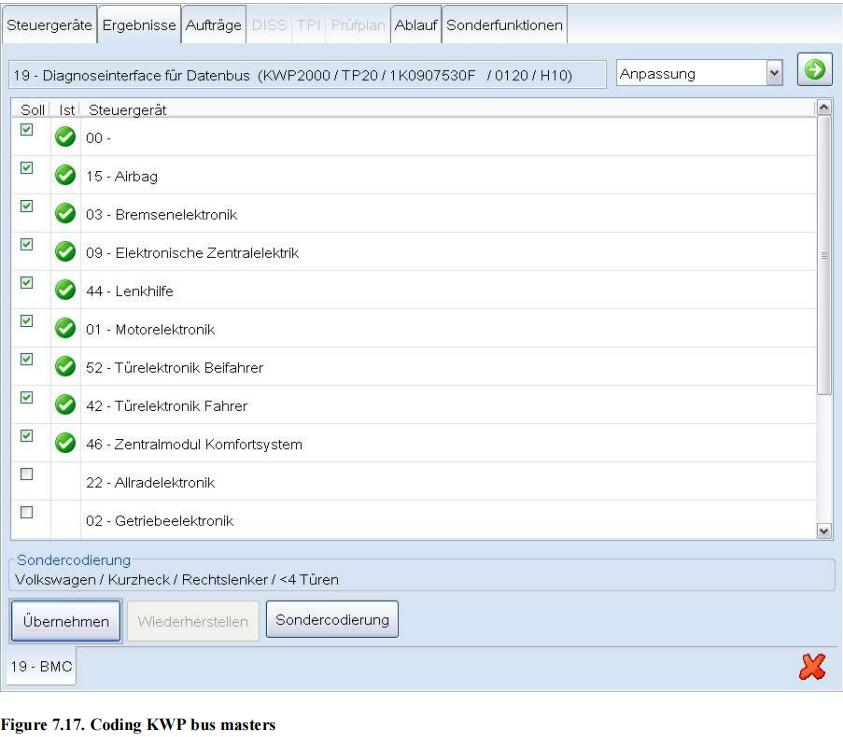
Once the user has configured the components list, the coding process can be started using the Transfer button.
First, a note appears that the use must confirm.
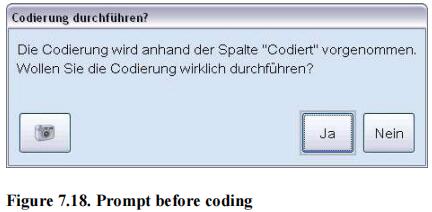
Yes: Writes the code in the bus master control module.
No: Closes the dialog without writing the code.
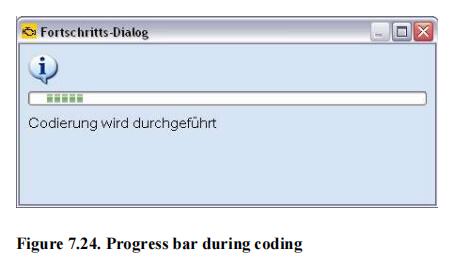
During the coding, a dialog with a message indicating that the coding process is running appears.
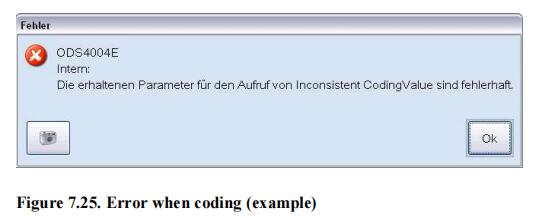
If there are errors during the coding process, the process stops and an error message is shown.
If the coding process was completely successfully, the components list will be read from the Gateway control module again and displayed.
Once the code that was read out is changed, the Restore button is activated. Clicking on this button restores the code that was read from the bus master control module during the last coding procedure.
The Special coding button can be used to edit the special code determined based on the control module. This contains the vehicle brand, vehicle version, the number of door and if the vehicle has right-hand or left-hand drive.
This information is already in the bus master control module and can be changed by the user.
If a special code is present, it will be displayed in the text line above the button. If no special code was read,the text “Special code not available” will appear there. If the control module does not support special coding, the button will be deactivated.
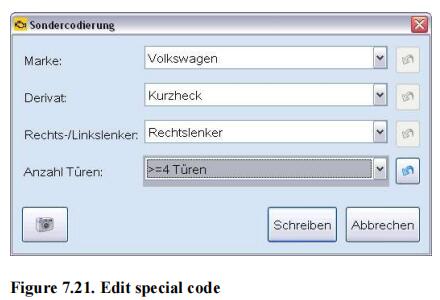
When this button is pressed, a dialog window opens where the special code can be changed using selection lists.
The special code that is read is already entered.
The button becomes active once the code information is changed. It resets the information back to the original values.
Write: Writes the selected code in the control module and updates the “special code” text in the components list.
The control module list coding is not changed.
Cancel: Closes the dialog without writing the code.
Bus master control modules that are addressed with service 22 do not have a special code so neither the button nor the note text are displayed.
Coding USD bus masters
Coding UDS bus master control modules is identical to KWP bus masters, except there is no special code. Neither the button nor the note text are displayed. There is the “Automatic coding” function instead, which is described in the information that follows.
There is also a GW Info column that shows on which CAN bus a control module is located or if it is a bus master.
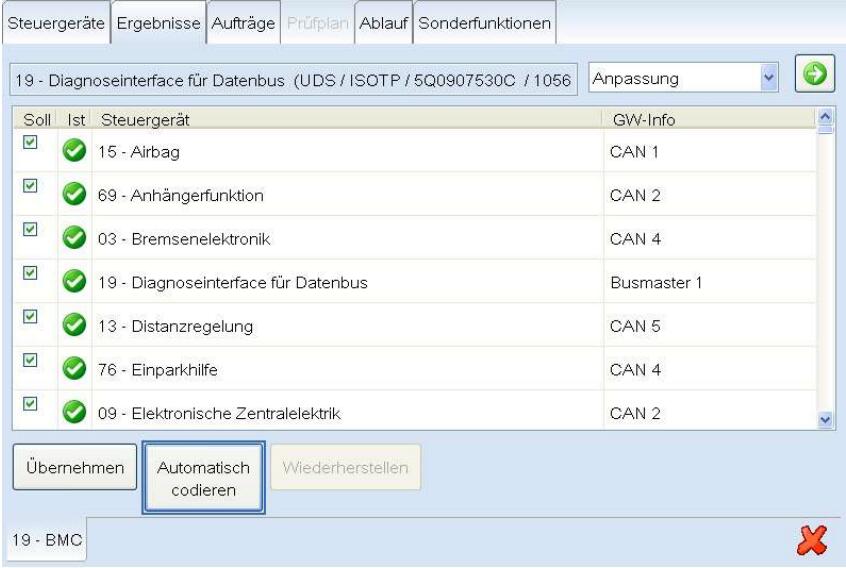
Automatic coding: This button writes the code based on the installation status of the subsystems that is detected
by the control module. This means the code will be written for all control modules that are marked with the and symbol under “Current installation”. After pressing this button, the use must confirm the procedure:
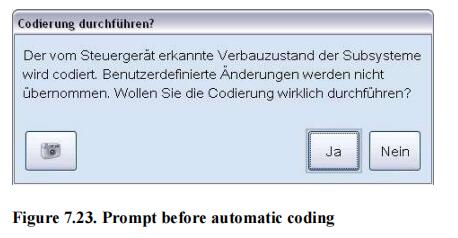
Yes: The code is written.
No: Closes the dialog without writing the code.
During the coding, a dialog with a message indicating that the coding process is running appears.
If there are errors during the coding process, the process stops and an error message is shown.
If the coding process was completely successfully, the components list will be read from the Gateway control module again and displayed.