This instruction show you guide on how to remove electric gear-shift control for Doosan DL250-3 excavator.
Related Contents:
Doosan Data Monitoring System DMS-5 DMS-3 Free Download
Daios Doosan EPC Excavator Part Catalog 2017 Download & Installation
Procedures:
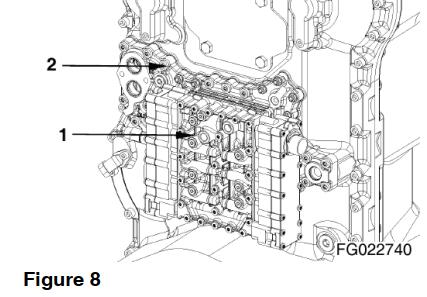
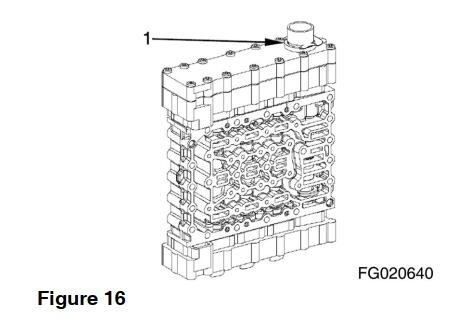
1.Remove torx screws and separate gear-shift control housing from intermediate plate.
(S) Socket wrench TX-27 5873 042 002
(S) Adjusting screws M6 5870 204 063
2.Remove gear-shift control assembly and sealing plate.
(S) Adjusting screws M6 5870 204 063
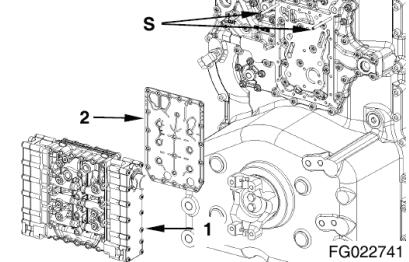
3.Remove gear-shift control assembly and sealing plate.
(S) Adjusting screws M6 5870 204 063
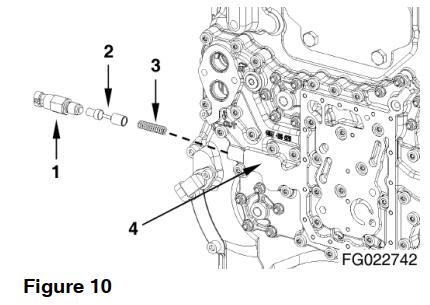
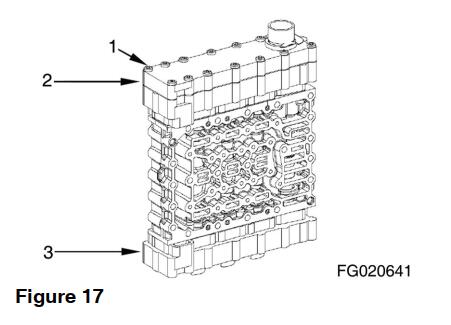
4.Remove hexagon nuts and torx screws and separate duct plate and seal from housing rear part.

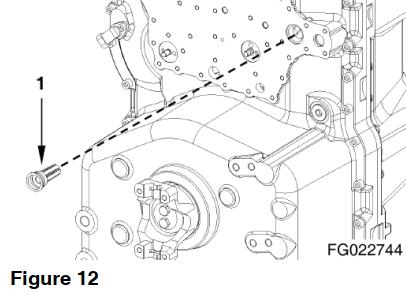
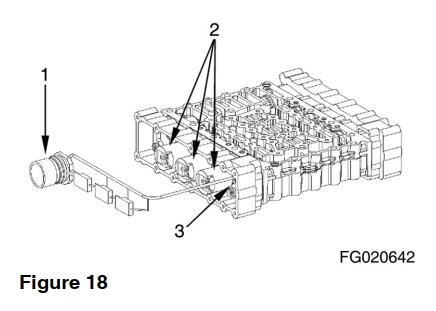
5.Pull converter safety valve out of housing hole.
6.Mark installation position of wiring harness towards valve block.
7.Remove torx screws.(S) Socket wrench TX-27 5873 042 002
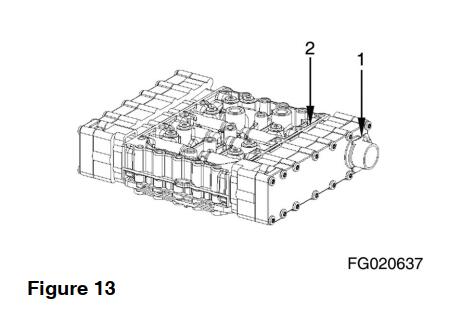
8.Separate duct plate and sealing plate from valve block.
9.Remove retaining clamp.
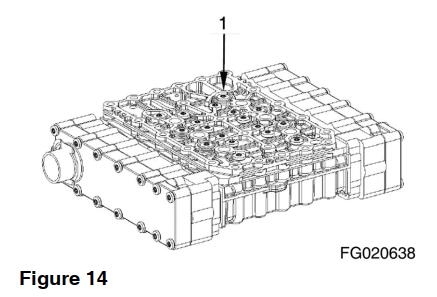
10.Remove torx screws and remove cover. Remove opposite cover in the same way.
(S) Socket wrench TX-27 5873 042 002
11.Remove wiring harness.Remove cylindrical screws, remove attaching plates and remove pressure controllers.
12.Remove cylindrical screws, remove attaching plates and remove pressure controllers on opposite side.

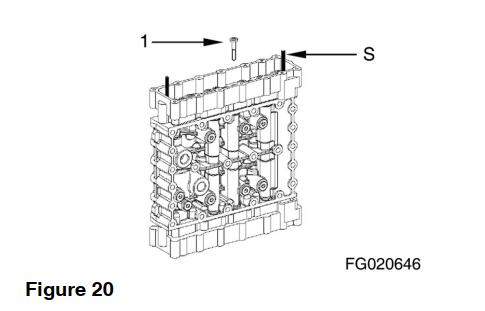
13.Loosen two torx screws and preliminarily attach housing by adjusting screws (S). (Housing is spring-loaded) Then remove remaining torx screws.(S) Adjusting screws 5870 204 036
14.Separate housing from valve housing by loosening the adjusting screws equally.
(S) Adjusting screws 5870 204 036

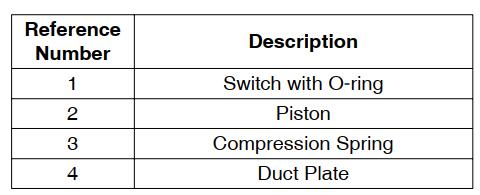
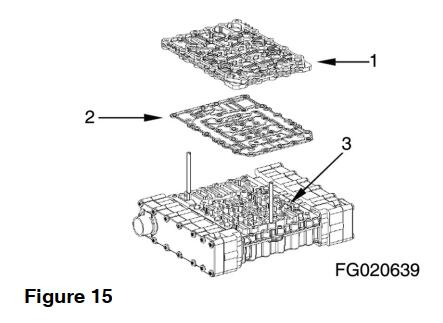
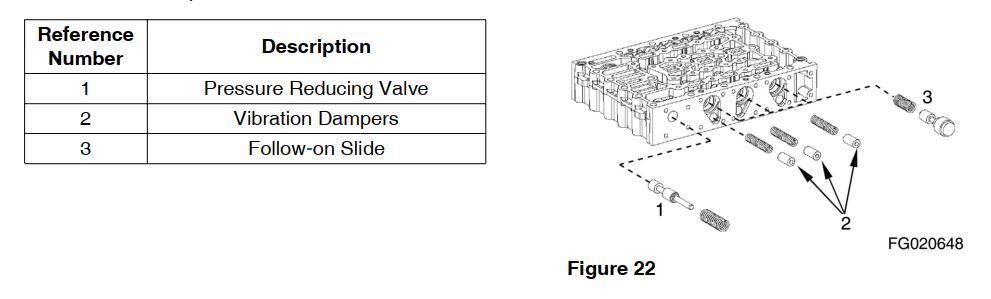
15.Remove individual parts:
16.Remove individual parts of opposite side analogously:

More topics for Doosan,please refer to:Doosan Trouble Repair