Here is a instruction manual on how to check and clean diesel particulate filter for Volvo EC480D excavator.If the flexible tube is to be reused, mark the tube by drawing a line between the clamps.More about Volvo heavy duty equipment service manual,please recommend you install Volvo PROSIS Parts+Service repair manual
Note:Always wear personal protective equipment, including filter mask, eye protection and appropriate gloves when working on the diesel particulate filter.
Procedures:
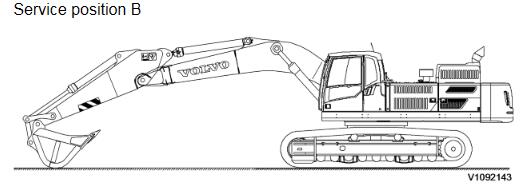
1.Park the machine in service position B
2.Remove the DPF hood.
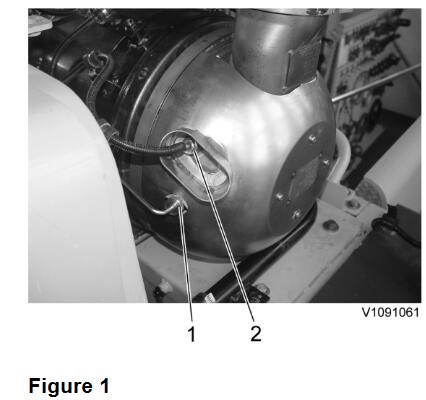
3.Disconnect the sensors.
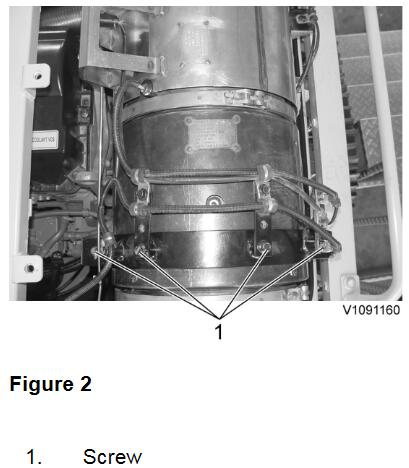
4.Remove screws and put aside the wire harness.
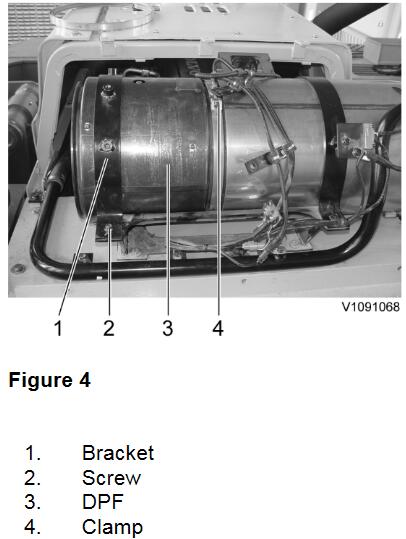
5.Remove the clamp and then remove the outlet module with a tale pipe from the DPF.
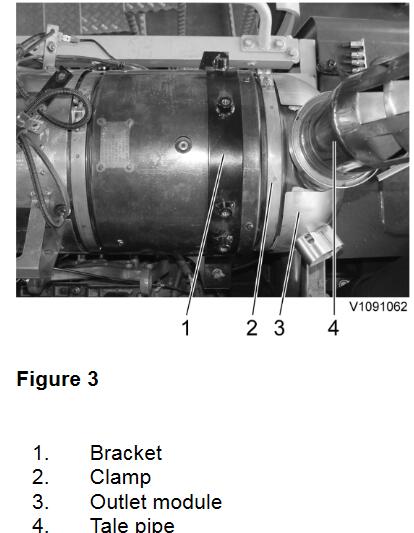
6.Remove the bracket and the clamp.
7.Remove the cover from the old filter and install it to a new filter.
8.Clean the filter and covers from remains of old gaskets and soot.
The filter must be cleaned by Volvo according to Volvo Core handling instructions.
9.Clean the contact surfaces of the new clamps, filter and catalyst with a cleaning agent. Place a new gasket on the flange of the catalyst
Install a new filter
Note:
Place the old filter in the plastic bag provided with the replacement filter. The filter must be packed airtight. Ensure that the filter is cold before placing it in the bag. Follow Volvo Core Handling instructions.
NOTE!
Use only new gaskets and V-clamps when installing.
NOTE!
Pay attention to the flow direction mark on the filter when installing.
10.Restore the machine to operating condition. See Exhaust pipe flexible tube, replacing for exhaust tube installing.
NOTE!
Clean the tools and discard cleaning cloths and the protective equipment.
11.To reset the soot load and ash load, run VCADS PRO operation “VCADS Pro, 25460-3, Reset soot and ash load”.
NOTE!
Keep the sensor wire harness routing when installing.