In this article you will get skill of how to open EDC16/EDC17/MED17.And this opening guide applies to: Late 2000 Model Year VW/Audi, Mercedes, BMW, and most other Brands.Hope it is helpful!
This will guide you through the steps necessary to open an ECU for bench ECU programming.It will take 15 minutes to open for freshman,5 minutes otherwise.
Note:Read the entire guide before you begin!
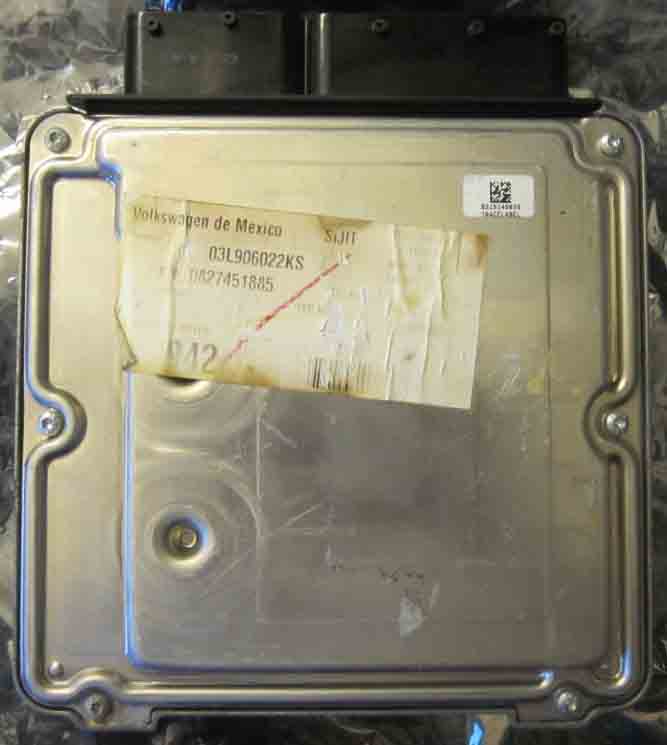
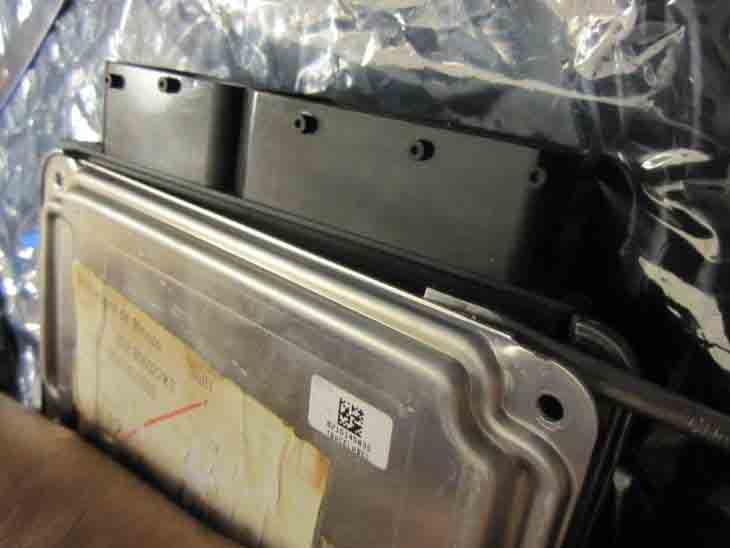
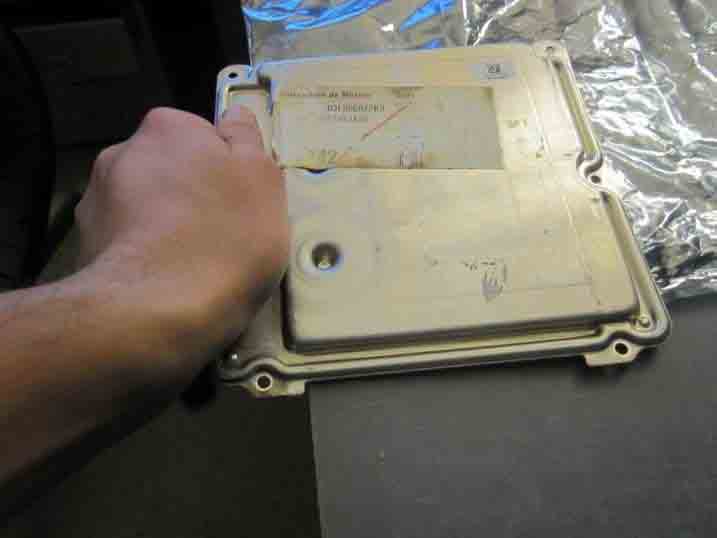
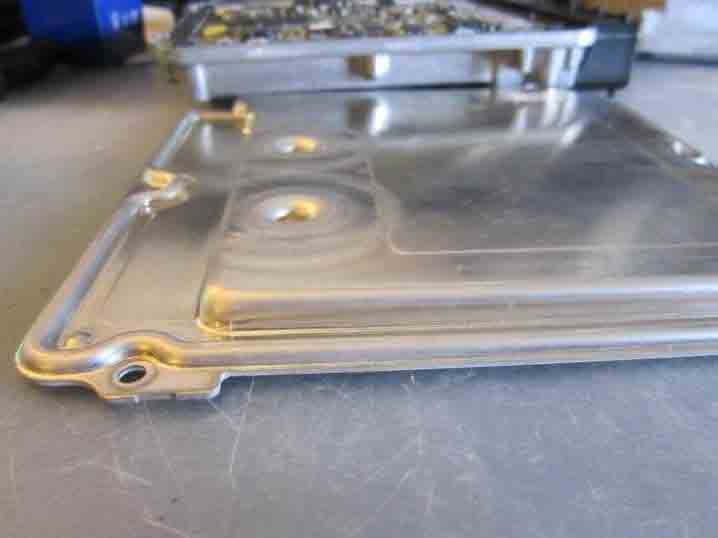
This is what the bottom of most ECUs look like
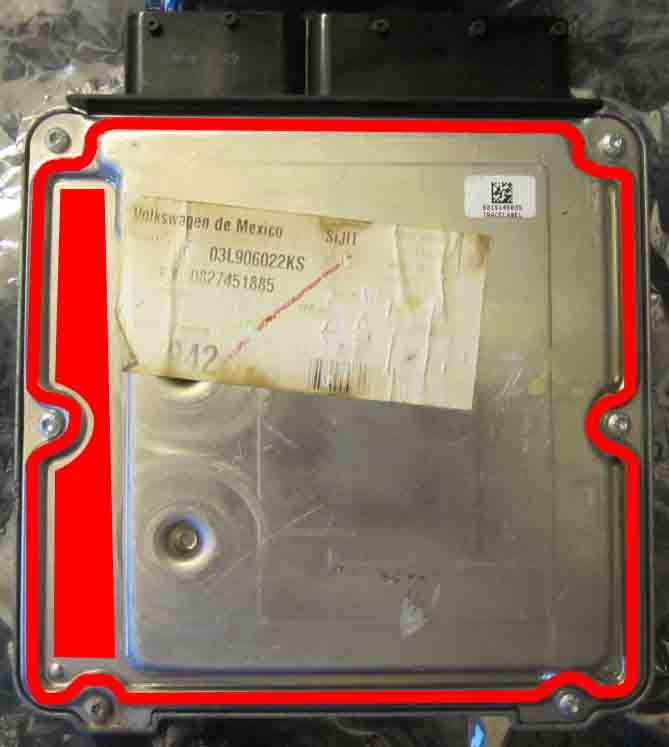
The glued areas are highlighted in red below. Therecessed area on the left side usually indicates alot of glue, so that may be the most difficult side to open.
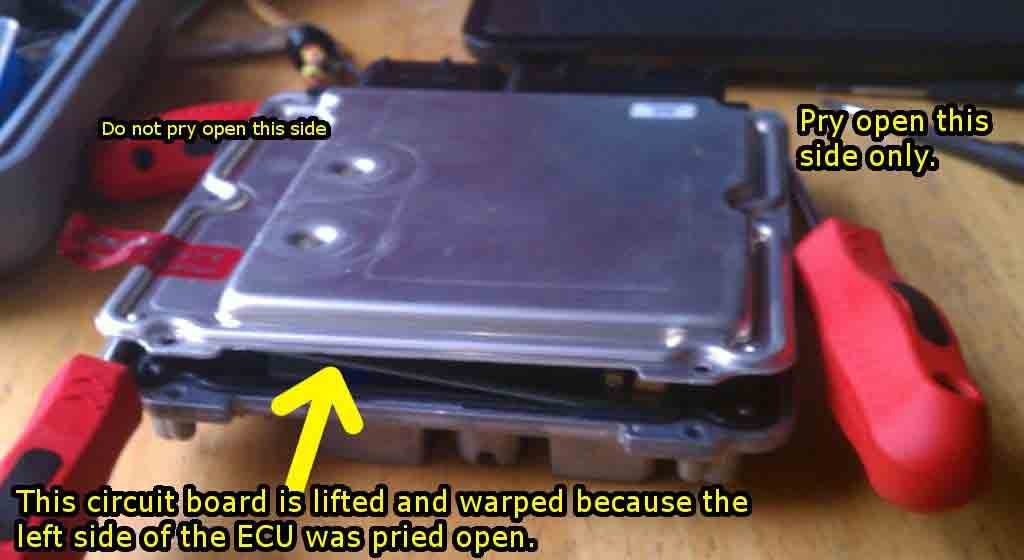
WARNING: Not only the heavily glued area makes it difficult to pry open, it is also glued to the green circuit board inside. If you try to pry this area you risk lifting and warping the circuit board,permanently damaging the ECU. The pictures below show one of the mistakes a few dealers have made:
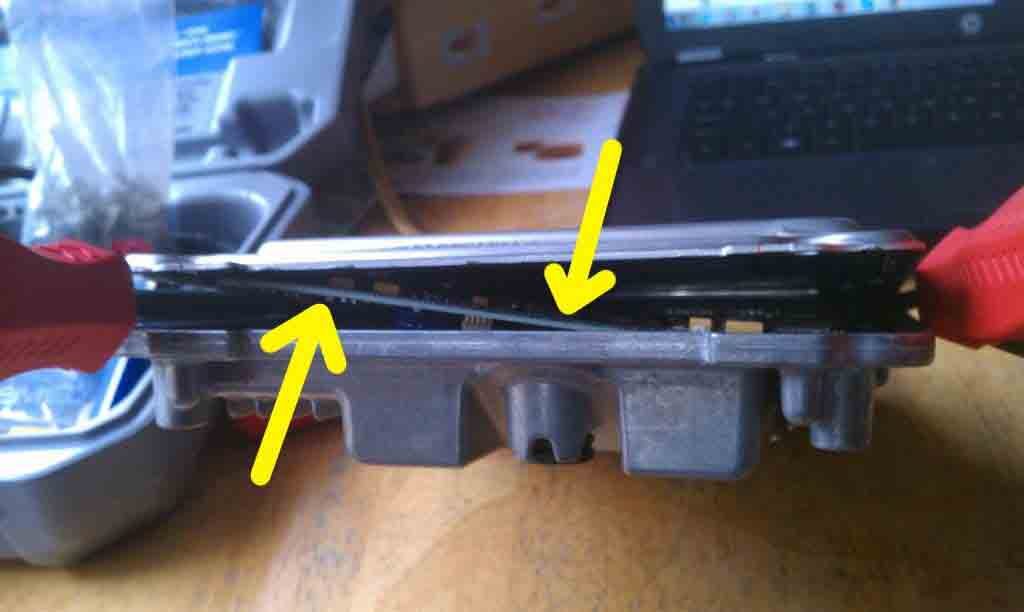
A closer view of the warped circuit board:
Focus on prying the right side of the ECU (pictured below).
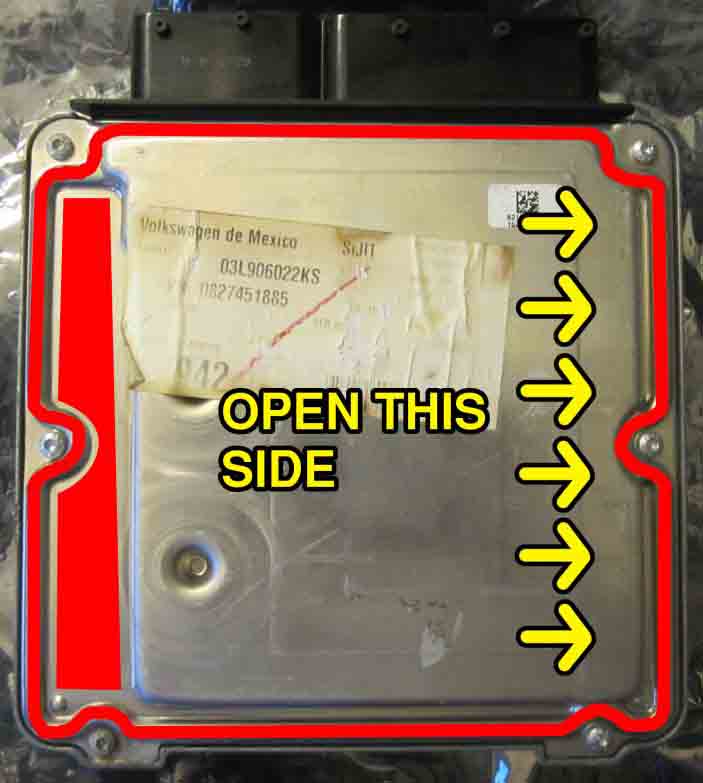
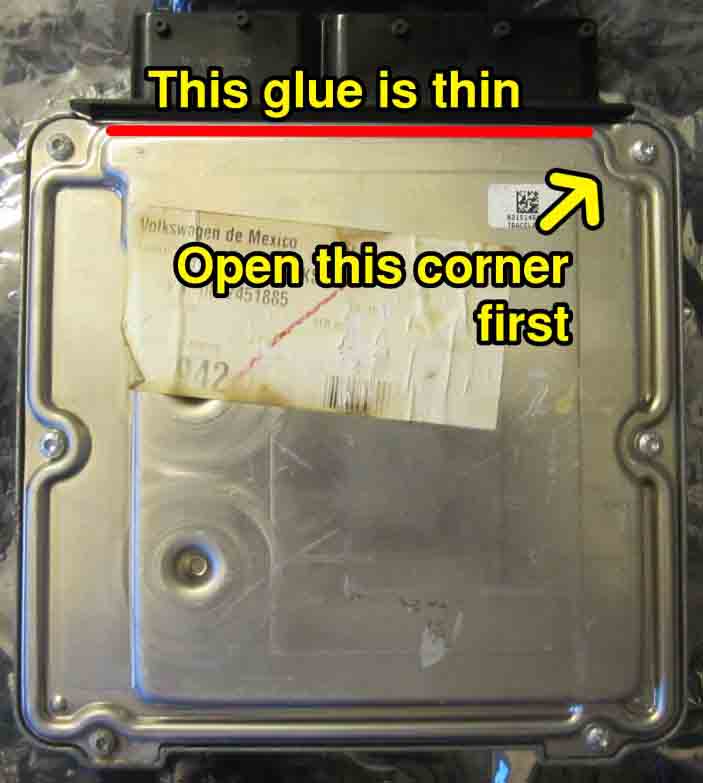
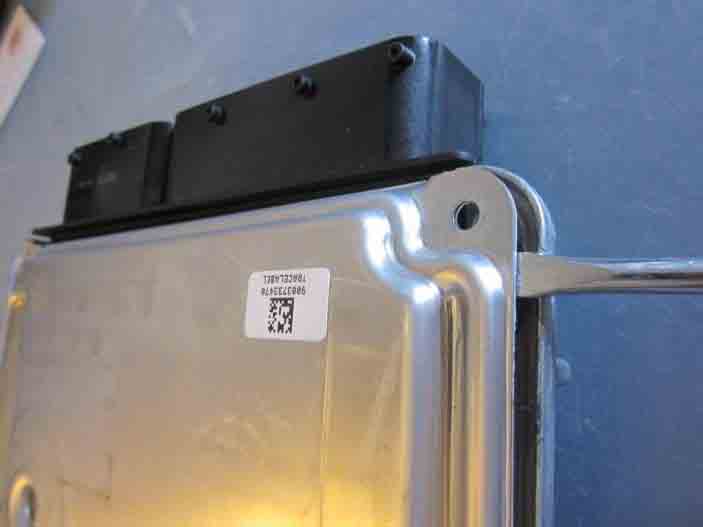
The glue is thinnest at the top edge (where theblack plastic connector is). This makes the upper right corner the ideal spot to pry open first.
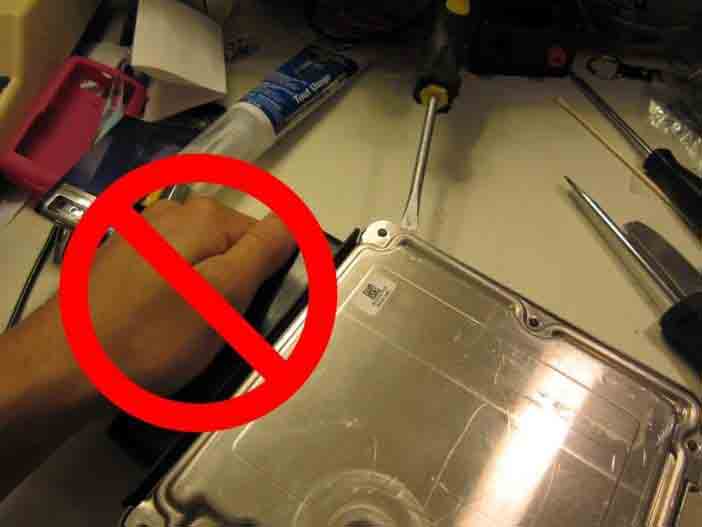
Tip: Never use the black plastic ECU connector as leverage while opening the ECU. This could bend and damage the circuit board.
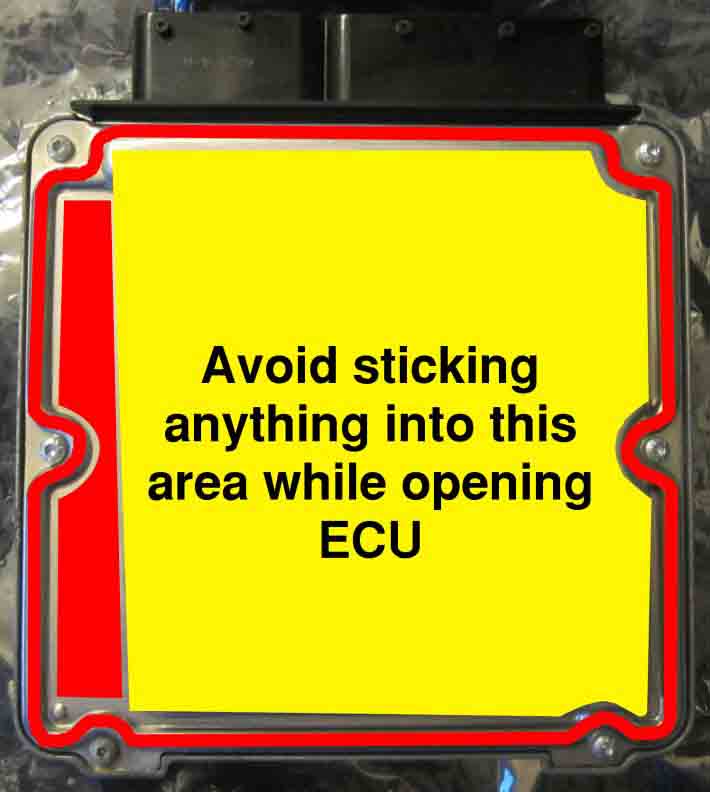
Tip: Do not stick your screwdriver or any other object past the red glue boundary (see yellow shading below). The chips or circuit board could be damaged if you hit it.
Before you start prying open the ECU, remove all screws with a screw driver (Torx T10
is the most common screw size).
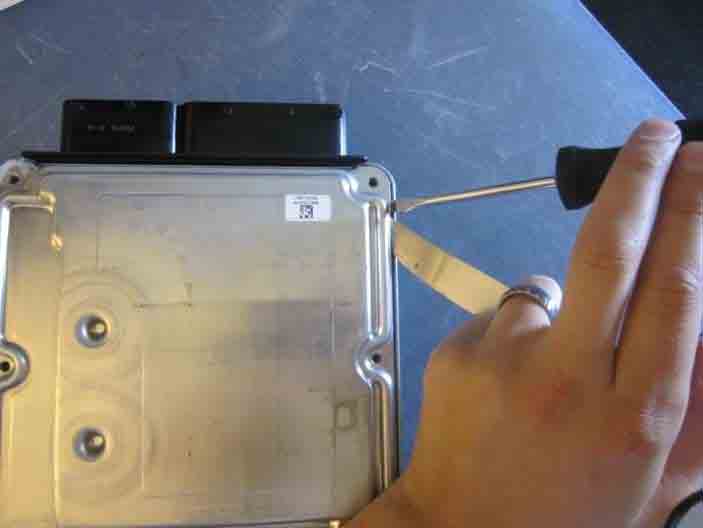
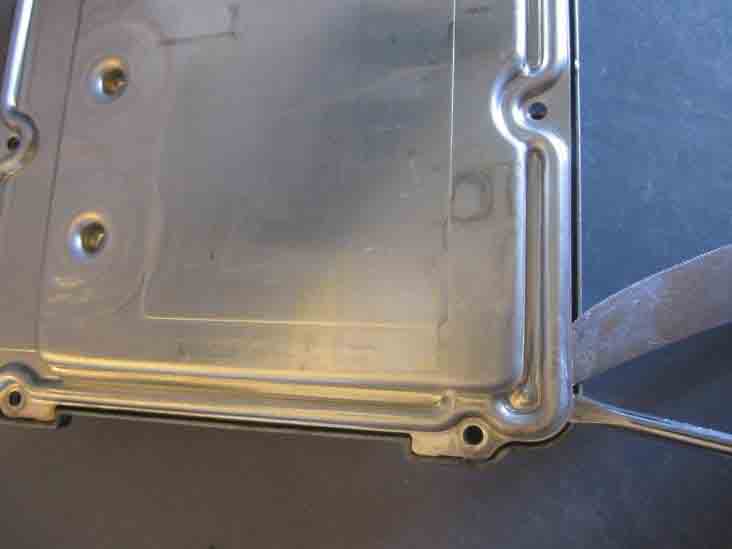
Wedge a flathead screwdriver into the upper right corner. We often also use something thin like a dull dining knife to help wedge the screwdriver in.
As the cover is pried up a little, push your screwdriver in a little more and continue. You
may scratch or chip (damage) the outside edge of the ECU, which is OK (it’s only aesthetic). Focus on opening the ECU safely instead of worrying about aesthetics. The more often you open ECUs, the less aesthetic damage you will impose. The metal ECU bracket (for installing in car) will also conceal your aesthetic damage.
Continue pushing in and prying. Take your time.You are not fully opening the ECU yet, you are just loosening this corner.
Reminder: The picture below shows what can happen if you jam your tool too deep in the ECU. Somecircuit board components are very close to the edge of the ECU.

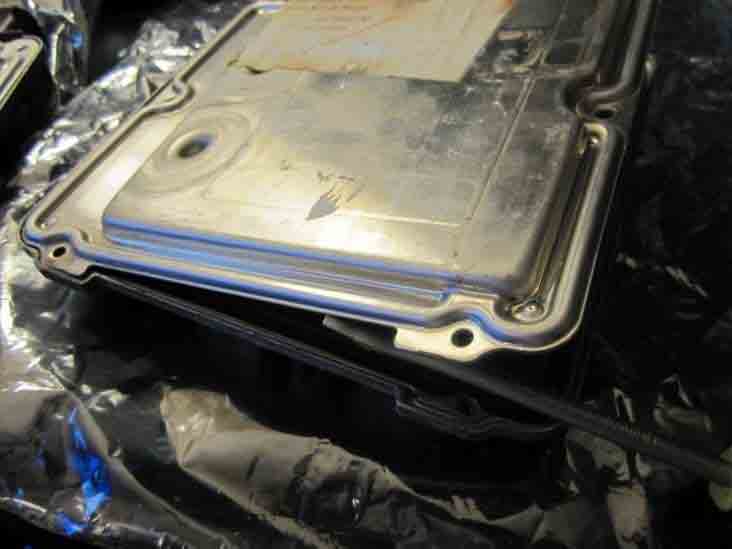
As you’re able to push in your screw driver more,pry the top edge of the ECU cover (see picture below). As usual, avoid sticking your screwdriver inside the ECU!
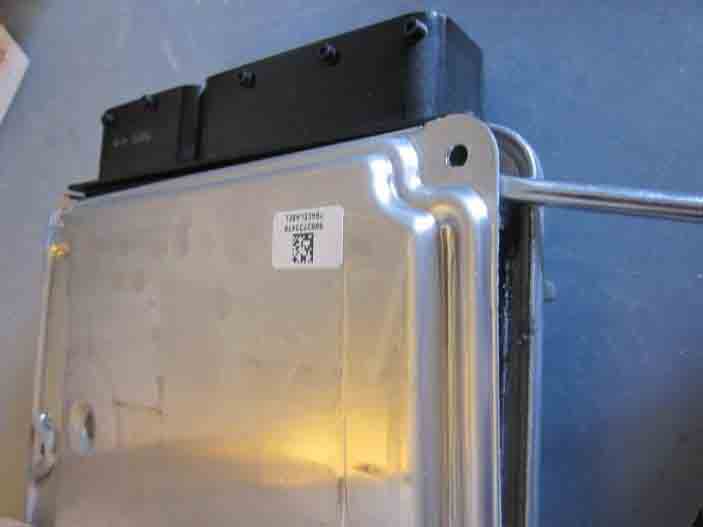
Repeat the prying procedure at the bottom right corner of the ECU.
Continue prying both the top and bottom edges until the ECU cover has opened enough (more than 1” or 3cm)
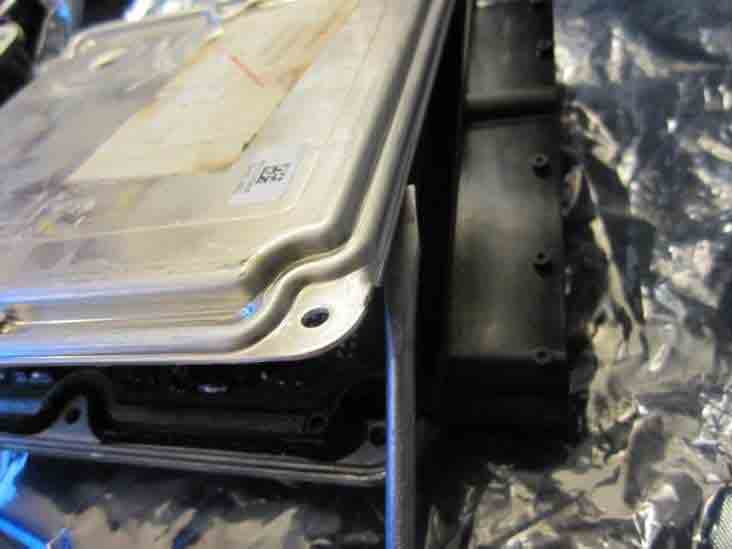
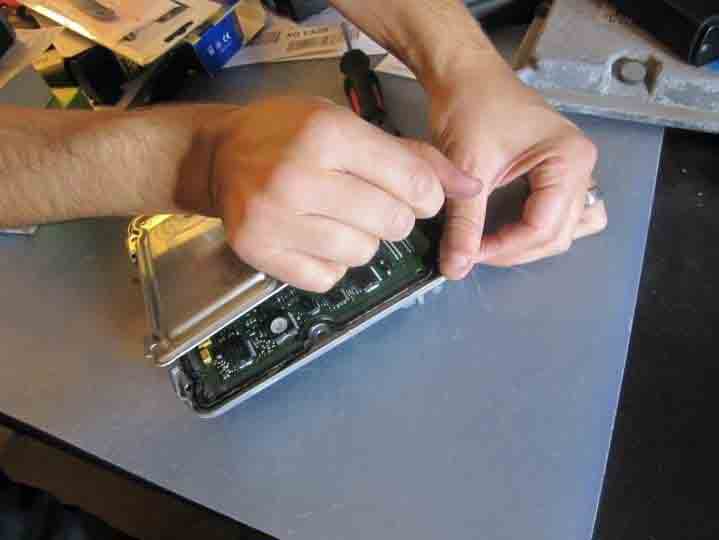
Use your hands to completely open the ECU case.Avoid using the black plastic connector as leverage (don’t touch it at all), and avoid touching the electronics inside.
The ECU cover that you peeled off may have been bent:
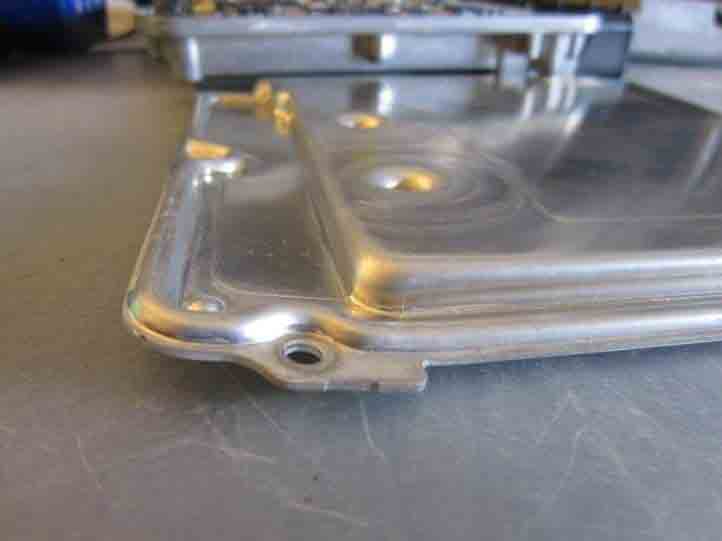
Flatten the ECU cover by placing it on the edge of a table and push down the bent part.
This ECU cover is now flattened.
Many ECUs are originally sealed with silicone that once broken, cannot reseal
itself. Opening thesame ECU the second time will be effortless.
Below is what the ECU looks like once it’s opened:
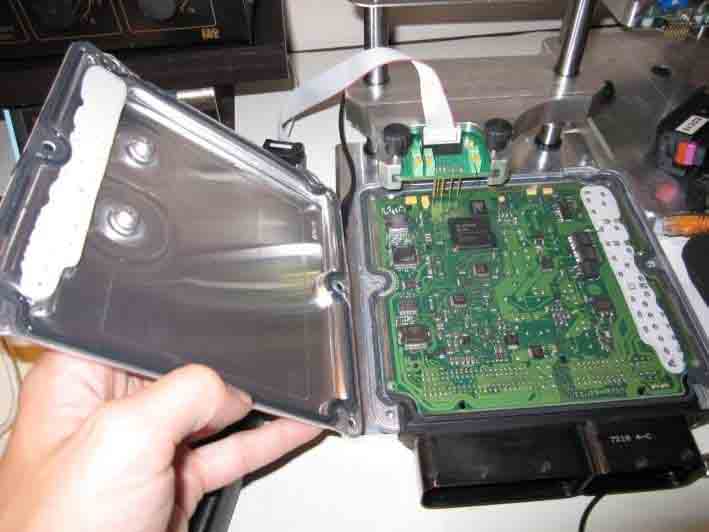
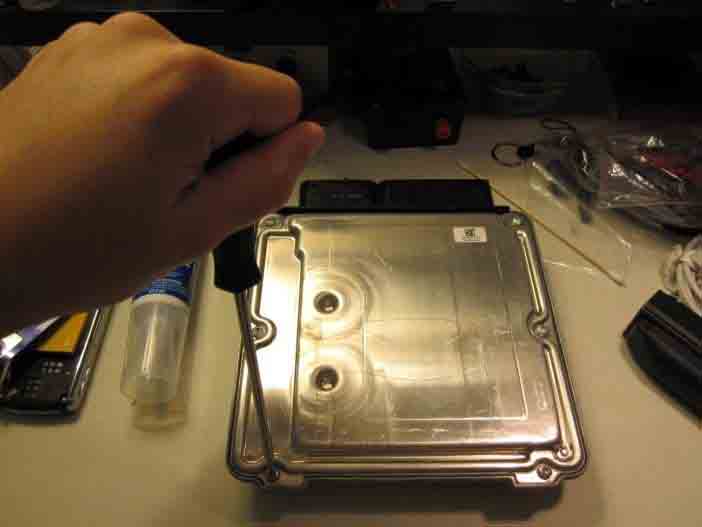
Before permanently installing the ECU in the car, apply silicone along the edges to reseal
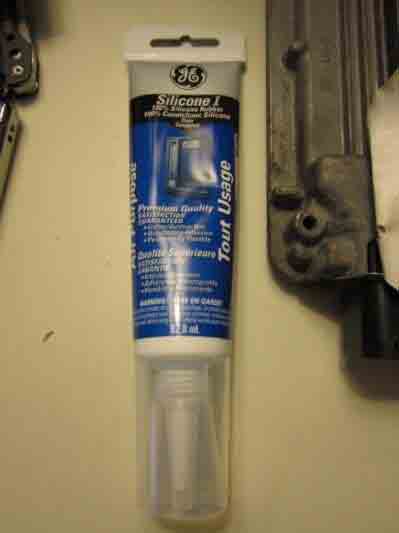
the ECU, protecting it from water damage. This is very important . We have seen permanently damaged ECUs that had not been sealed. You can buy a bottle of silicone for roughly $4 from a hardware store. This is inexpensive compared to a replacement ECU. IMPORTANT: Avoid acidic/corrosive silicone, they tend to smell like vinegar. Consider something like Permatex 85080 silicone.
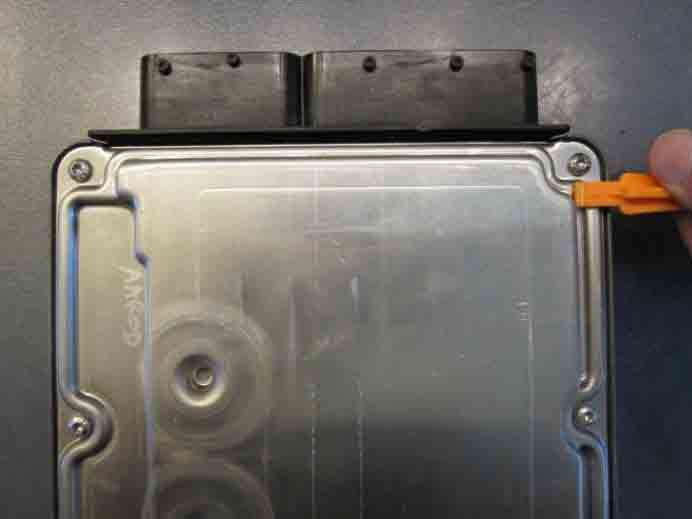
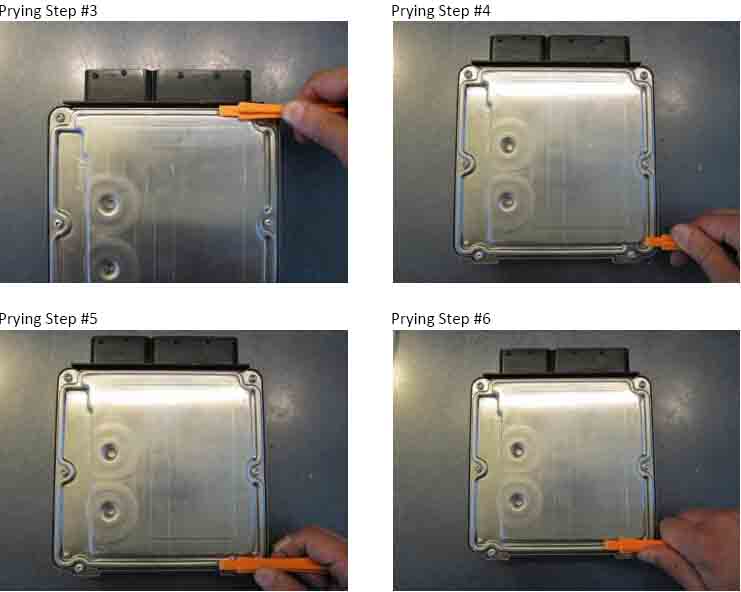
Exact Prying Steps in Clearer Pictures
We took new pictures showing exactly where we stick our screwdriver in to pry open the ECU, one step at a time. We use a thin/dull knife to help wedge in the flathead screwdriver each time.
Prying Step #1
Prying Step #2
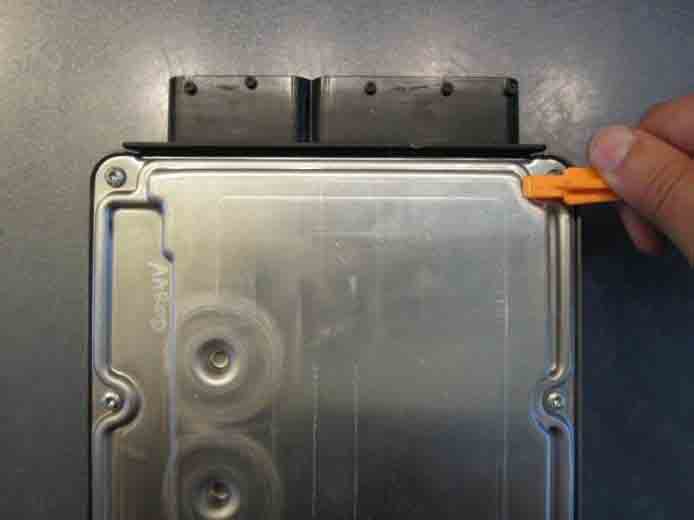
Prying Step #3, Prying Step #4, Prying Step #5 and Prying Step #6
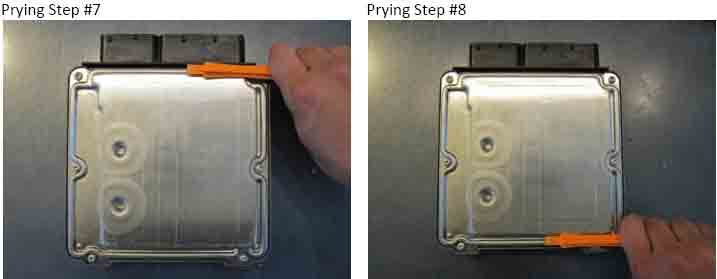
You can repeat Steps #7 and #8 until you have opened the ECU enough to pull off the cover with your hands.