This instruction show you guide on how to setup wireless LAN connection for DST-i diagnostic adapter.
Related Contents:
2022 Kubota Takeuchi Diagmaster v22.08.01 v4.1.2 Software Free Download
Kubota EPC Spare Parts Catalogue 2021.06 Download
Original Kubota DST-i Diagnostic Tool
Steps:
Setting up the DST-i wireless LAN connection on a PC.
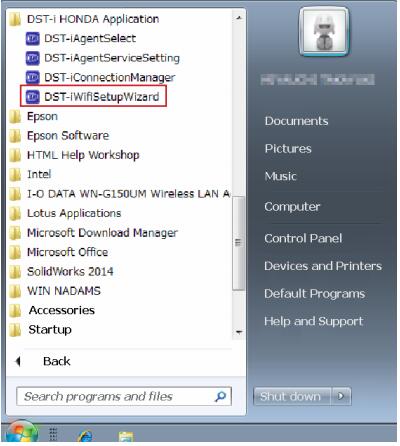
1 Launch “DST-iWifiSetupWizard” from the Startup menu.
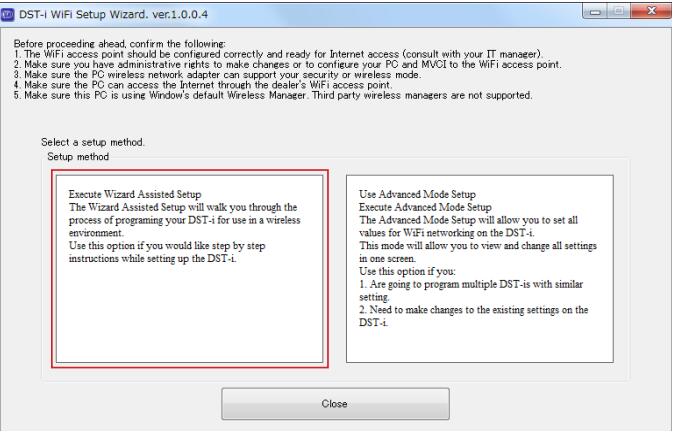
2 Once Setup Wizard has launched, select the setup procedure and click. Select “Wizard Assisted Setup” or “Advanced Mode Setup”.
The following explains what happens when selecting “Wizard Assisted Setup”.
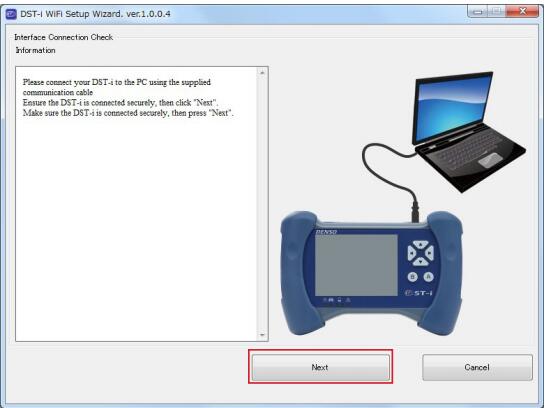
3 Connect the DST-i to the PC by the USB cable.
4 Turn the DST-i mode switch to ON.
5 After the DST-i top screen appears, click “Next”.
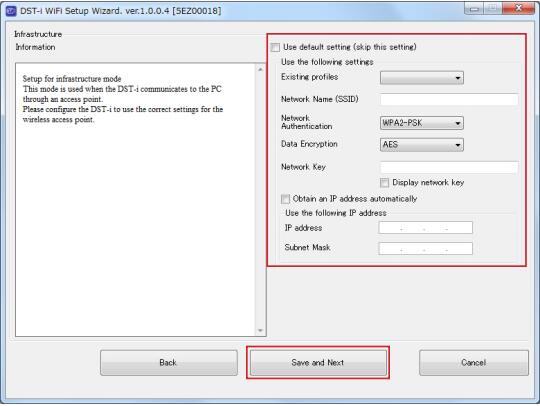
Setup for infrastructure mode
1 Select the setup items from the drop down menu. The following settings will depend on existing IT/Company parameters:
- SSID
- Network Key
- IP Address
- Subnet Mask
- After setup is complete, click “Save and Next”.
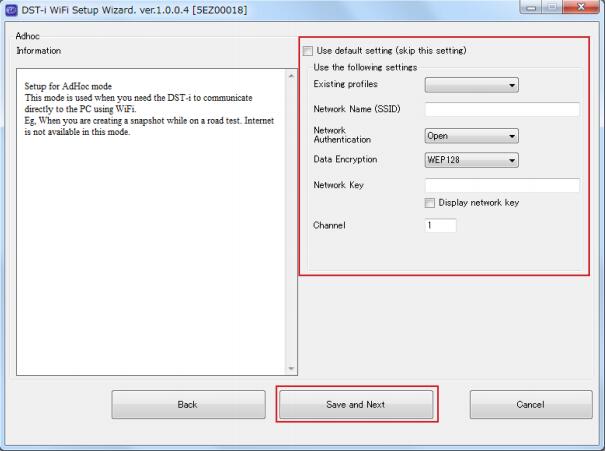
Setup in Adhoc mode
1 Select the setup items from the drop down menu. The following Setting will depend on existing IT/Company parameters
- SSID
- Network Key
- Channel
2 After setup is complete, click “Save and Next”.
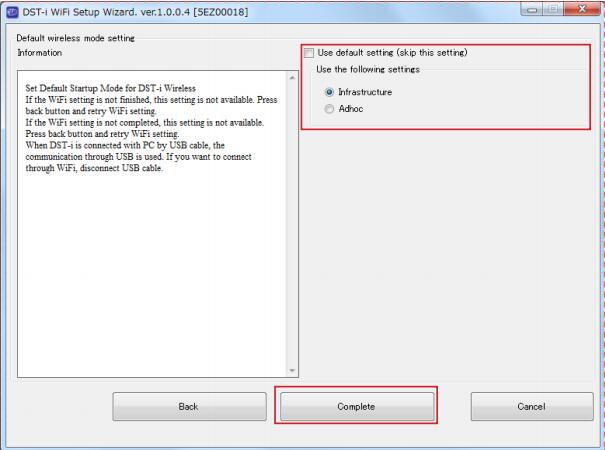
Select the default setting (Infrastructure or Adhoc) and click “Complete”.