This instruction show you guide on how to remove and install brake pressure modulator valve for Chevrolet Avio.
Related Contents:
GM EPC GMIO GMNA General Motors EPC 2021 2017 Free Download
GM GDS2 2019 v20.3.05100 Software Free Download
Procedures:
1.Disconnect the negative battery cable
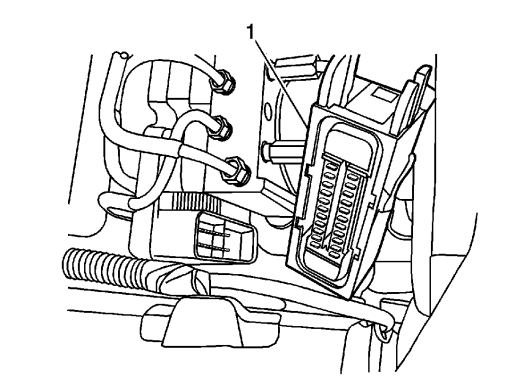
2.Disconnect the electronic brake control module (EBCM) connector (1)
Note: Take care not to allow air into the hydraulic unit or into the brake pipes from the master cylinder. If air gets into the hydraulic unit, it will require a bleeding procedure using a scan tool programmed for the ABS 5.3 system. As long as no air enters the hydraulic unit,a simple bleeding procedure is all the system will require.
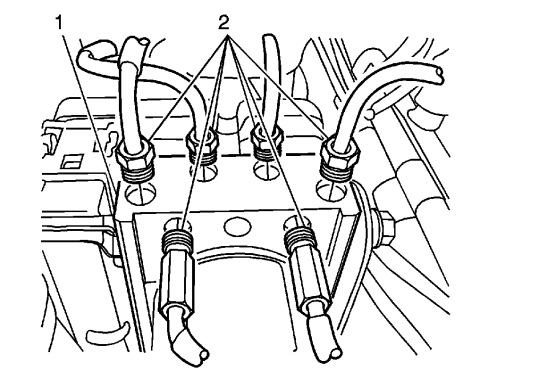
3.Remove the brake pipes from the brake pressure modulator valve (BMPV) assembly.
4.Plug the brake pipes.
5.Loosen the mounting nuts (2) on the BPMV assembly (1).
6.Position the brake pipes aside far enough to allow for lifting the BPMV assembly from the mounting bracket. It may be necessary to loosen the brake pipes on the master cylinder to
allow for moving those pipes out of the way.
7.Remove the BPMV assembly from the mounting bracket.
Installation Procedure
Caution: Refer to Fastener Caution in the Preface section.
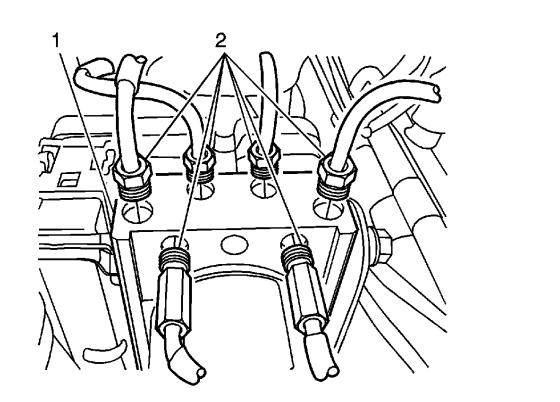
1.Install the BPMV assembly (1) into the mounting bracket. Secure with two nuts (2) and tighten to 15 N·m (11 lb ft).
2.Remove the plugs from the brake pipes and connect the brake pipes to the BPMV assembly (1) and tighten to 22 N·m (16 lb ft).
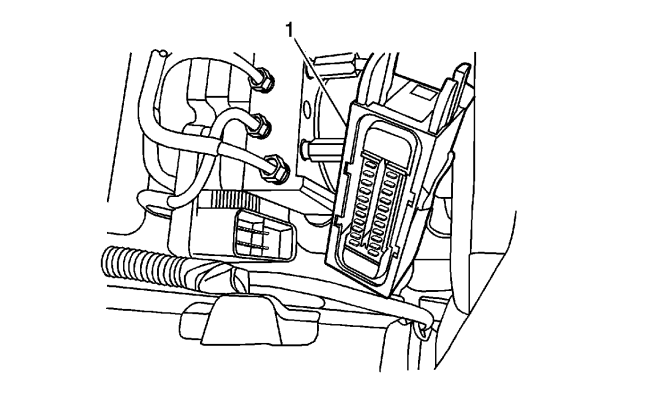
3.Connect the EBCM connector (1).
4.Connect the negative battery cable.
5.Bleed the brake system.
6.Perform the Diagnostic System Check – Vehicle.
7.Programming and setup.