This instruction original from Multiecuscan official case,it show you Multiscanecu connect to the engine control module of Fiat Stilo 1.9 JTD,then check for errors and check some live data.
Preparations:
Multiecuscan V4.5 V4.2 V4.0 V3.8 Free Download
How to Install Crack Multiecuscan Software (Registered)
Procedures:
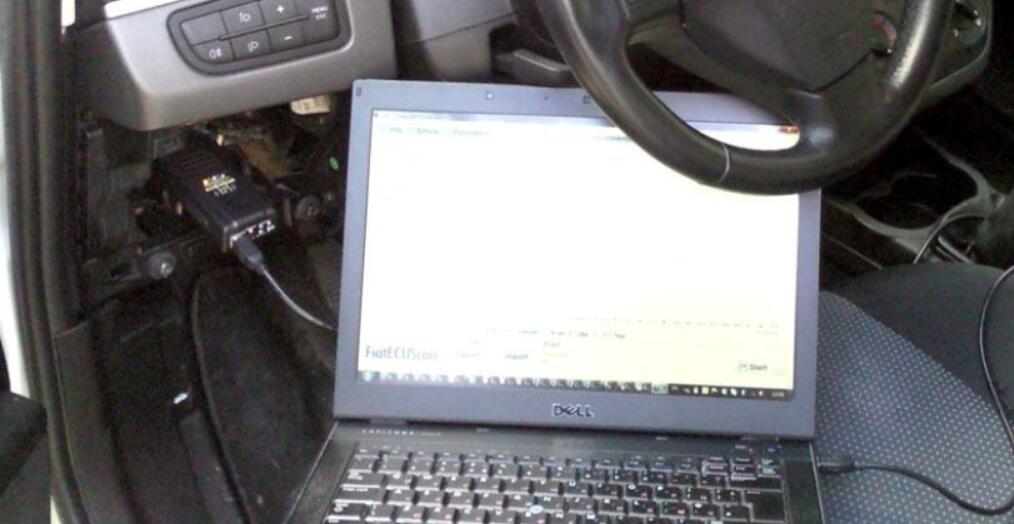
Step 1: Connect the interface to the computer and to the OBD port of the vehicle.
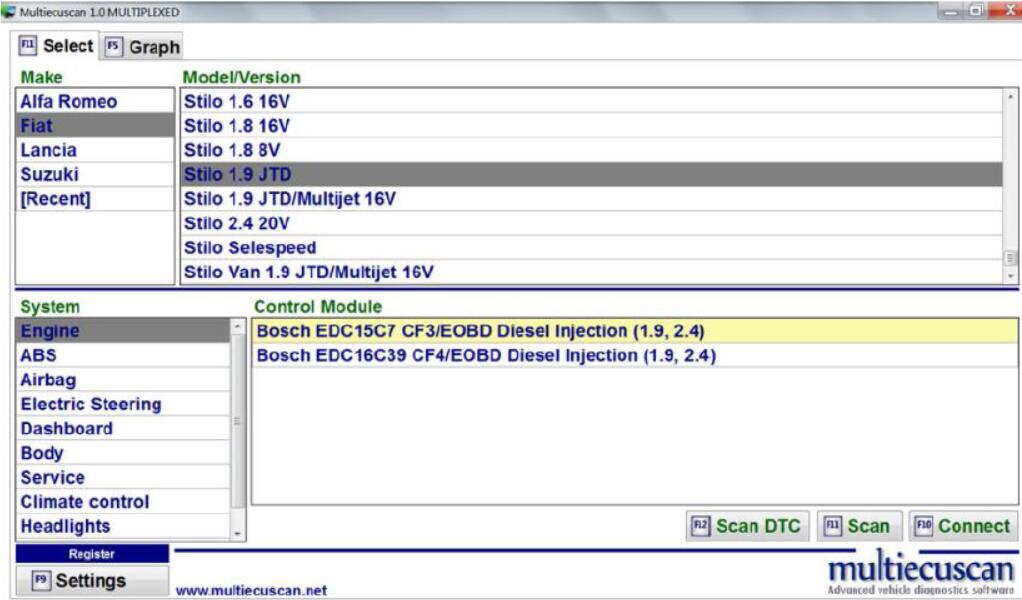
Step 2: Select make, model, version and control module.
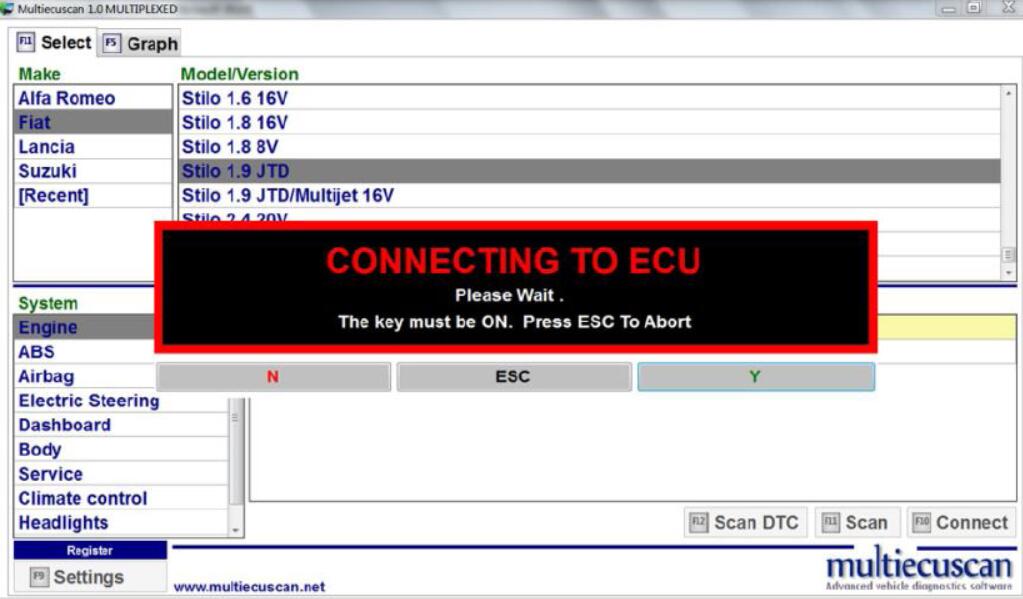
Step 3: Click button “Connect” (or press F10 on your keyboard). Multiecuscan will start connecting to your car.
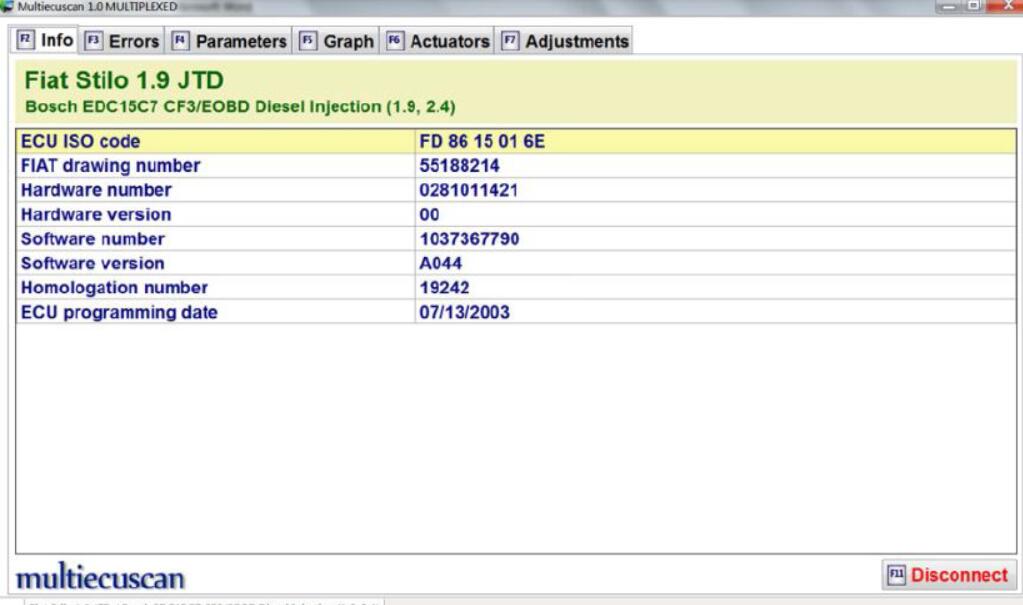
Step 4: After successful connection Multiecuscan will show the Info screen
Step 5: Now we can go to the Errors screen and check for stored fault codes.
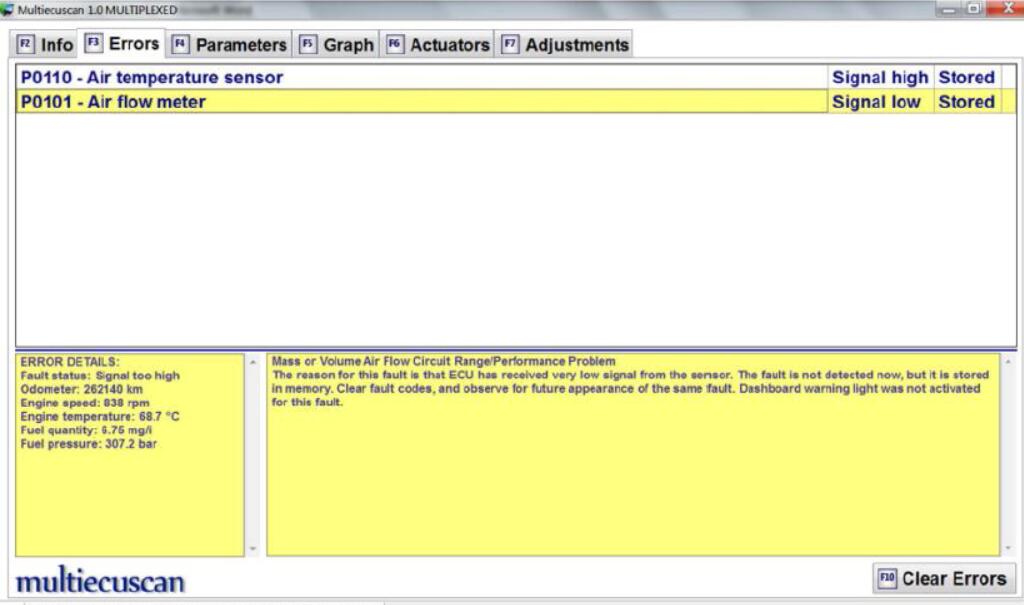
As you can see this control module reports 2 errors. Actually, I intentionally created these 2 errors by unplugging the MAF connector while the engine was working.
In the lower left window you can see details about the conditions when the error code was detected.Anyway, since we know that we have fixed the reason for the errors (I plugged the connector back), we can clear the errors.
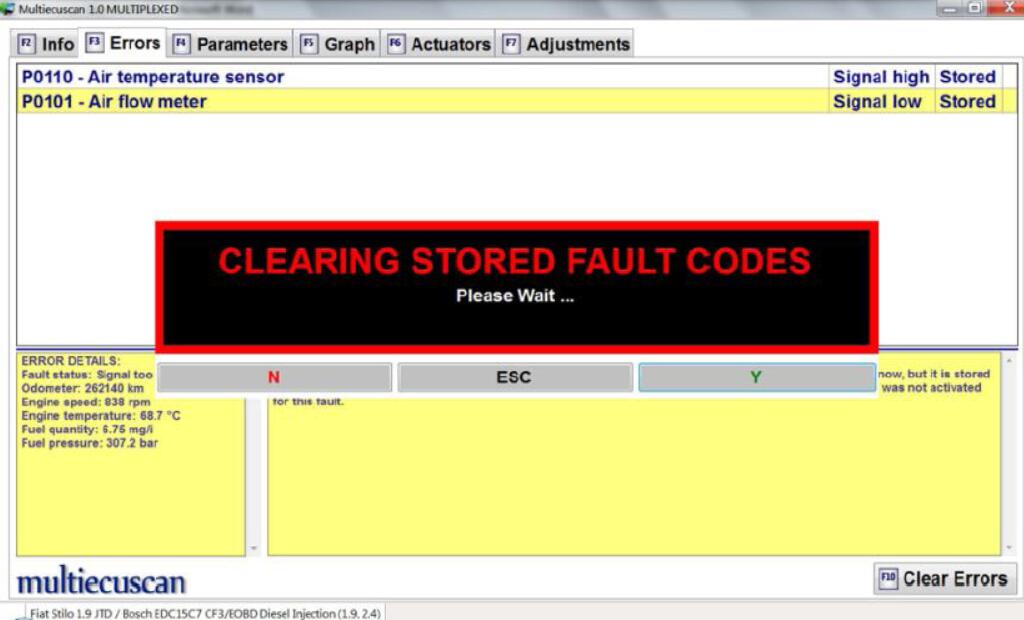
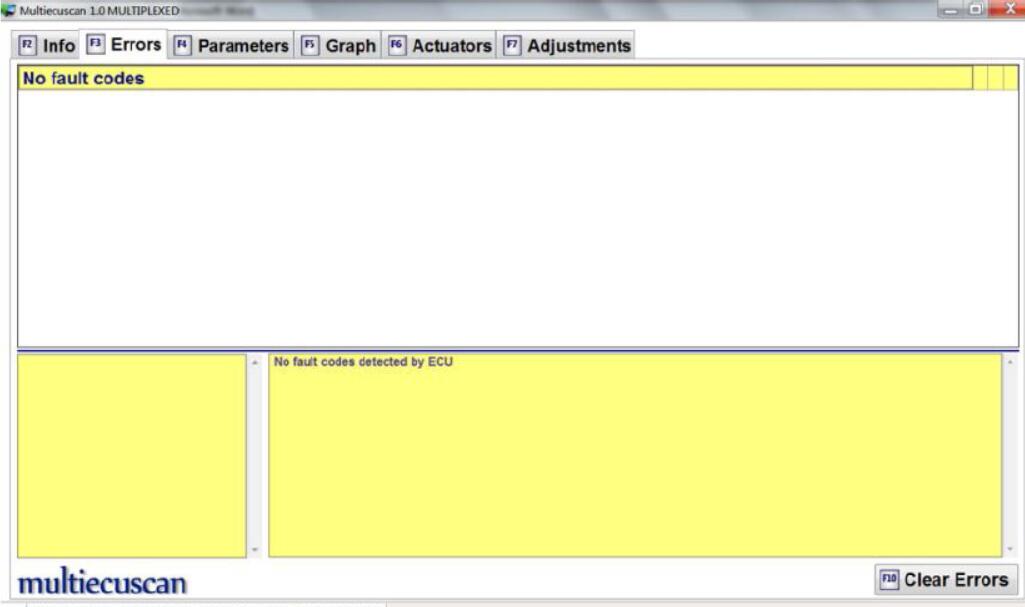
Simply click the “Clear Errors” button (or press F10 on your keyboard) and Multiecuscan will clear those errors.
Step 6: Now we can go to the Parameters screen and check some live data.
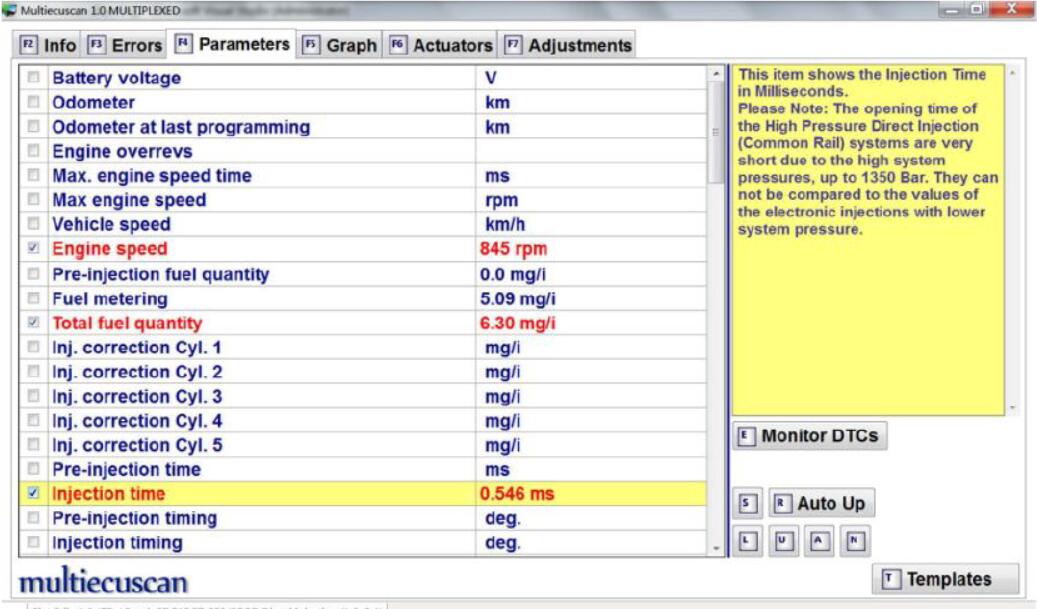
Here we selected 3 parameters – Engine speed, Total fuel quantity and Injection time.
Multiecuscan marks the selected parameters in red and begins to show live data for these 3 parameters.
Step 7: Now we can go to the Graph screen and make a CSV recording of the live data.
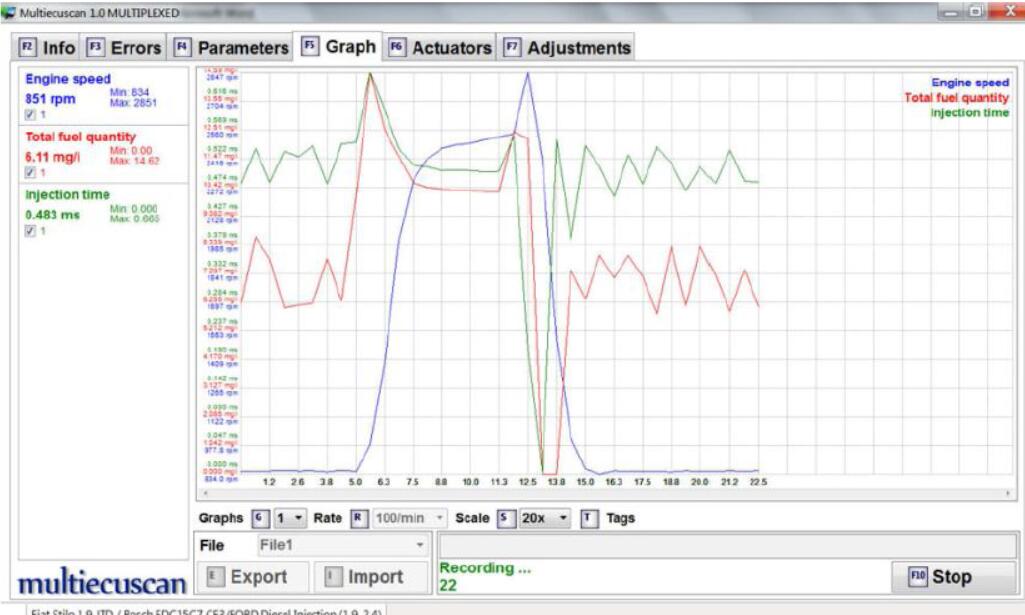
On this screen we see the parameters which we already selected on the Parameters screen.
The left part of the screen shows live data for our parameters. It also monitors min/max values during the data recording.
You can click the Start/Stop button to create a recording.
Step 8: Now we can go to the Actuators screen and make some tests.
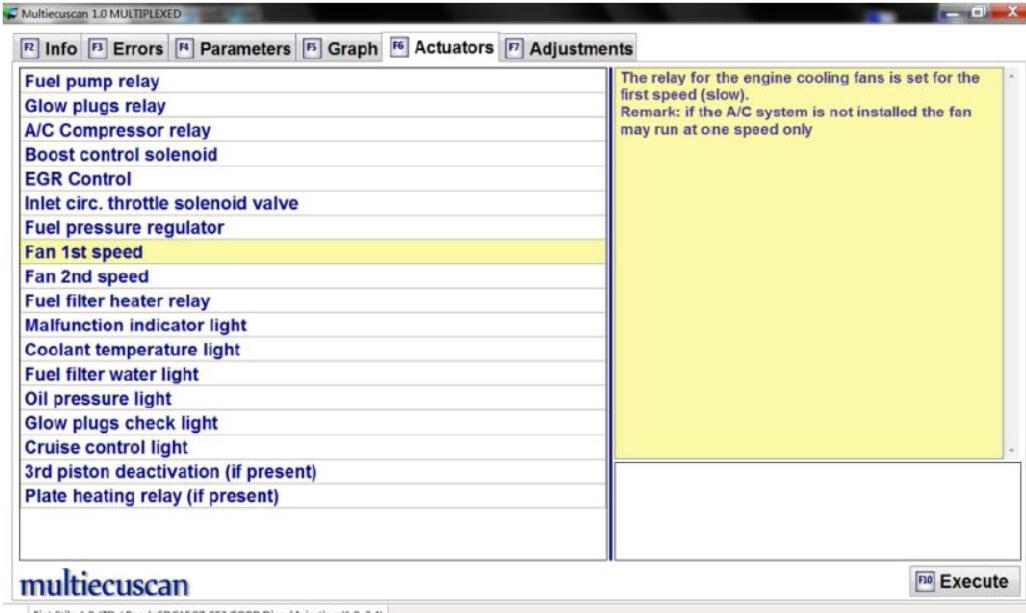
We see all tests which are available for this control module. We will select “Fan 1st speed” and execute it.
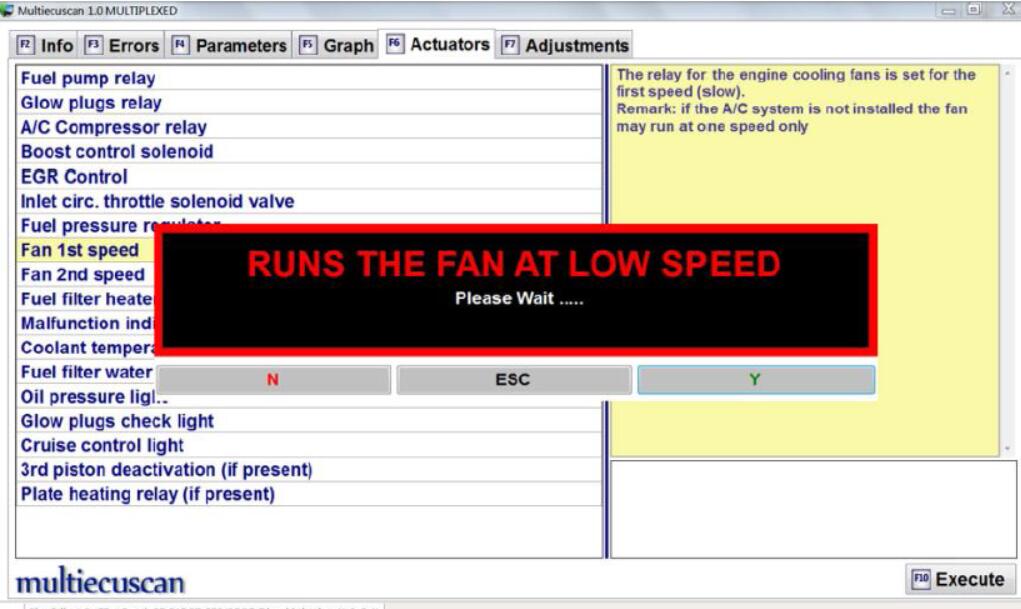
We press F10 and Multiecuscan will start executing this test. The engine cooling fan starts to work at low speed for a few seconds.
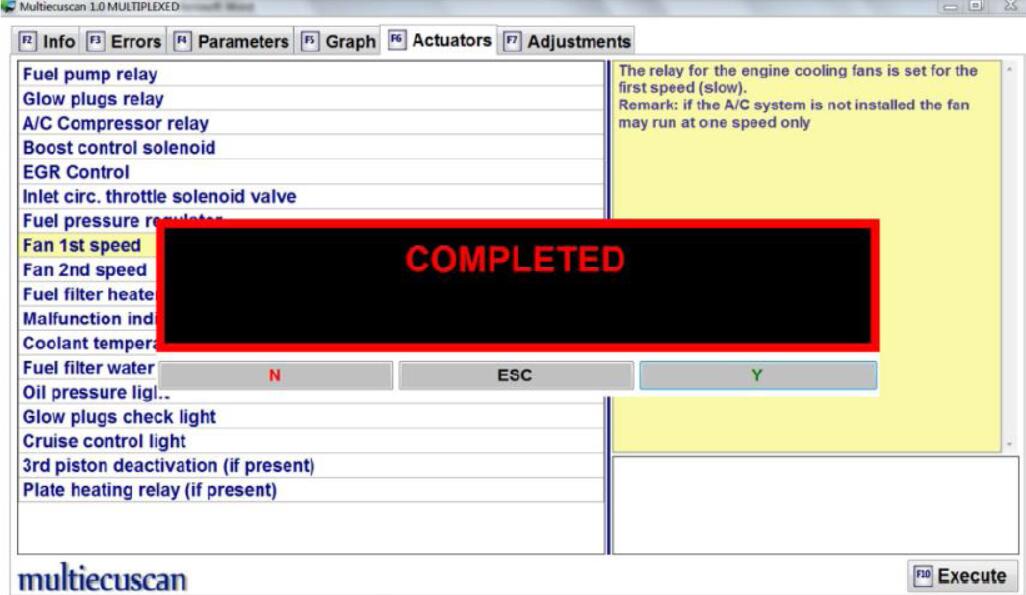
When the test has finished Multiecuscan will show message “Completed”.
Step 9: Disconnect from engine control module. You can disconnect from the control module and return to Multiecuscan at any time by pressing F11.