This is an instruction show you steps on how to set up/configure wireless WIFI connection for Benz Xentry SDconnect.
Related Content:
2024.03 Benz Xentry.OpenShell.XDOS Diagnostic Software Free Download
How to Install Benz Xentry 2024.03 Diagnostic Software
Procedures:
In order to establish the Wi-Fi connection you may also need to actively establish the connection
between the SDconnect and the system. In general, this only has to be carried out once.
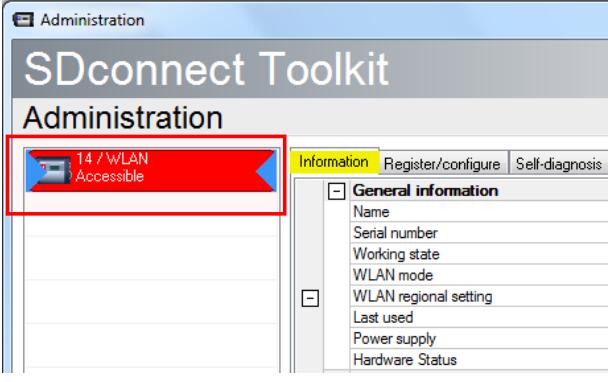
Open the SDconnect Administration Toolkit. Select the number of the SDconnect with the “Wi-Fi” and “Accessible” status; the specific data is shown on the right side. You can close the tool, since the SDconnect is now recognized by the system.
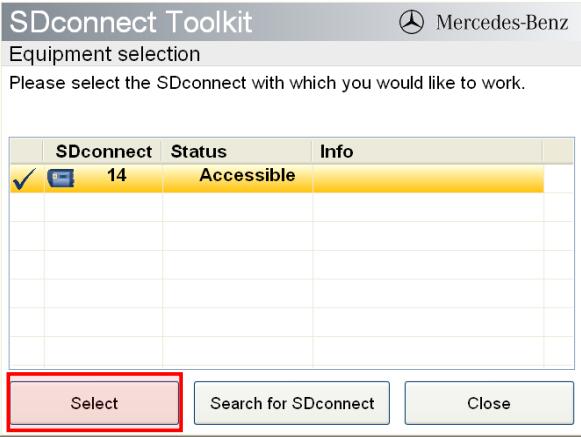
In order to confirm that the SDconnect is actively selected, go to Start > All Programs > Mercedes-Benz > SDconnect Selection or click the number icon in the Windows tray.
Select the entry with the SDconnect that is to be accessed and click “Select” at the bottom of the
window. Make sure that it has a check mark and the status “Accessible”.
The icons in the Windows tray show a successfully established connection. The number of the required SDconnect is displayed along with a padlock icon and an icon for the connection type (cable or wireless) :

If these icons are not displayed in the Windows tray after having installed the USB2LAN adapter and having connected the SDconnect for the first time, please restart your system.
Please note: While the SDconnect and system are communicating with one another via Wi-Fi, you can simultaneously charge the SDconnect. The Wi-Fi mode is not affected by this.