This article show the guide on how to use iProg Pro,it is a iProg Pro beginner user guide,for a freshman you can check the basic configuration and parameters settings.
Note:This post is translate from Russian,so Some statements may not be fluent, please understand.
iProg Pro Related Content:
iProg Pro iProg+ Clone English Version Free Download
iProg Plus Pro Correct Odometer for Toyota Rav4 2010
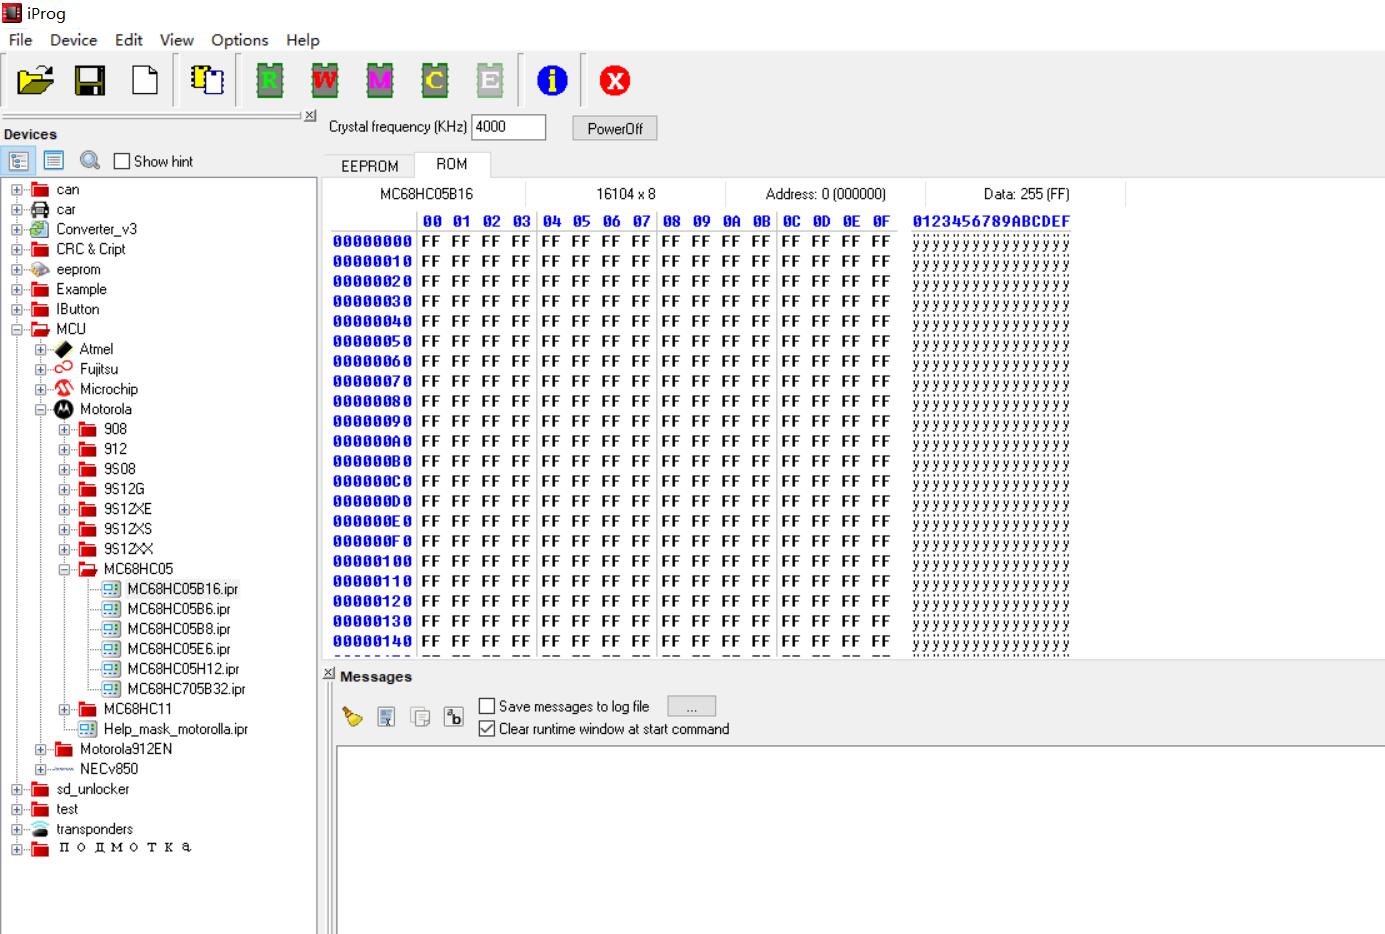
iProg Pro Programmer Interface
iProg Pro User Guide Manual:
Programming algorithms are fully described by text scripts, which allows you to quickly configure the programmer with new types of chips.
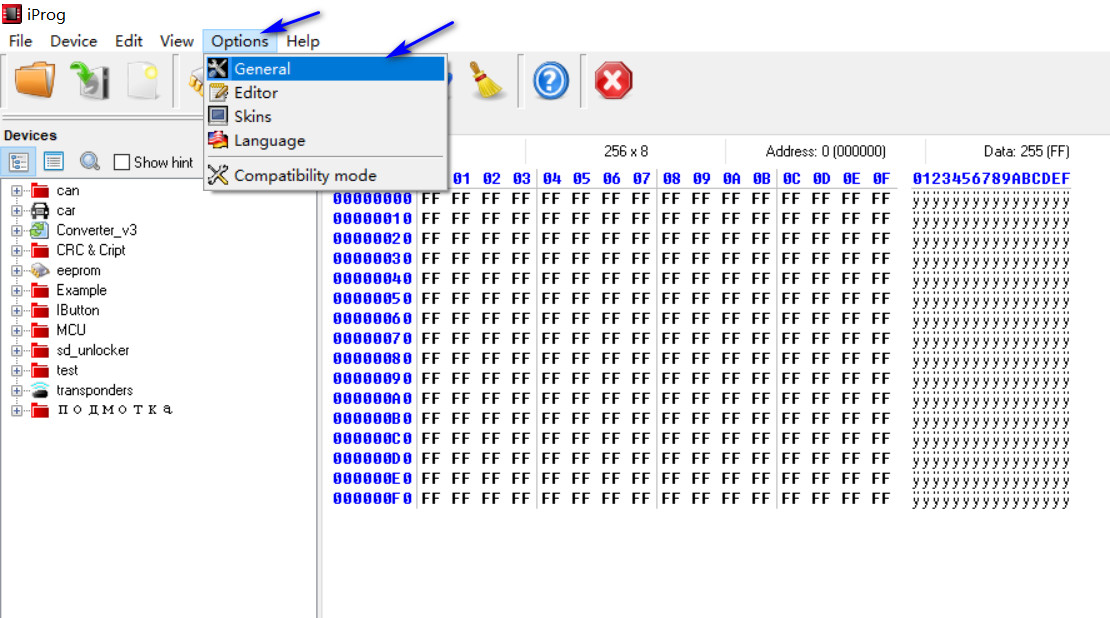
iProg Pro Software Settings:
You can select “Option”–>”General” to access iProg Settings window
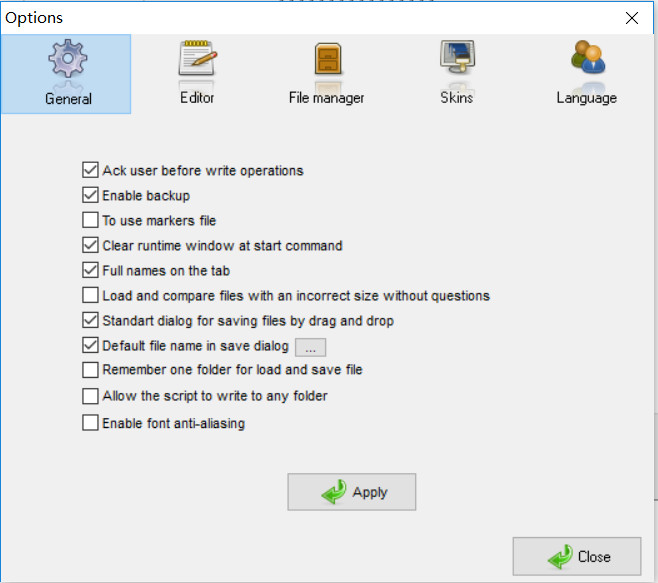
Ack user before write operations:
Enables / disables the user confirmation request before recording the chip. Confirmation is not always requested, depending on how the author implemented this function in the script.
Enable Backup:
Enables / disables saving the current contents of the file before executing (or after executing) the write / read. In fact, it sends the wish to the script, the author of the script can take this into account or not.
To use markers file:
If the switch is active, then when you save the contents of the editor to a file, a second file will automatically be created that stores information about the location of the colored markers in the editor. The next time you open the data file, the program automatically checks for the presence of the token file and, if it exists, loads it.
Clear runtime window at start command:
If the switch is active, the program message window will be automatically cleared when you start any script function.
Full names on the tab:
When the switch is activated, the full path names will be displayed on the labels of the tabs of the editor.
Load and compare files with an incorrect size without questions:
If the switch is inactive, then when you try to open (compare) a file whose size does not match the size of the active tab, a confirmation window will be displayed.
Standart dialog for saving files by drag and drop:
If the switch is active, then when saving a file, dragging from the editor to the explorer or script tree to enter the file name displays the standard Windows dialog, otherwise the simplified dialog is displayed.
Default file name in save dialog:
If the switch is active, then an automatically generated file name will be inserted into the save dialog. The name is generated from the name of the current script, time and date. To change the combination of name, time, date, you need to press the button with ellipsis to the right of this switch. A window will appear in which you can choose your own combination of words in the default file name.
Editor:
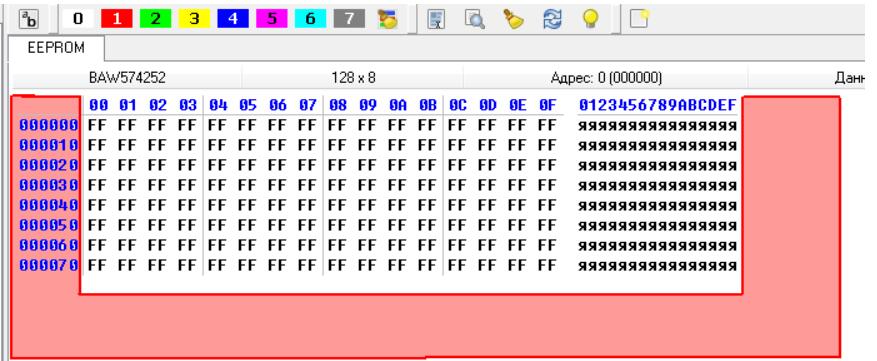
The program editor allows you to display and edit the contents of files in hexadecimal. Simultaneous display of several tabs with different files is possible. One or two tabs will be fixed (depending on how it is done in the current script), you cannot close them manually. The remaining tabs can be opened / closed arbitrarily. To open a new tab, select File – New in the main menu or click the button on the toolbar or a similar button on the editor panel. To close an unnecessary tab, click on the cross on the tab label.
When you open a new file, the size of the fixed tab will not change, for other tabs it will be equal to the size of the downloaded file.
Editing the contents of a file is done in the same way as a regular text file — by pressing the number keys and keys with hexadecimal characters. Navigation is carried out using the mouse or the arrow keys on the keyboard.
The Page Up and Page Down keys move one page through the file.
End key sets the cursor to the end of the file.
Home key sets the cursor to the beginning of the file.
Ins key marks the current address byte
Editor toolbar
The panel is designed to quickly perform frequently used functions of the editor.
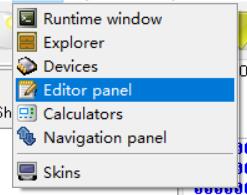
You can enable / disable the display of the panel through the main menu of the program: View – Editor Panel
The purpose of the buttons on the panel:
 Displays editor settings window
![]() buttons for setting color labels in the file. When you click on the byte button under the cursor or the selected area in the editor will be marked with the specified color. In addition, the label can be set by pressing the Ctrl key + number, which is written on the button. Colored notes can be saved with the data file if the option “Save marker file” is enabled in the program settings. In this case, along with the data file, a label file is saved, named as the data file, to which the * .mrk extension is added.
buttons for setting color labels in the file. When you click on the byte button under the cursor or the selected area in the editor will be marked with the specified color. In addition, the label can be set by pressing the Ctrl key + number, which is written on the button. Colored notes can be saved with the data file if the option “Save marker file” is enabled in the program settings. In this case, along with the data file, a label file is saved, named as the data file, to which the * .mrk extension is added.
![]() erases all markers in the file.
erases all markers in the file.
The rest of the buttons on the panel basically duplicate the editor’s drop-down menu.
![]() “Select All” function.
“Select All” function.
![]() “Find” function.
“Find” function.
![]() “Clear” function. All bytes in the editor are 0xFF Hex (255 Dec).
“Clear” function. All bytes in the editor are 0xFF Hex (255 Dec).
![]() rearrange bytes. Even and odd bytes in the editor are swapped.
rearrange bytes. Even and odd bytes in the editor are swapped.
![]() removes highlighting of selected bytes.
removes highlighting of selected bytes.
![]() create a new tab in the editor.
create a new tab in the editor.
![]() position the panel above / below the editor.
position the panel above / below the editor.
![]() closes the editor panel.
closes the editor panel.
Editor Navigation Bar
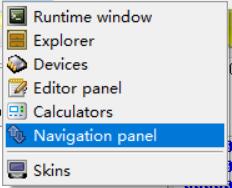
You can enable the display of the panel through the main menu: View – Navigation Panel
The navigation bar is displayed below the editor.

The navigation pane of the editor allows you to quickly navigate through the highlighted areas in the editor. It is used to facilitate finding such areas, if the file in the editor is large.
![]() Moves to the very first highlighted data block in the file.
Moves to the very first highlighted data block in the file.
![]() Moves to the previous selected block
Moves to the previous selected block
![]() Moves to the next selected block.
Moves to the next selected block.
![]() Moves to the most recently selected block in the file.
Moves to the most recently selected block in the file.
![]() Closes the navigation bar
Closes the navigation bar
If there are no highlighted areas in the editor, then nothing happens when you press the buttons.
Editor pop-up menu
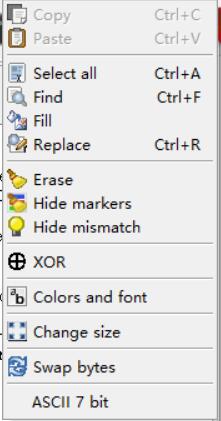
Copy – copy the selected area of the file to the clipboard.
Paste – paste from the clipboard to the file.
Select All – select all the contents of the file.
Find, Fill, ReplaceXOR – opens the control panel of the file contents. The panel can be docked to the edge of the program window and it will be displayed constantly.
Find – allows you to find a sequence of bytes / characters or strings (sequences of bytes with a value greater than or equal to 0x20).
The values found are listed. When you select a line in the list with the mouse, the found area will be highlighted in the editor window.
Fill – allows you to fill the entire file or selected area with a value or a sequence of values. The specified sample will be repeated cyclically until the entire specified area is filled.
The “Do not swap bytes in 16-bit mode” switch disables even and odd bytes permutation when inserted, if the editor is running in 16-bit mode.
Replace – allows you to replace the sequence of bytes in the editor with another value.
In the top editor, you must enter a value to search in hex (Hex) form (or select the previous options from the drop-down list). Pressing the “Find” button finds the first value from the beginning of the file, the “Find next” button – the next to the end of the file. The found value is highlighted in the editor. The replacement value must be entered into the lower editor (or selected from the drop-down list). When you click on the “Replace” button, the currently selected value in the editor is replaced with a new one.
Clear – fills the entire file with 0xFF (255 DEC).
Remove markers – removes colored background notes from a file
Remove matches-removes color highlighting bytes, which could appear as a result of comparison, editing, etc.
Font and colors – brings up the editor’s setup menu
Resize – allows you to set an arbitrary file size if the file is not a fixed size (not attached to the script).
Swap bytes – swaps even and odd bytes in the file.
ASCII 7bit – Toggles the display of the symbol area of the editor. When the switch is on, only symbols with codes 32 … 127 are displayed (a dot is displayed instead of the others), when turned off – with codes 32 … 255
Drag and Drop
The contents of the file can be saved by dragging and dropping the contents of the file into the explorer or a list of scripts. You need to start dragging from the free area of the editor window (shown in red).
After “dropping” on the explorer or a list of scripts, either the standard dialog or a small window for entering the file name is displayed (you can select the option in the program settings). The file will be saved to the folder pointed to by the mouse when the file is dropped.
Editor settings
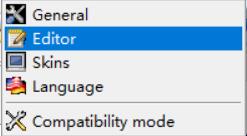
Editor settings window is invoked through the main menu Options – editor
or by clicking button on the editor panel.
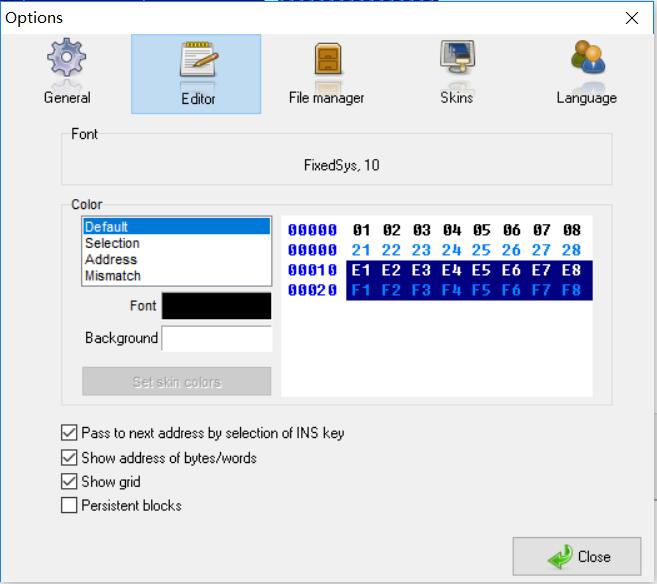
To select the font type, click on the caption with the name of the current font (the mouse cursor takes the shape of a hand).
Below you can choose the colors for the text in the editor. The button “Use theme colors” will be active if any program theme is currently selected. When you click on this button, the colors in the editor are set according to the chosen theme.
Scripts
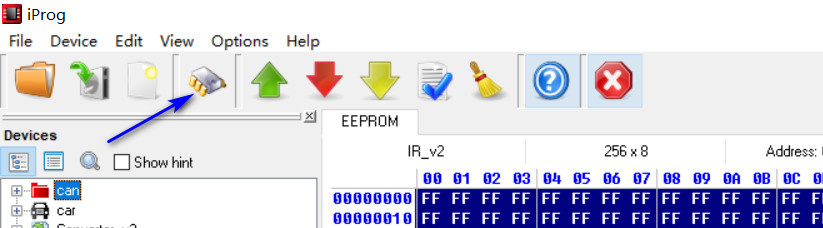
Scripts are text files that describe the operation algorithm for a specific type of chip. All scripts are located in the Scripts folder in the program folder. To select a new script, you must enable the display of the script tree (if it is disabled). This can be done through the main menu View – List of devices
or by clicking the button with the image of the chip on the toolbar.
The program screen displays a script tree. This tree follows the folder structure in the Scripts directory of the program.
By dragging this window with the mouse for the title, you can dock it to the left or right edge of the program window. After that, the list of scripts will be displayed continuously. His position is remembered when closing the program.
By pressing the buttons at the top of the window, you can select the display mode – tree, list or script search mode. If the script search mode is selected, then entering more than 2 characters displays a list of all scripts whose names contain these characters. The list is updated when you enter or delete the next character.
The list displays:
Script files * .blr, * .ipr
Binary * .bin files
Log files * .log or * .html (used as history files)
Chip selection (script loading) is performed by double-clicking on the script name or by pressing the <Enter> key on the keyboard. If a binary file is selected, it will be loaded into the program editor. If a
If the “Show tooltips” checkbox is selected, then when you move the mouse over the list, a tooltip will be displayed to the script that is currently being pointed by the mouse cursor.
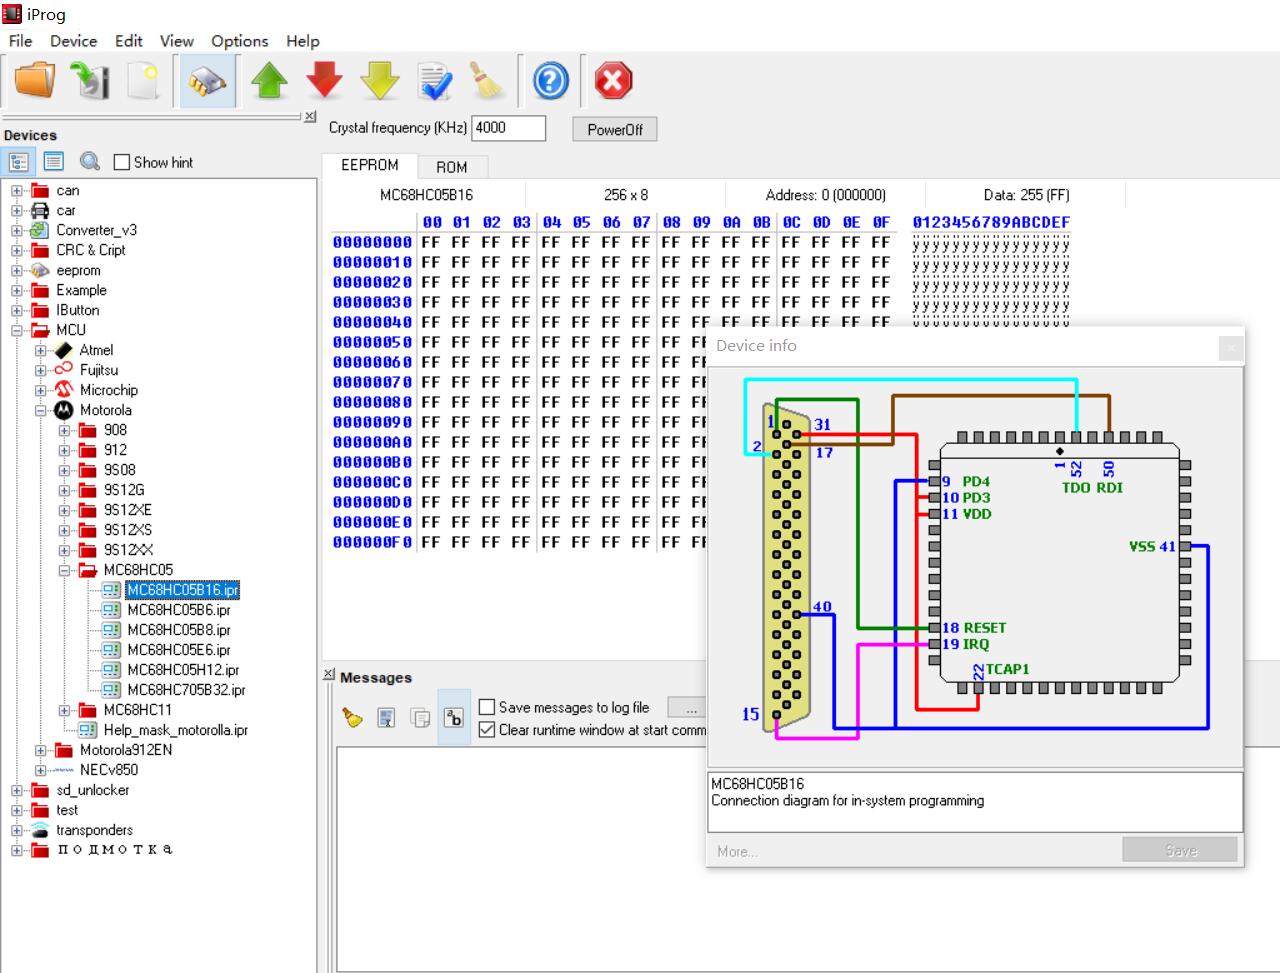
The hint may contain some image and / or text explanation.
To change / create such a hint, click on the name of the desired script or folder with the right mouse button. If a folder is selected, the folder property edit box will displayed.
In this window, you can select the icon that will be displayed next to the folder name in the list and the text that will be displayed on the tooltip.
To edit the script hint, a window will displayed.
To select a picture, click on the current picture (or an empty place for the picture) and select the desired image. In a text editor, you can type an explanation with the text and click the “Save” button to save this explanation.
Calculators
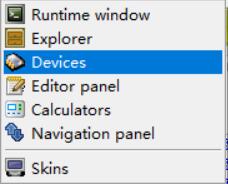
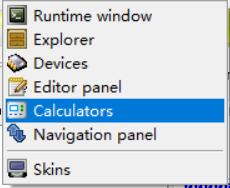
Calculators – text files, which describe the algorithm of any calculations in the program editor. To display the list of calculators, you must select in the main menu of the program View – Calculators
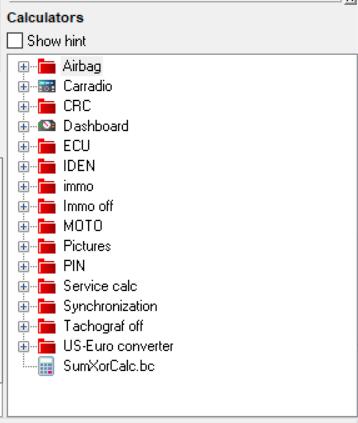
At the same time, the calculator tree is displayed on the screen. The structure of this tree repeats the folder structure of the program Calculators directory. This window can be docked to the left or right side of the program window. After that, it will be displayed continuously, even after restarting the program.
The calculator is launched by double clicking on the name in the list or by pressing the <Enter> key on the keyboard. In the calculators window, a tooltip can be displayed (similarly as for scripts). You can edit the contents of the tooltip as you would for scripts.
Explorer
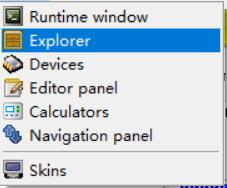
The program has a small file manager (explorer) that allows you to speed up work with files on the disk and files in the editor. The display of the explorer is enabled via the main menu of the View – Explorer program.
Explorer window can be docked to the edge of the program window, then it will be displayed constantly.
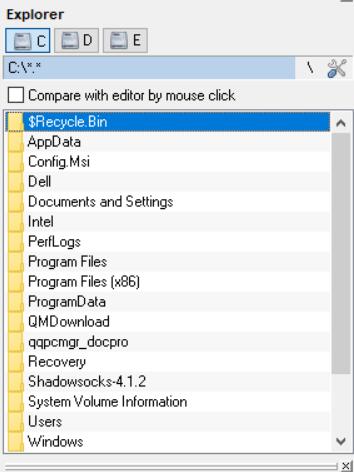
In the upper part of the explorer there are buttons for quick access to computer disks. In the settings of the conductor, you can choose the display mode of the disks – all disks or only non-removable.
The current path on the disk and the selected file types are displayed below. File types can be selected / modified in the settings of the explorer.
The “\” button provides quick access to the root folder of the current disk.
When the “Compare with editor by mouse click” switch is set, the mode of comparison of the contents of the selected file in the explorer and the contents of the editor is enabled. The comparison is made by clicking on the left mouse button and moving the mouse through the list with the left button pressed. At the same time in the editor are highlighted mismatched bytes. The result of the comparison is displayed on the drop-down tooltip.
The button ![]() opens the explorer settings window.
opens the explorer settings window.
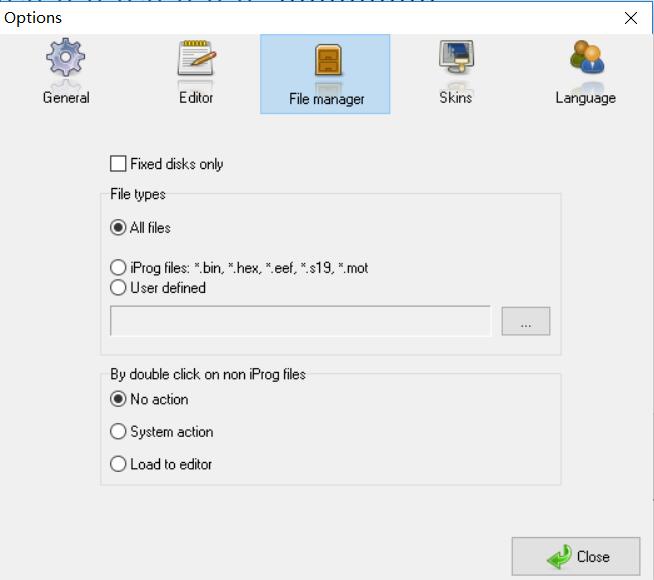
The switch “Non-removable drives only” disables the display of removable drives in the header of the explorer.
In the “File Types” section, you can select file extensions to be displayed in the explorer.
You can also specify the action performed by double-clicking on the file name in the list of Explorer, if the file type is not included in the program supported.
History file (log file)
The program allows you to save text messages when running scripts in the history file. To do this, enable the “Save messages to history file” switch at the top of the message window.
The button with monogot opens the window for setting the parameters of the history file.
For each script its own file in the folder of the script – the history file is created in the same folder from which the current script is running. The file name will be the same as the script file name, only the extension will be replaced with * .log or * .html.
Shared file for all scripts – the history is written to one common file located in the Scripts \ log folder. The file name is log.log or log.html.
You can select a text file format (the extension will be * .log) or a web page format (* .html).
If the history file does not exist when the script is run, it is created. If the file is on disk, then new messages are added to the end of the existing file.
History files will be displayed in the device list. Double-clicking on the file name in the list opens it. To delete an unnecessary history file, select it in the list and press the “Del” button on the keyboard.
Messages are written to the file after the script has completed. A copy of what was displayed in the message box is recorded.
Registration
The appearance of the program can be changed using different skins. The settings window is invoked through the main menu Options – Themes.
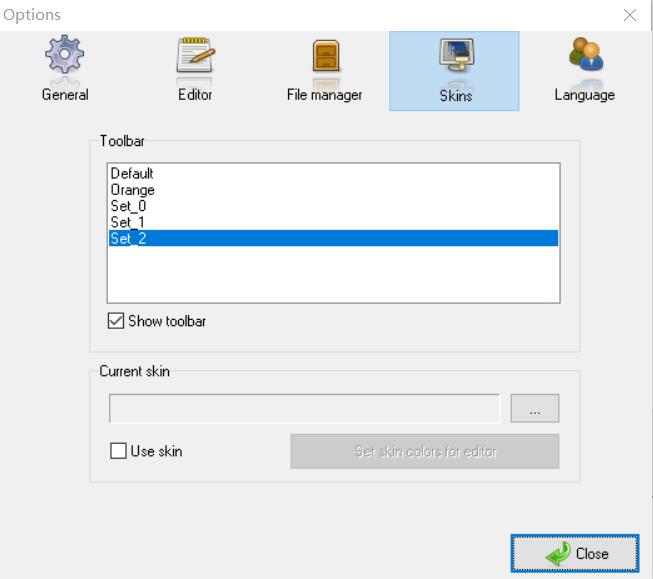
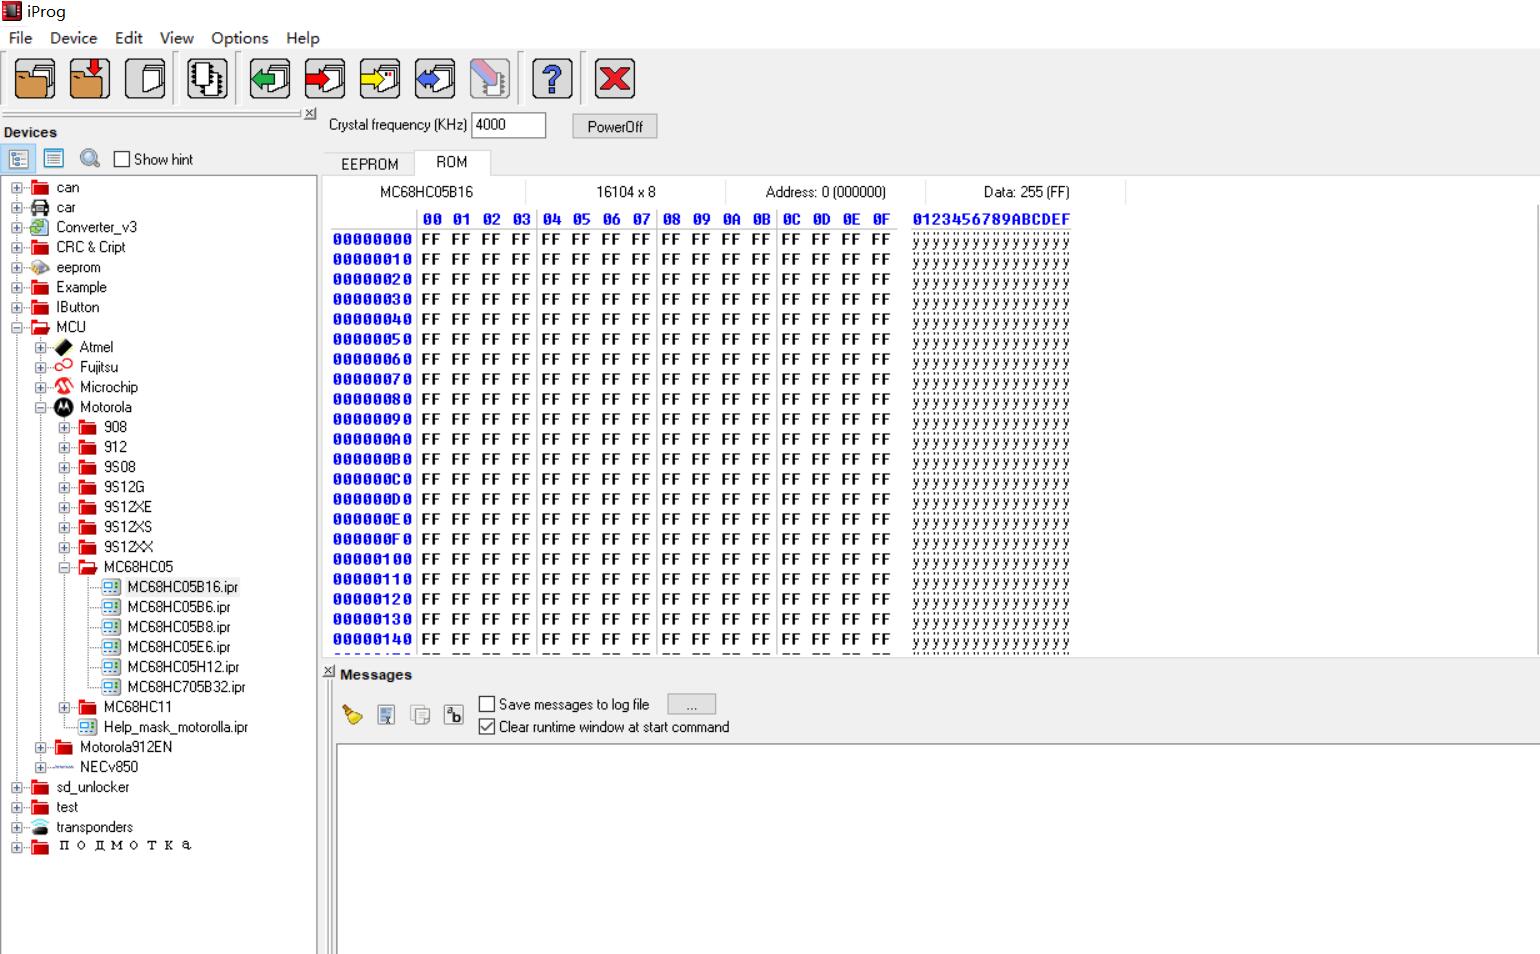
It is possible to select a different set of toolbar icons.
By default – a set of icons built into the program. The remaining sets (Set_0, Set_1, Set_2) are sets created by the user. They are located in the Icons \ Toolbar folder. Set_0, Set_1, Set_2 are the names of the folders in which the icon sets are located. Icons are PNG image files and should be 32 x 32 pixels. The location of the icon on the toolbar is determined by the file name. 0.png will be located on the leftmost button, the rest as in the picture:

The switch “Display panel” enables / disables the display of the program toolbar.
The name of the currently selected theme is displayed below. To change the topic, you must click the <…> button to the right of the topic name.
Switch “Use theme” enables / disables the design of the program.
The button “Use theme colors in the editor” will be active when the theme is on and allows you to quickly set the editor colors according to the selected theme.