This article shared by t-tony from zroadster.org forum.It show a guide on how to remove and disassemble instrument cluster for BMW Z3.Thanks for t-tony nice write up.And if you want to get more about BMW projects,check here:BMW Repair Cases
What Tools You Need?
1.T20 1/4″ drive socket and ratchet.
2.Small flat bladed screwdriver.
3.A plastic card ( American Express is good because no one accepts over here.lol.) or similar.
4.A pair of long nosed pliers.
5.A very small torx key
BMW Z3 Instrument Cluster Removal:
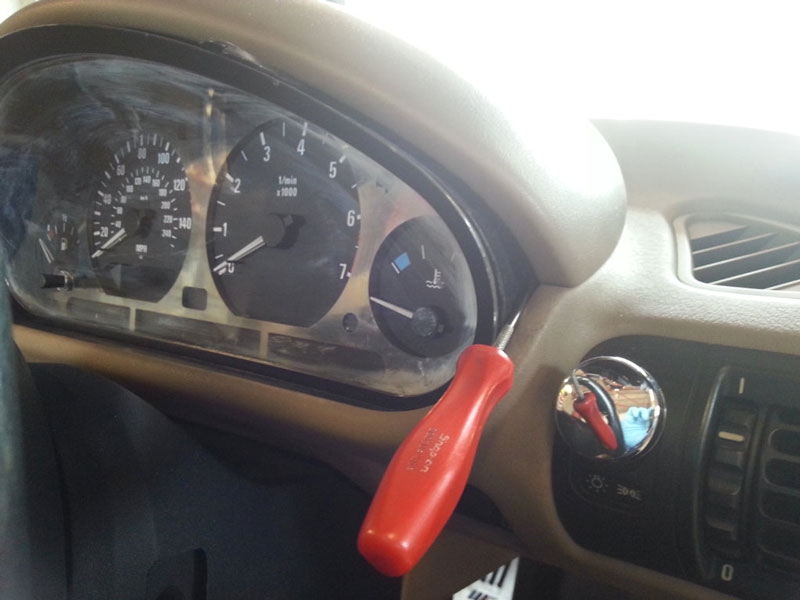
Firstly you will see 2 self tapping screws which hold the cluster to the dash board at the top of the binnacle. These are size T20 torx screws and I used a socket and ratchet to loosed them and used the socket to screw them out with my fingers.
This is where the credit card comes in, you need to slide it between the lugs which the screws fit through and the outer housing, moving across both sides to ease the cluster out of the dash, I also had a small screw driver as a lever to help.
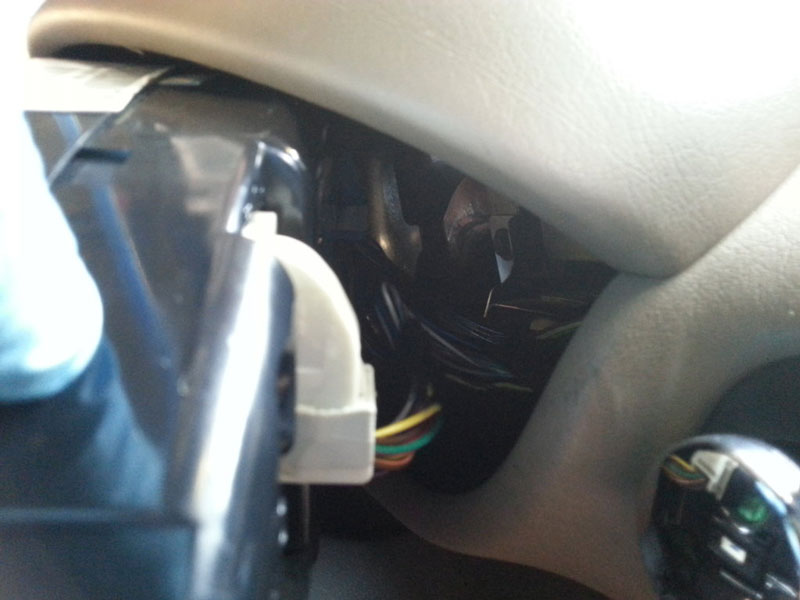
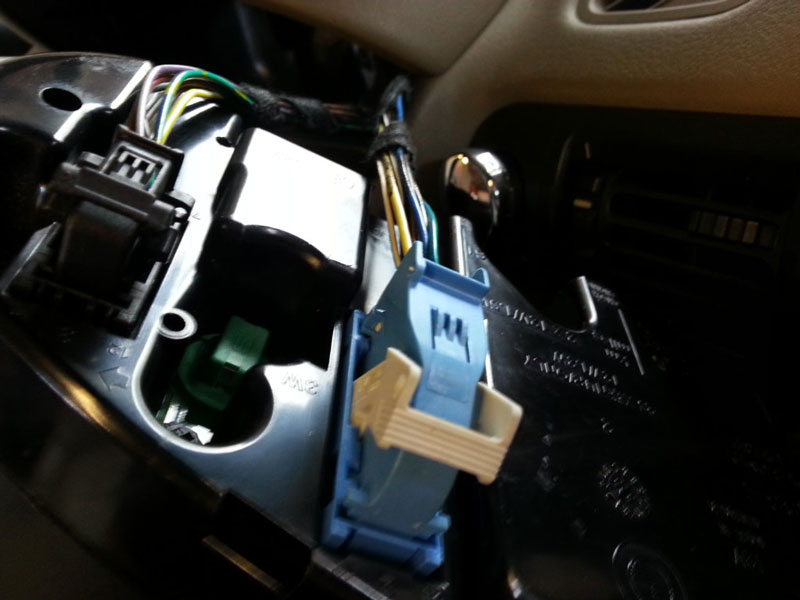
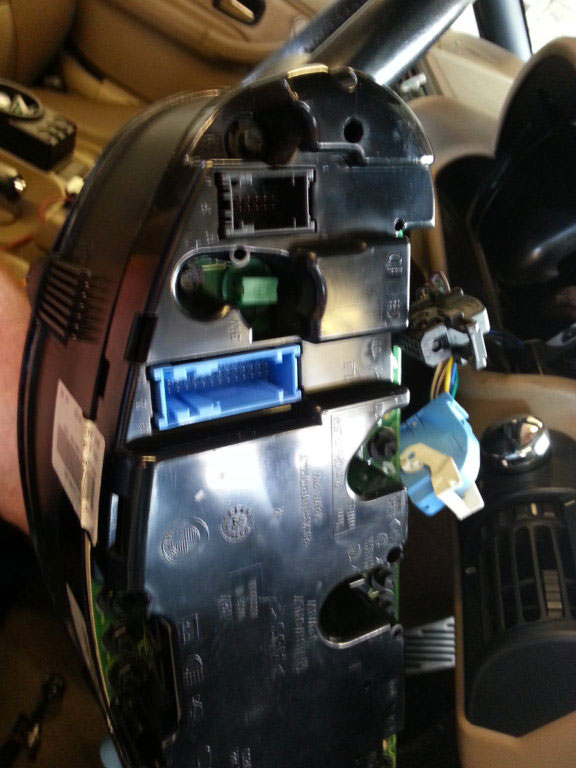
When you have the cluster free of the dash move it to the right side. At the rear of the cluster there are 3 wiring loom connectors. These are colour coded, blue, black and white and these correspond to a blue, black and white sockets on the instrument housing. The connectors are locked in by a lever which you have to release to allow the connector to be pulled out of it’s socket. Each connector is locked in the same way and you can see clearly on the blue and black connectors that there is a small “button” which you have to press down on in order to push the locking lever out of the way. Once you have disconnected the white plug you can pull the cluster much further to the right side which makes unplugging the blue and black ones much easier.

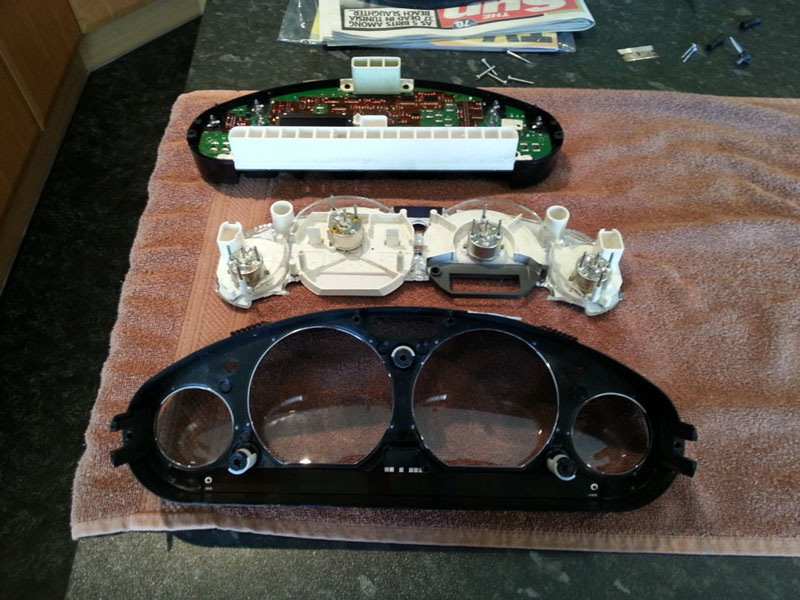
Once you have the cluster off and on the bench (kitchen table) you can remove the instrument control unit from the binnacle by removing 5 very small torx screws with the key in the tool list.
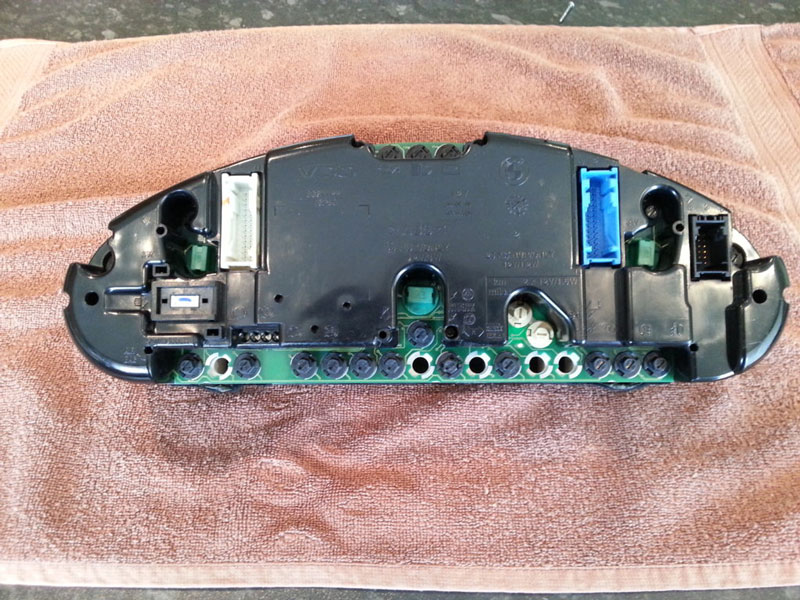
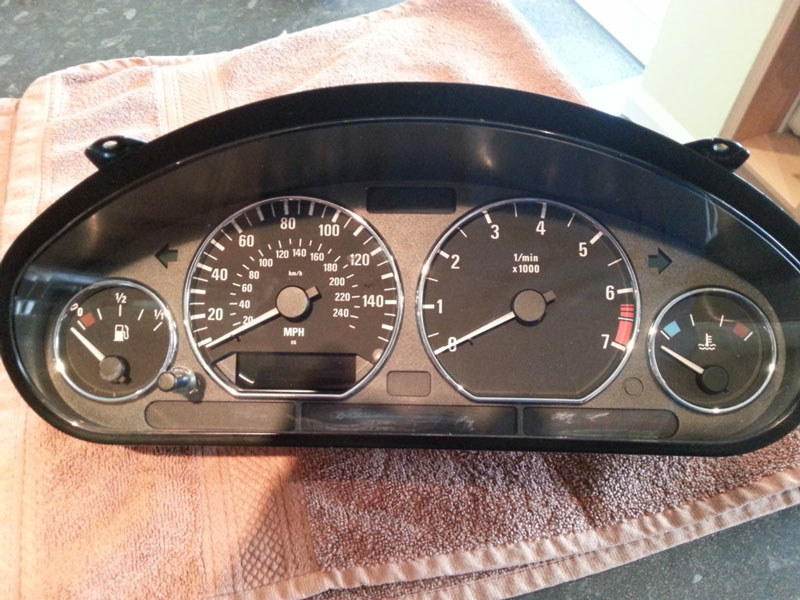
The original one from my car, black housing for the control units. The three larger green bulb holders contain the main gauge illumination bulbs so I fitted new ones of these as a matter of course. They are 3W rated 501 type bulbs.
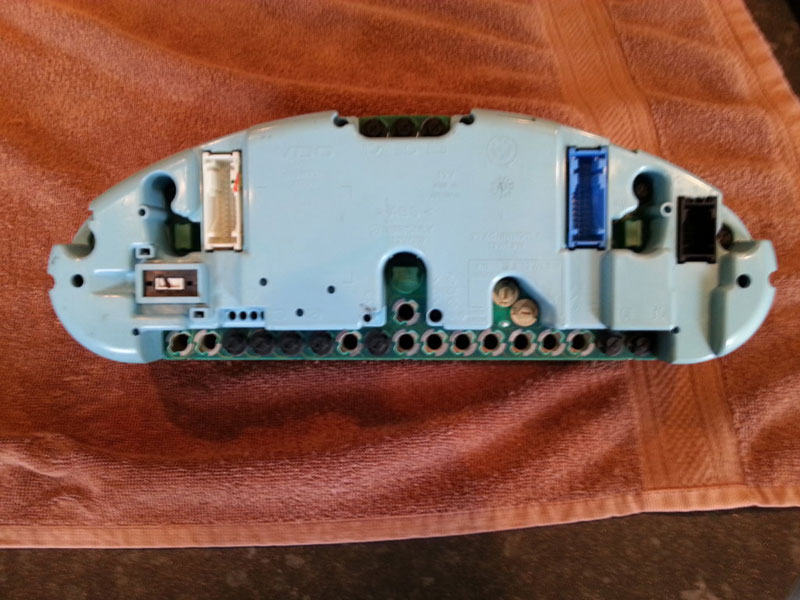
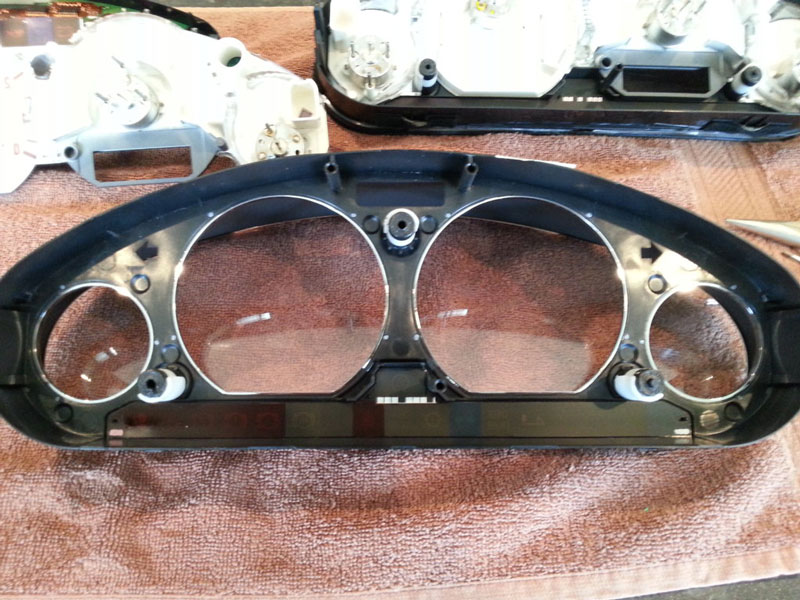
This is the one I got from online shop, and although the different coloured housing meant it would not be a simple swap over, it was the housing and front (glass) that I needed. Once you have removed the 5 screws the black or green housing will lift off leaving the front part of the gauges still attached to the main housing (the bit I needed – so you have to split these).
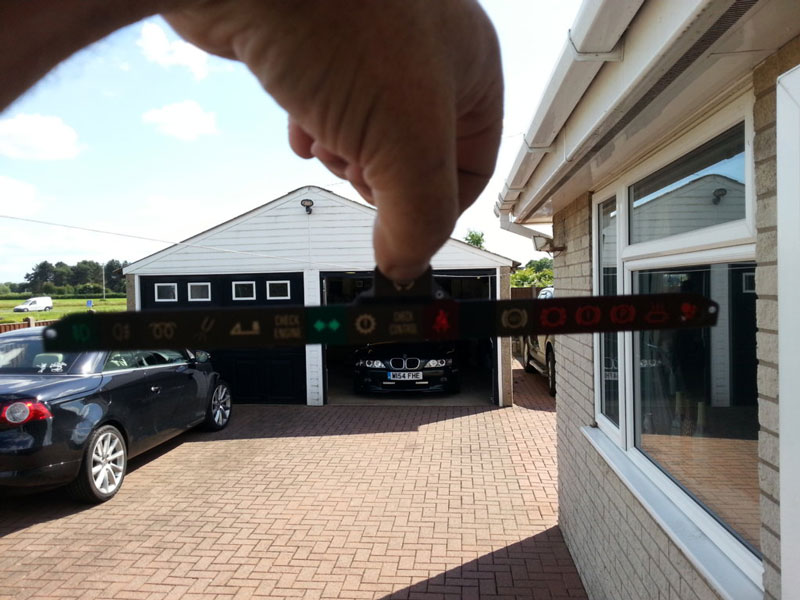
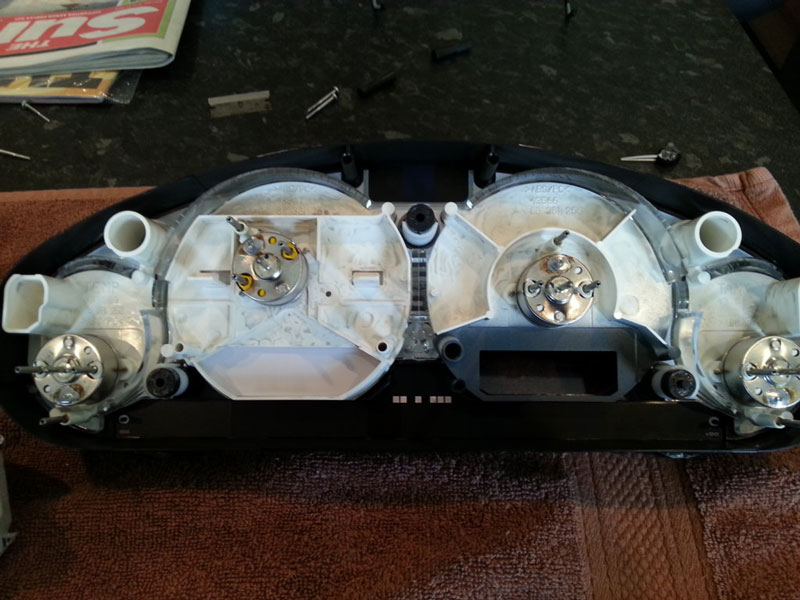
In the previous picture you can see 3 black plastic posts which have a white plastic collar around them, the are what fastens the gauges into the main housing, to release the gauges you need to take your long nosed pliers and turn the white plastic collars through 180 degrees, then you can lift the gauges out of the main housing. Leaving the three component parts. This where you would have to get to if you wanted to fit some white dial faces available on line. Also, like me you may find that you will have to swap the coloured plastic strip with all the warning light icons along the bottom of the instruments. This is easy to remove by gently levering it off the (6, I think) little plastic locating pegs.
When you refit the gauges into the housing make sure that the Temp gauge is set below zero as when you turn on the ignition it will shoot up and read about 1/2 way to normal before even starting the engine. I found this out the hard way!
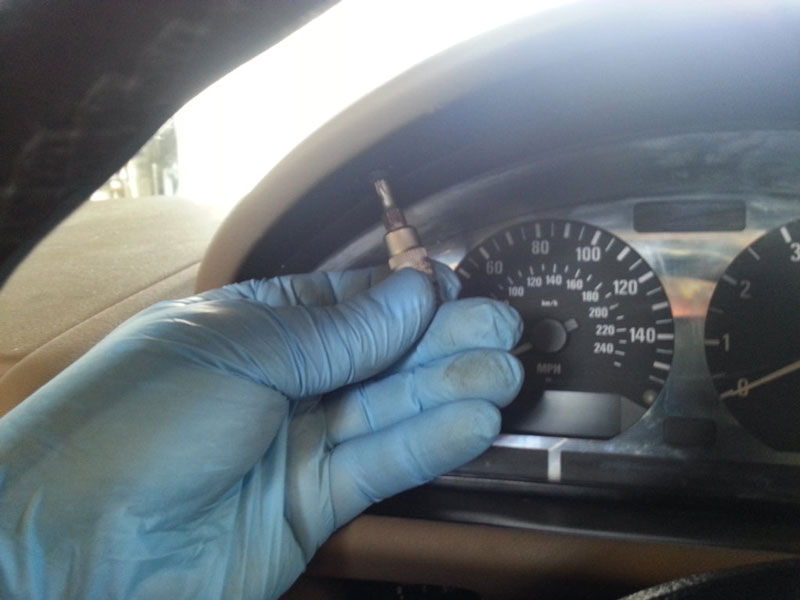
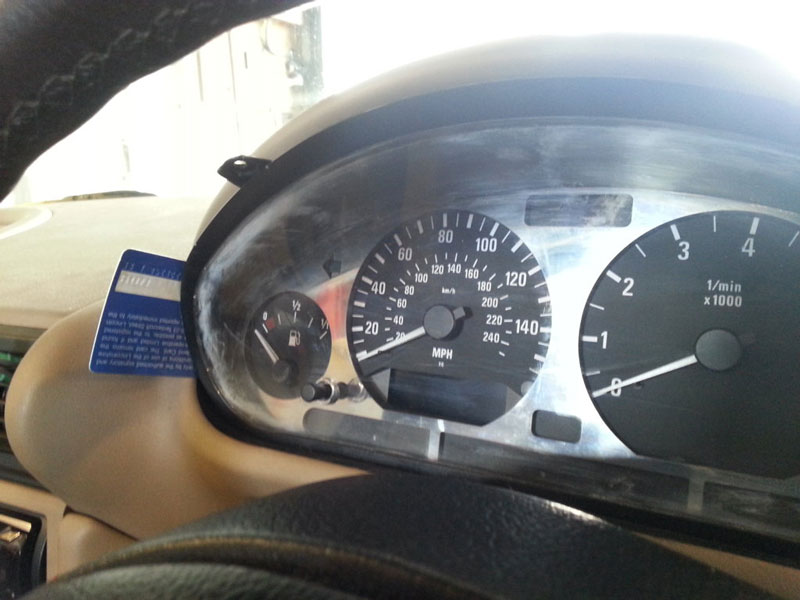
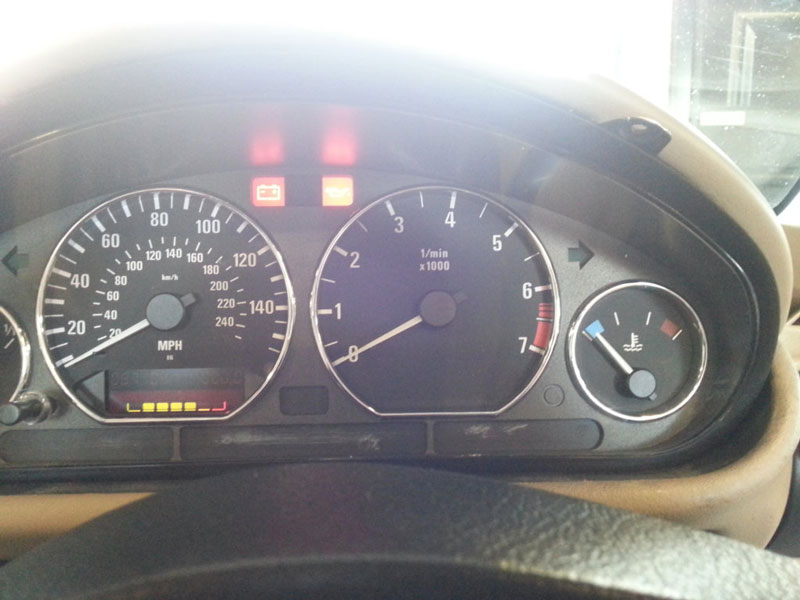
Now you can reconnect the wiring and place in the dash aperture, but don’t yet push it all the way home. Here you can see that with the ignition on the Temp gauge is at the lower limit.
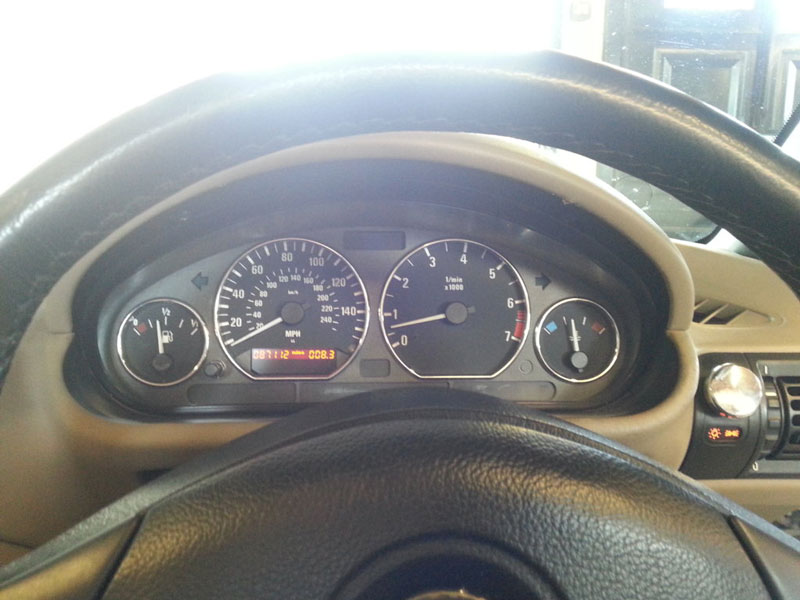
After road testing, you can see I did 8.3 miles to makes sure all the gauges work OK and all the warning lights functioned as they should. When you’re happy you can then push the cluster all the way home and refit the 2 T20 screws. Job done.. Hope this is of some help. Any question please feel free to ask.
And here is another project on: How to Remove Instrument Cluster for Mercedes Benz W204