Some vehicle engines may exhibit a rough idle and/or MIL light “on” condition upon initial start-up after a cold soak when temperatures are below 50°F (10°C).
This bulletin involves selectively erasing and reprogramming the Powertrain Control Module (PCM) with new software (WJ/TJ — calibration level 01Cal14C, XJ — calibration level 15B.)
This article applies to vehicles equipped with a 4.0l (ERH) engine built prior to april 30, 2001 and calibration level prior to (less or lower than) those listed in the overview above.
And for more Jeep repair case,check here:Jeep Repair Case
DIAGNOSIS PROCEDURES:
1Using the Diagnostic Scan Tool (DRBIII) with the appropriate Diagnostic Procedures, verify all engine/transmission systems are functioning as designed. If other Diagnostic Trouble Codes are present, record them on the repair order and repair as necessary before proceeding further with this bulletin.
2If the only condition seen is the rough idle and/or MIL light “on” condition upon initial start-up after a cold soak when temperatures are below 50°F (10°C) perform the Repair Procedure.
PARTS REQUIRED:


NOTE: The mds2 and drb iiit are required to perform part of this repair, when using the mds2 and the drb iiit, the system must be operating at cis cd 2081 or higher (2081 arrives in dealerships on april 30, 2001).
REPAIR PROCEDURE:
1.Log onto the MDS2 (Mopar Diagnostic System).
2.Connect the MDS2 and DRB IIIT to the vehicle and switch the ignition key to “ON”.
Note: Auto connection will occur once the drb iiit, mds2, and vehicle establish communication. the “cannot read vin from drb iiit” message (on the mds2) will be replaced by the vehicle vin. Press the “ok” button on the mds2 to request a mds2 session for the vehicle vin indicated. press the “ok”button when asked to begin session.
3.Push the FLASH tab on the MDS2.
4.Select READ PART NUMBERS FROM VEHICLE and click SHOW UPDATES on the MDS2.
NOTE: A message may appear (after step 3 or 4) that indicates no updates are available. if this occurs, make sure your diagnostic equipment is operating at the latest software level as listed earlier in this bulletin. if the latest software is installed, and no updates are available another vehicle condition exists that will require further investigation.
5.Select the new software part number with the light pen and click UPDATE CONTROLLER SOFTWARE.
6.The MDS2 and DRB IIIT will prompt for any operator action needed during the remainder of the reprogramming process.
NOTE: Due to the pcm reprogramming procedure, a dtc may be set in other modules (eatx, bcm, mic, skim, etc.) within the vehicle, if so equipped. some dtc’s may cause the mil to illuminate. all dtc’s relate to a loss of communications with the module that is being reprogrammed. check all modules, record the faults, and erase these faults prior to returning the vehicle to the customer. erase any faults in the pcm only after all other modules have had their faults erased.
NOTE: The following steps are required by law.
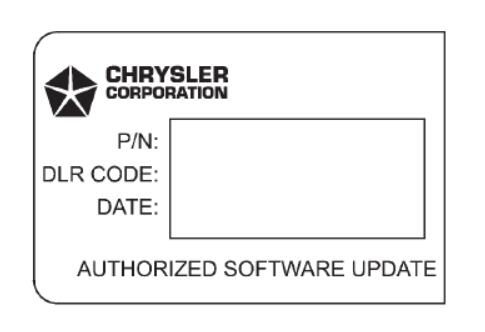
7.Type the necessary information on the “Authorized Software Update Label” p/n 04669020 (Figure 1). Attach the label to the PCM and cover the label with the clear plastic overlay.
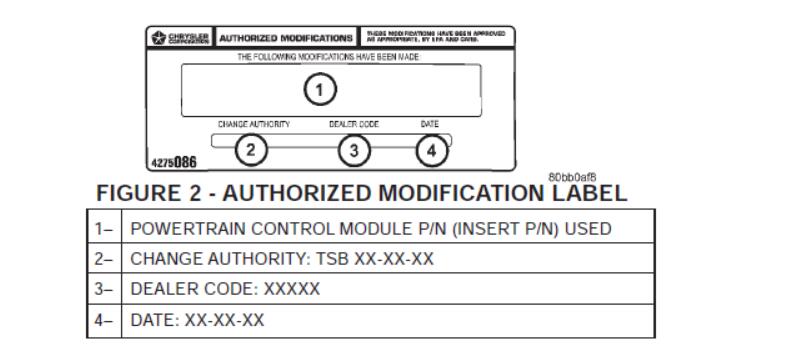
8.Type the necessary information on the “Authorized Modification Label” p/n 04275086 and attach the label near the VECI label (Figure 2).
POLICY:
Reimbursable within the provisions of the warranty.