This instruction show you guide on how to remove and install inspection lamp socket for Scania L,P,G,R,S series truck after 2016.
Related Contents:
2024.07 Scania SDP3 V2.61.2 V2.40 Diagnostic Software Free Download
2023 2018 Scania Multi EPC Parts Catalogue Free Download
Procedures:
Removal – Socket for inspection lamp
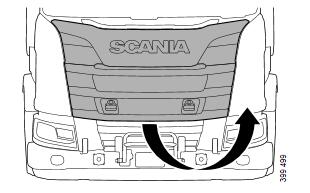
1.Open the front grille panel.
2.Remove the cable ties.
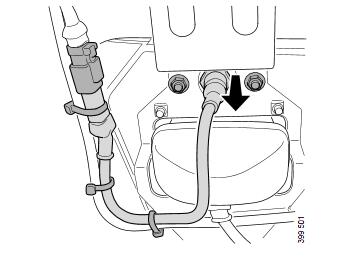
Disconnect the connector.
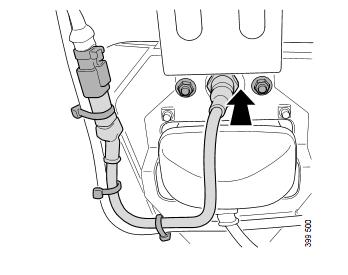
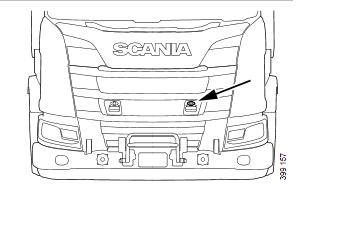
3.Remove the 2 screws and remove the inspection lamp socket.
Fitting – Socket for inspection lamp
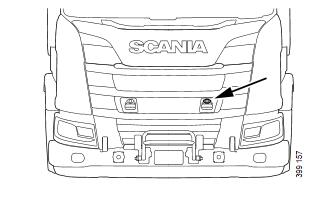
1.Fit the inspection lamp socket using the 2 screws.
2.Open the front grille panel.
3.Fit the connector.
Attach the socket cable using cable ties.
4.Close the front grille panel.
Visited 9 times, 1 visit(s) today