Here is an instruction show you guide on how to remove and install combination cylinder for fuller heavy-duty Eaton transmissions TRSM1500.
Related Contents:
2022 EATON ServiceRanger 4.10 and 4.2 + Activator Free Download
How to Remove the Combination Cylinder Assembly
1.Drain lube.
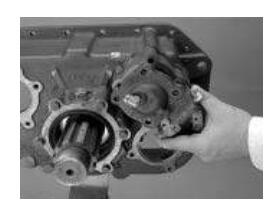
2.At the combination cylinder cover, remove the 5 capscrews with washers.
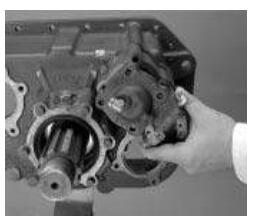
3.Remove the cylinder cover and gasket.
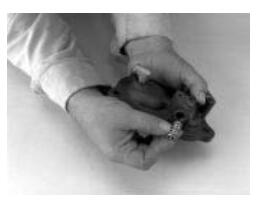
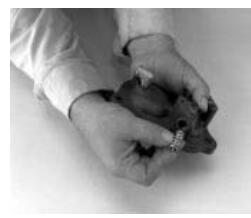
4.If necessary, remove the insert valve retaining nut from the cylinder cover. Remove the insert valve from the bore.
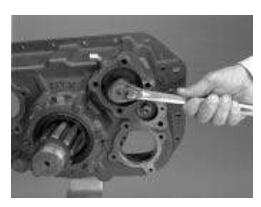
5.Remove the 15/16” nut on the range yoke bar.
6.Remove the 3/4” nut on the reduction yoke bar
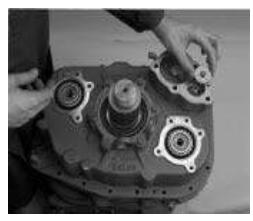
7.Remove the cylinder housing and gasket.
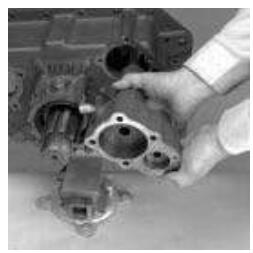
8.Remove the range and reduction pistons from the cylinder bores.
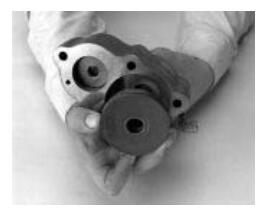
9.If necessary, remove the O-rings from the range cylinder bore and the reduction cylinder bore.
10.If necessary, remove the O-rings from the range piston I.D. and O.D. and the reduction piston O.D.
How to Install the Combination Cylinder Assembly
Special Instructions
Apply Eaton lubricant #71206 or equivalent to all shift cylinder assembly and spool valve O-rings so a film covers the entire surface.
Apply Eaton rust preventative #71213 or equivalent to all shift cylinder walls and yoke bars, cover the entire yoke bar surface that comes in contact with the shift cylinder O-ring.
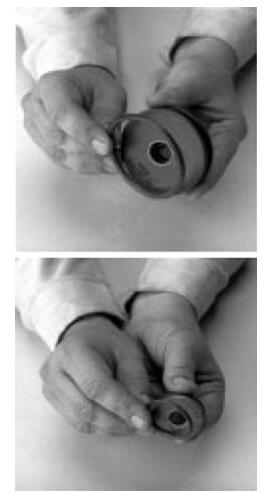
1.Lightly lubricate O-rings with Eaton® Fuller® Silicone lubricant P/N 71206 or equivalent.
2.Install O-rings into range and deep reduction shift cylinders.
3.Install O-rings onto range and reduction pistons.

4.Install gasket and shift cylinder.

5.Install range piston with flat side to rear. Install range piston nut and torque to 70-85 Lb•ft.
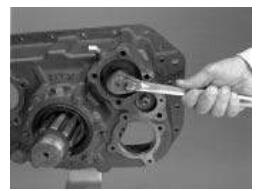
6.Install deep reduction piston with flat side to rear. Install nut and torque to 50-65 Lb•ft.
Note: If reusing existing nut, make sure nylon locking material is in good shape, if not, use new nut.
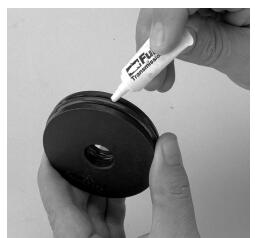
7.Lightly lubricate insert valve O-rings with Eaton® Fuller®
Silicone lubricant P/N 71206 or equivalent. Install insert valve with flat side to the inside. Install insert valve retaining nut and torque to 40-50 Lb•ft.
8.Install gasket and cover. Apply Eaton® Fuller® thread sealant P/N 71205 or equivalent to capscrew threads. Install capscrews and torque to 35-45 Lb•ft.
More repair case for Eaton,please refer to:Eaton Transmission Trouble Repair