This instruction show you guide on how to assemble plug-type injection pumps for BOMAG 177D-4.
Related Contents:
Bomag EPC 2021 2017 Electronic Parts Catalogue Free Download
Procedures:
Engines of type 2011 are fitted with individual injection pumps for each cylinder. When installing individual plug-type injection pumps the distance to the camshaft must be correctly adjusted shims,because this determines the start of commencement.
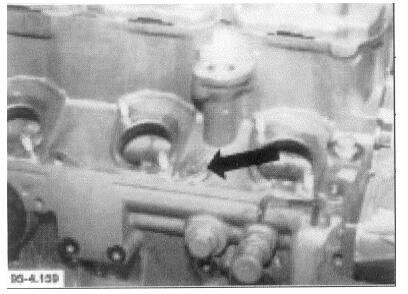
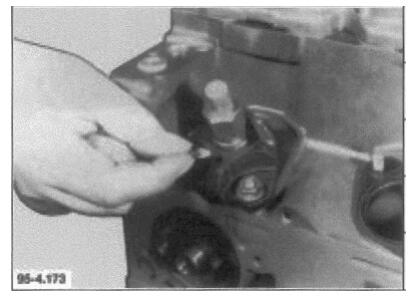
1.Unscrew the plug from the crankcase.
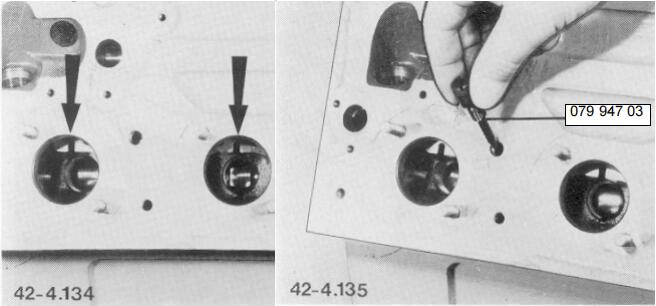
2.Operate the throttle lever to bring the governor rod to middle position and hold it in this position. Then turn the locating pin for the governor rod (BOMAG part-no. 079 947 03) into the crankcase.
Then the throttle lever can be released again.
3.Turn the engine by the crankshaft pulley, until the plunger stroke of the respective cylinder is at bottom dead centre position.
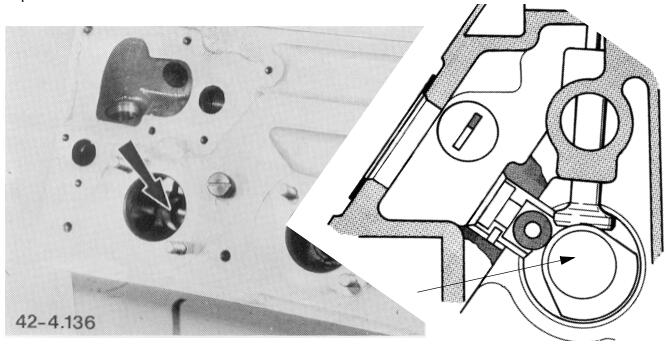
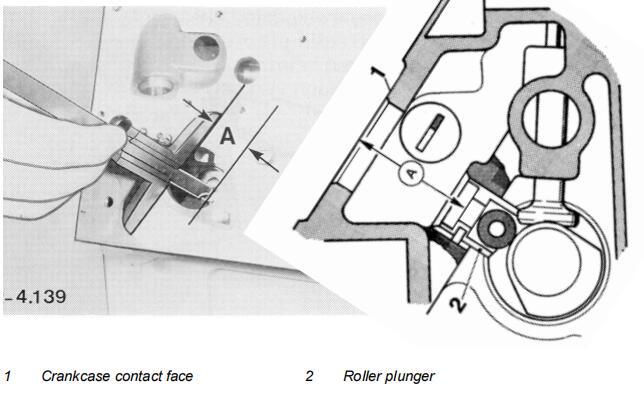
4.Assemble the injection pump roller plunger. For this purpose use a magnetic lift.
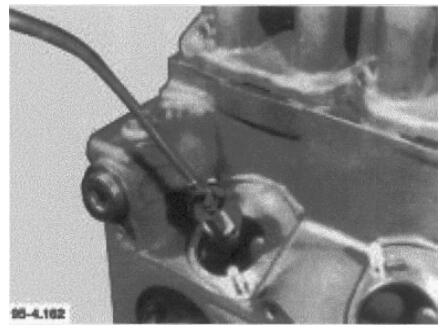
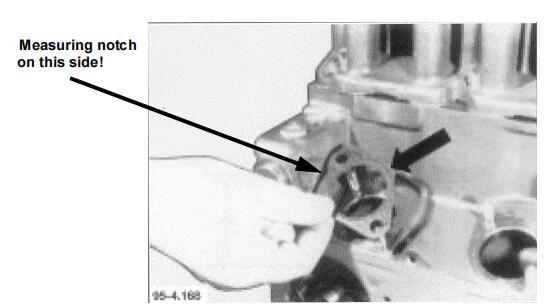
5.Measure measurement ’A’ from crankcase contact face to spring plate contact face of plunger.
6.The nominal measurement X of the injection pump is available from the BOMAG service department or the service department of Deutz against the specifications on the engine type plate. (There are several versions and adjustment measurements).
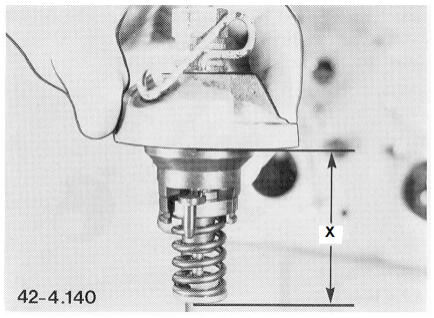
7.Determine the difference between installation measurement „X“ and the measured dimension ’A’.
Example: Installation measurement “X“ = 60 mm
– measured depth measurement A = 59,35 mm
Difference = 0,65 mm
8.Choose a compensation gasket from thge table according to the marking.
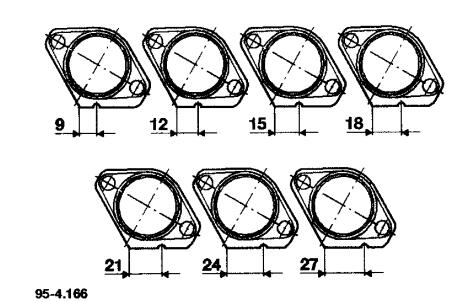
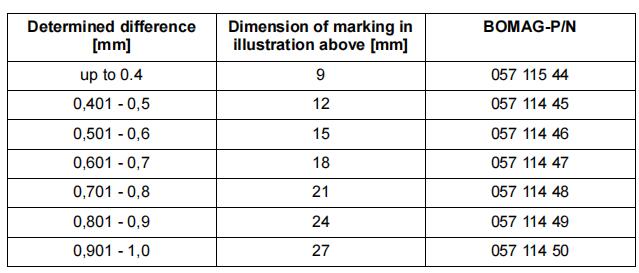
In the example above P/N 057 114 47 should be selected.
9.Install the selected gasket; observe the assembly position!
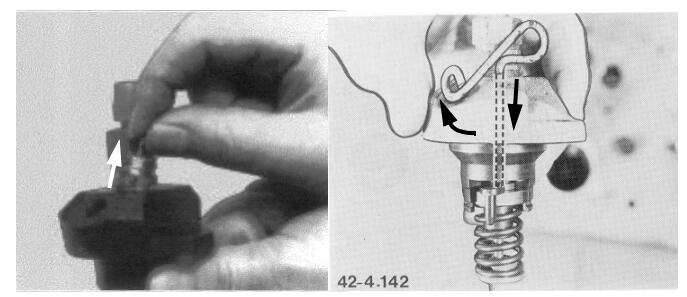
10.Pull the locking pin out of the injection pump and insert the locking wire (BOMAG part-no.079 947 06 / 079 947 07) into this bore. Insert the locking wire into the bore in the injection pump control lever provided for this purpose and engage it in the tapped leak oil bore
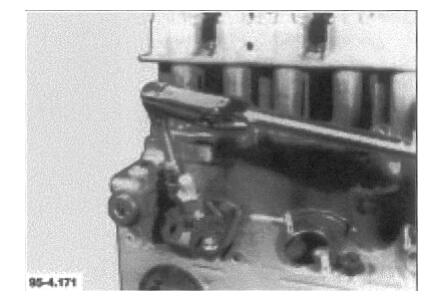
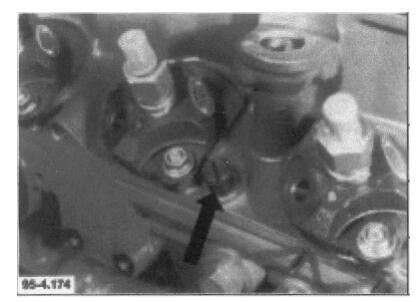
11.Assemble the injection pump. Press the injection pump centrically in against the stop.
Tighten the nuts.
Tightening torque: 21 Nm
12.Pull out the locking wire.
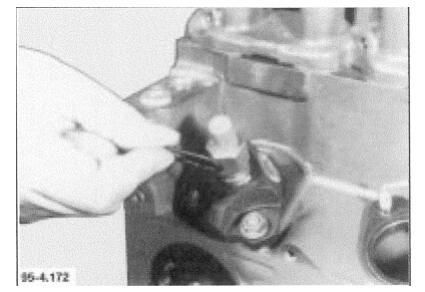
13.Close the bore again with the locking pin
14.Remove the locating pin from the governor rod
15.Insert the plug with a new copper ring and tighten it: Tightening torque 18 Nm

More repair case for BOMAG,please refer to:BOMAG Trouble Repair