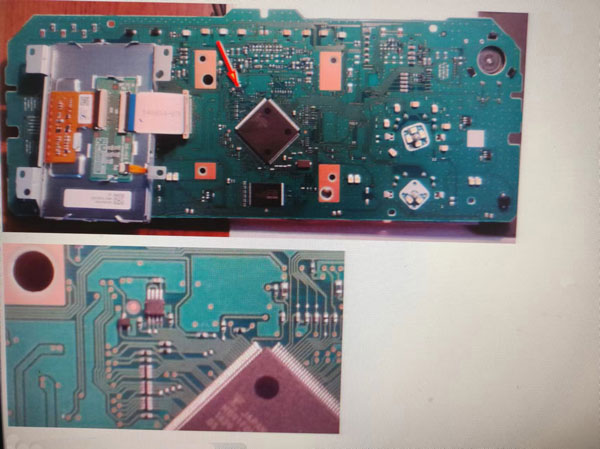
One year ago,car-auto-repair.com show a guide on how to remove 93C66 chip of Camry 2011-2014.One of our blog readers said it is old,so here we share the guide on how to remove 93C66 chip for new Toyota Camry after 2014.
Preparations:(many guide include in below one)
DashBook Pro v7.9+SRSBook 1.4 2018 Removal Book 100% Work Solution
Removing the instrument cluster:
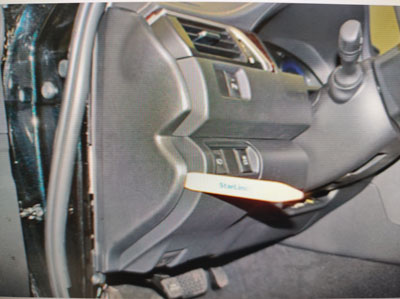
Remove side trim panel and front driver side
Remove left air duct (with clips)
Remove the dust cover of the steering column with clips
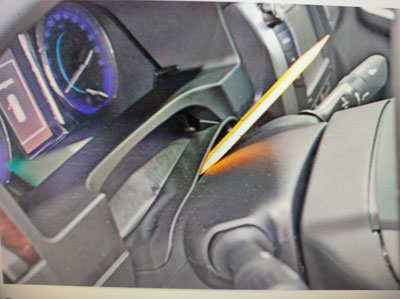
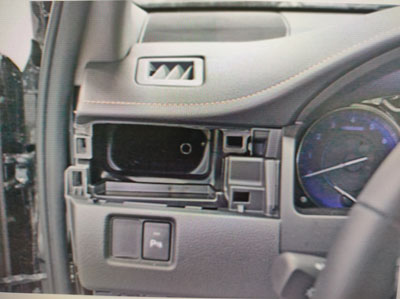
Remove trim for instrument panel with clips
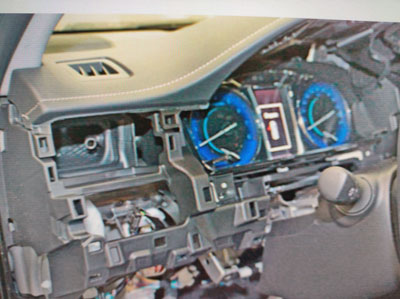
Loosen the screws fixing the instrument cluster
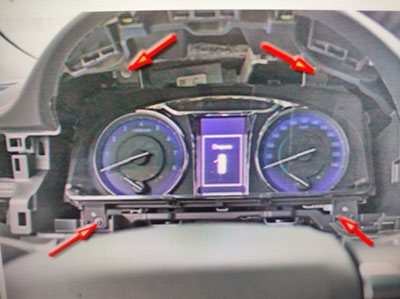
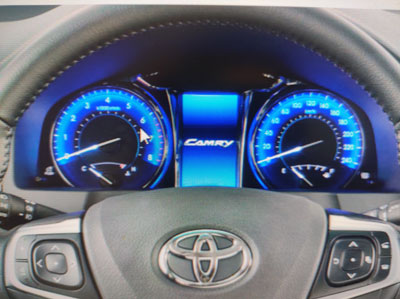
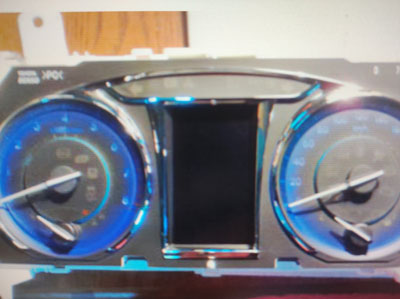
Remove the instrument cluster
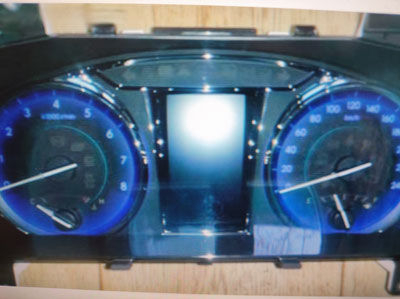
Disassembly of the instrument cluster:
Remove the front cover with glass with clips
Remove arrows
Remove the cover of the scale of the dial
Remove the screw
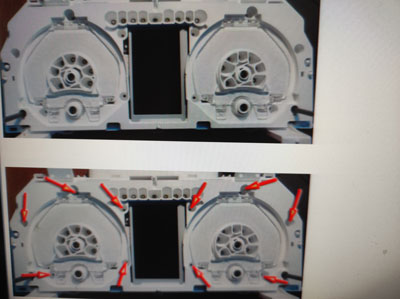
Remove the front cover
Remove PCB
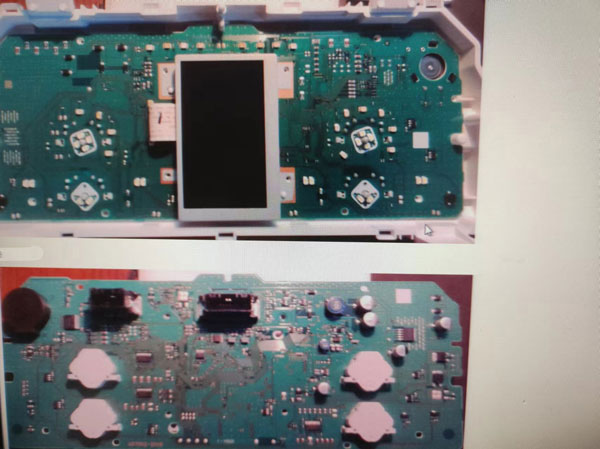
Gently push the screen aside
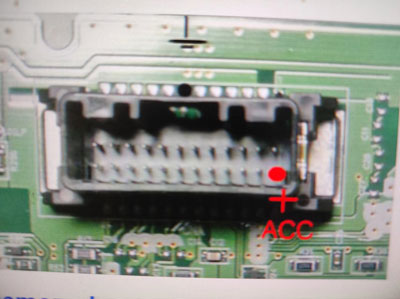
Connecting the instrument cluster: