For each new or additional DiCE unit that is going to be used in VIDA, the USB driver must be installed separately. This is done automatically in Windows when the DiCE unit is inserted into an USB port. This illustration show you guide on how to install USB driver for Volvo VIDA DiCE interface
Preparations:
Volvo VIDA DICE 2014D Software Free Download
How to Install Volvo VIDA 2014D Software on Win 7
Procedures:
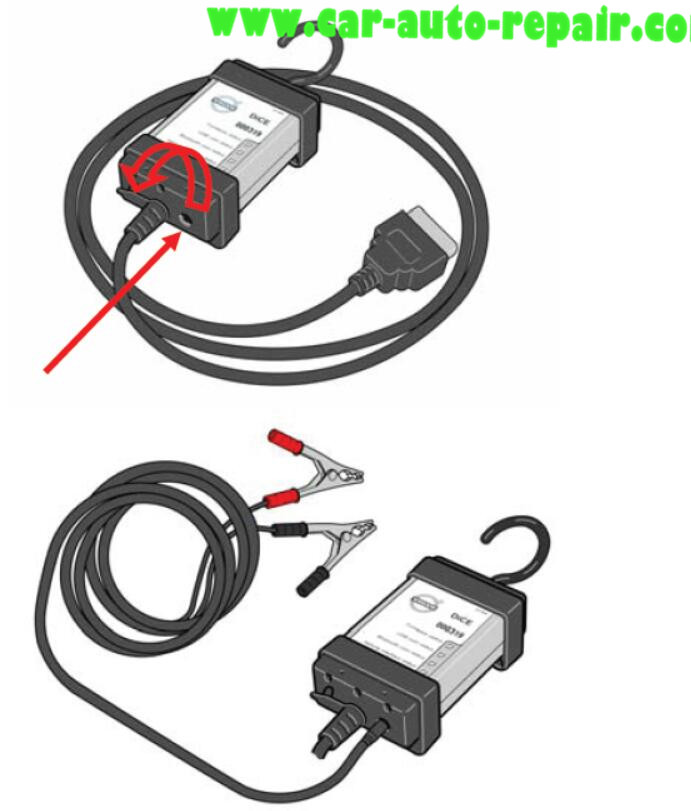
Power up the DiCE unit by connecting 12 V DC to the AD input on the DiCE unit, se picture to the right. Use a cable with part number 9513004 connected to the vehicle battery.
Remove the cover of the DiCE unit by turning the screw on the cover.
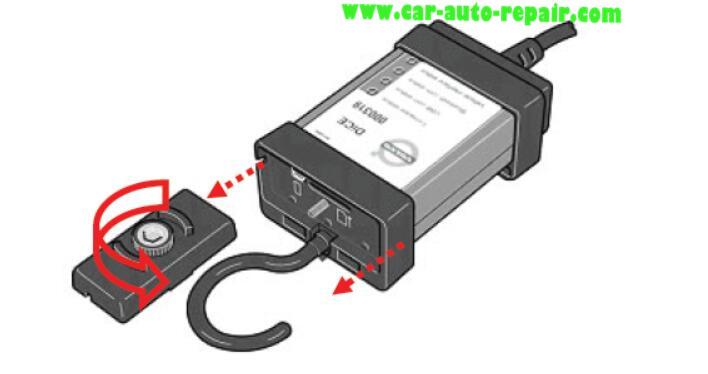
Connect the short USB cable to the DiCE unit. This cable is included in the DiCE Pilot Kit.
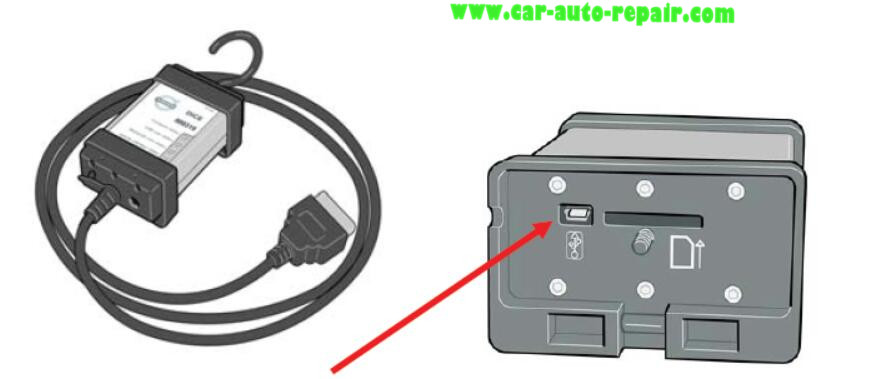
Connect the USB cable to a free USB port in the computer.
Note:Pull out the bluetooth adapter cable temporarily if there is only one USB port in the computer
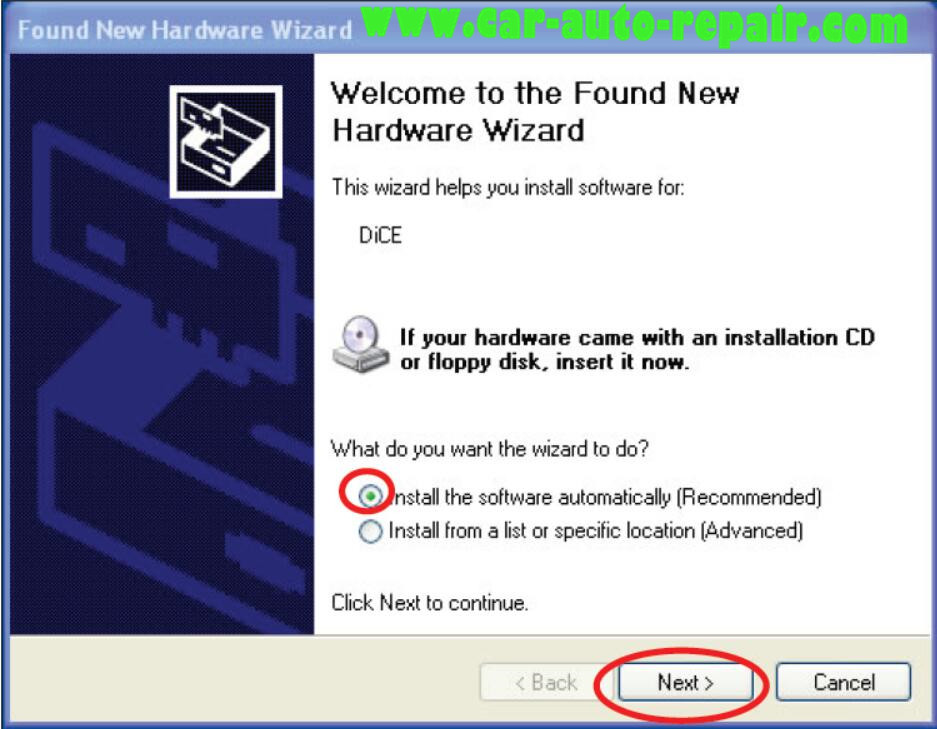
The window shown in the picture opens automatically in Windows.
NOTE! This might take several minutes.
Choose “Install the software automatically”.
Click on NEXT.
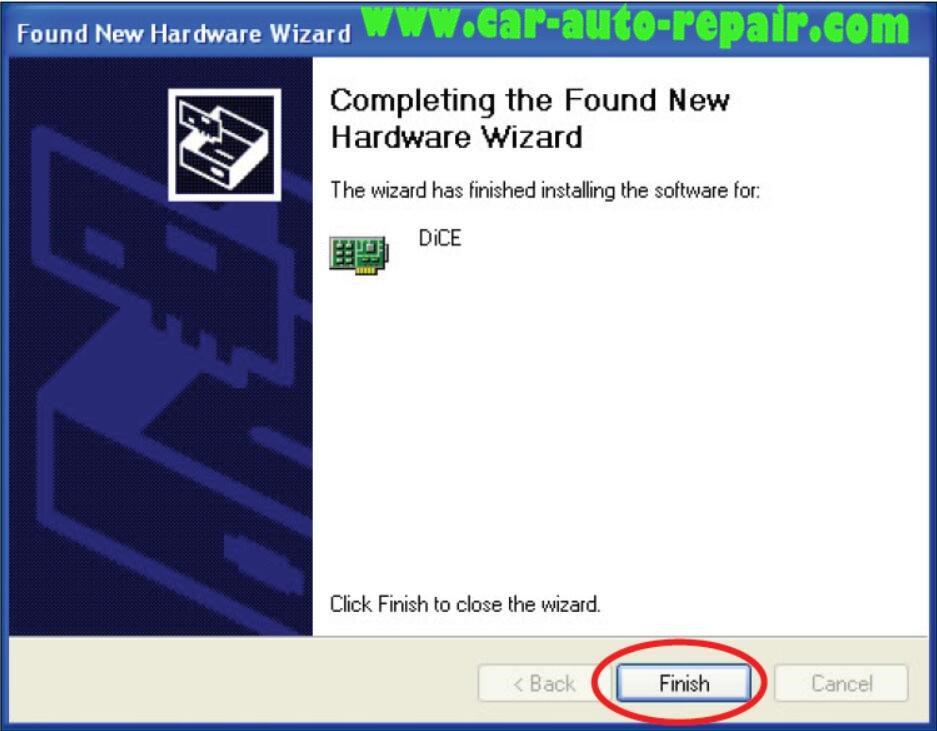
Finish the DiCE installation of USB driver.
Click on FINISH. The installation of the USB driver for this DiCE unit is completed.
Done!