This illustration show you guide on how to install Volvo VIDA 2014 diagnostic software on Window 7 32 & 64 bit,and installation on Window 10.
Preparations:
Volvo VIDA DICE 2014D Software Free Download
Volvo VIDA DICE 2014D Installation on Window 7 32 bit
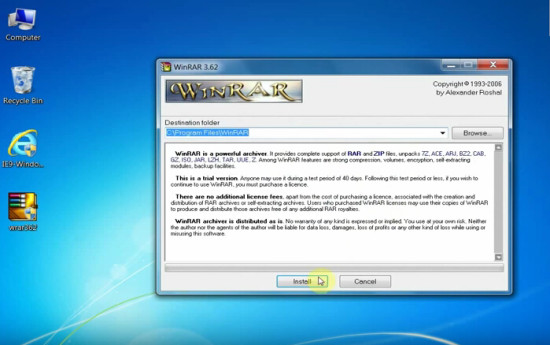
Step 1: Install wrar362
Open Setup and install wrar362 Click “Select All” and “OK” Press “Done”
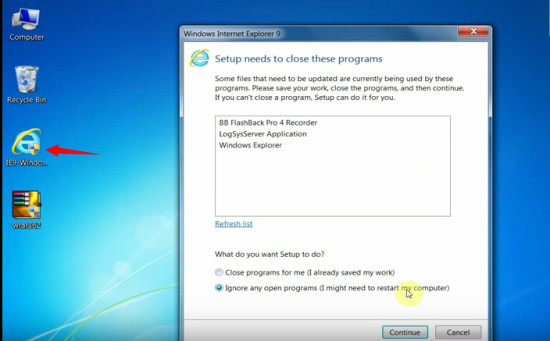
Step 2: Install IE9 browser
Install IE9 browser
Select “Ignore all programs” and press “Continue” Internet Explorer 9 is now installed, restart the computer
Step 3: Install Volvo VIDA 2014 configuration
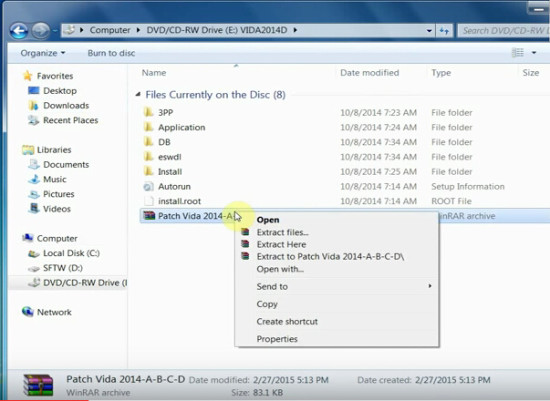
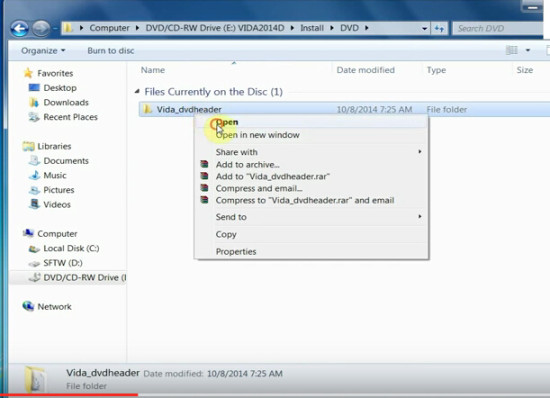
Open VIDA 2014D CD or software folder
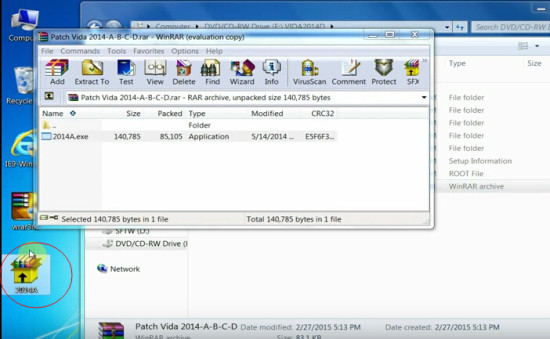
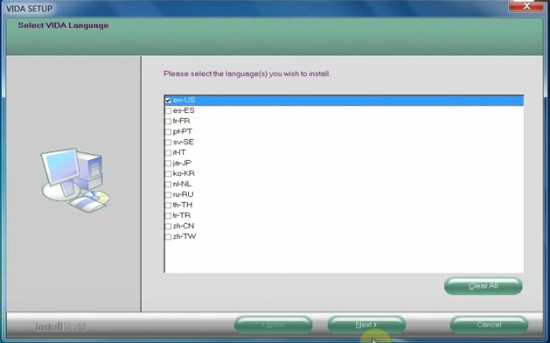
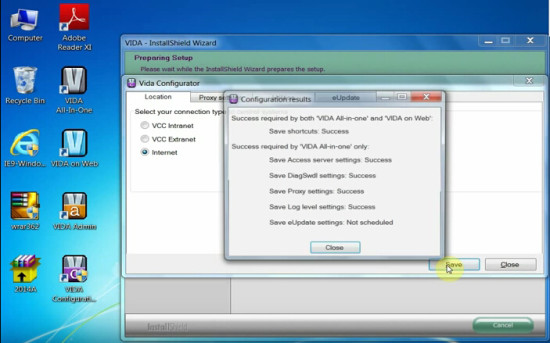
Open VIDA 2014-ABCD patch Copy 2014A.exe from desktop Open the “Install” folder Open the “DVD” folder Open “Vida_dvdheader” Open the “Main” folder Open and install “Setup” Select ” VIDA All-in-one ” Choose the language of the software Press” Next ” Press” Next ” Accept license agreement Install VIDA InstallShield Wizard Choose Vida Configurator Situation at” Internet “, press” Save ” Close the contextual configuration result Close Vida Configurator


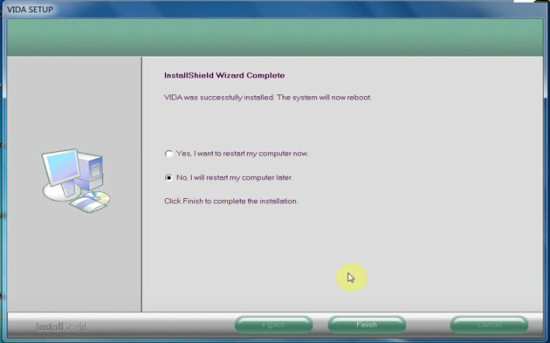
VIDA Setup Wizard is complete. Select “No, I will restart my computer later” and press “Finish” Step 2: Install VIDA 2014 Patch
Open 2014A.exe on the desktop
Click “Install” to install Volvo VIDA 2014A Patch Allow Windows Security Alert Restart the computer !!!
Step 5: Install Volvo DiCE Driver
Open “VIDA All-In-One” software on the desktop
Enter Username “1”, click “Log in” Select “Vehicle Profile” tab Connect Vida interface dice with computer via USB port System will automatically install the driver DiCE-206751 @ 000000000000 device driver successfully installed
Volvo VIDA DICE 2014D Installation on Window 7:(only for this source)
1.Double click the dvd drive on the “My Computer” to run the Setup Wizard
2.After the loading, select “VIDA All-in-one” and press Next

3.Select the desired language and press “Next”.
4.Press “Next” on the instalation folder selection and then “Yes” on the License Agreement screen.
5.Wait until the installation process is completed, this will take a lot of time.
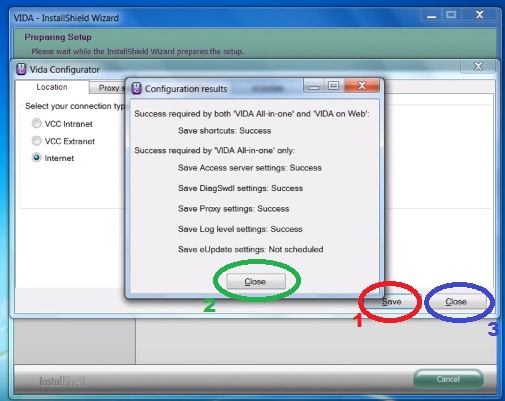
6.On the vida Configurator screen click Save (1). A small window will aprear click Close (2). Then click again Close (3) on the Configurator screen.
7.In the end select “No, I will restart my computer later”
VIDA 2014A Patch Installation
8.Extract the downloaded VIDA 2014A Patch rar file into a new folder.
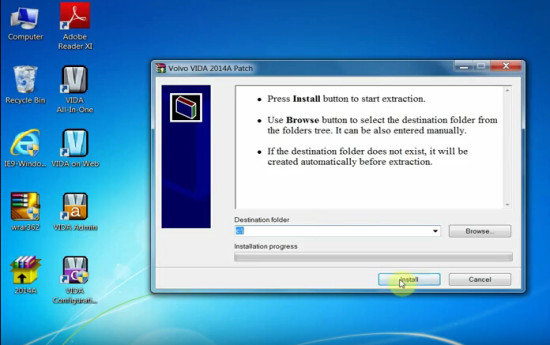
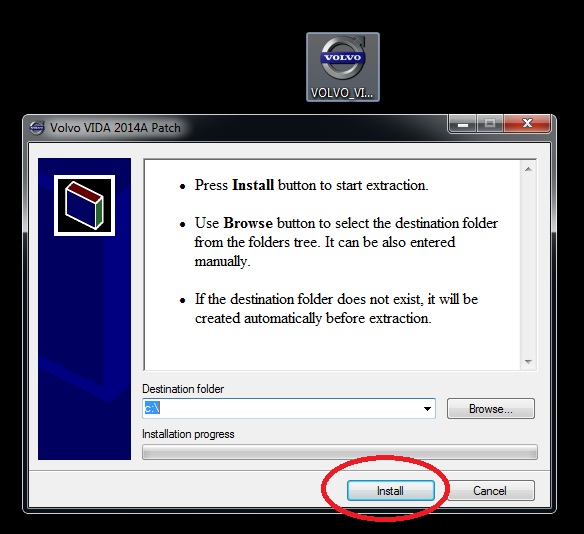
9.Open the folder and execute the “VOLVO_VIDA_2014A” file
10.In the window that will open, click Install.
Volvo VIDA 2014A Window 10 Installation Guide
1.Preparation.
There is nothing to install additionally, except as specified in this manual. Also, there is NO need to disable / stop any of the default components in Windows 10 (defender, firewall, etc.).
a ) Install the .NET Framework 3.5 from:
– Control Panel – Programs and Features – Turn Windows features on or off
In the Windows Components window , note .NET Framework 3.5 , then OK , the .NET Framework 3.5will be loaded and installed , you may need to restart. If already installed, go to the next step.
b) Insert the image into the virtual drive (in Windows 10 it is present by default) by double clicking on VIDA2014D.iso .
Open the explorer folder with the image.
c ) Run cmd from the administrator from the open folder with the image VIDA2014D:
– File – Open the command line – Open the command line as an administrator
Before finishing the installation DO NOT close the cmd window , we need it twice.
2 . Install and configure Microsoft SQL Server 2008 R2 .
Copy / paste into the cmd window and press Enter :
“3PP \ Products \ SqlExpress \ SQLEXPR_x86_ENU.exe” / ACTION = Install / IACCEPTSQLSERVERLICENSETERMS / ROLE = AllFeatures_WithDefaults / INSTANCENAME = VIDA / SAPWD = GunnarS3g3 / SECURITYMODE = SQL / SQLSVCACCOUNT = “NT AUTHORITY \ SYSTEM” / BROWSERSVCSTARTUPTYPE = Automatic / TCPENABLED = 1 / HIDECONSOLE / ENU / QS
Wait until the installation is complete. You can check the correctness of the previous installation in:
– Start – All applications – Microsoft SQL Server 2008 R2 – SQL Server Installation Center – Tools – Installed SQL Server features discovery report
The default browser with the report will open. Look – there are two lines in the table (at the end of No, it should be), close the SQL Server Installation Center .
3 . Installation of VIDA 2014D .
Copy / paste OBE lines to the cmd window and press Enter :
set __compat_layer = WIN7RTM
“Install \ DVD \ Vida_dvdheader \ Main \ setup.exe”
Select VIDA All-in-one .
Choose only ONE language (install TWO languages and switch them you can – see Method 2 ).
Accept the license agreement.
Choose the installation path. It is recommended to leave it as default.
Installation takes a long time. You can control in the Task Manager by the activity of the alba process . At the end of the installation, icons appear on the desktop.
Select in the pop-up window Internet , then Save , then Close , and again Close .
Refuse to reboot.
Close the cmd window .
4 . Treatment and first run.
Run 2014A-BD.exe from the administrator. If you changed the default VIDA installation path, change only the LETTER drive in the opened window (if you installed it to the root of another disk / partition). Select Install , VIDA Monitor should start after that , after some time its icon in the tray should have a green arrow instead of a yellow arrow.
In the pop-up window of the regular firewall, select Allow access for Java.
Start VIDA with the VIDA All-in-One icon on the desktop (or in the Start menu, or right-click on the VIDA Monitor icon in the tray).
If Internet Explorer prompts you to select and enable add-ins, enable it.
Enter in the fieldUsername : 4 for Europe region (others – 1, 2, 3).
Wait for IsoView to load .
Click the Vehicle Profile tab , enter the VIN code. There should be a car. If Write Access is denied – check and enter the VIN code manually (NOT through copy / paste).
Disable VIDA eUpdate in the Task Manager on the Startup tab , the Java ™ Platform SE binary line .
You can also disable VIDA Monitor from startup and run it as needed from the shortcut to Start – VIDA .
Adobe Reader XI, which was installed with VIDA, can be deleted (if you use another application for pdf or not needed).
Done, you can use.
* If the server does not start – after a while on the icon appears red “?”, The fault is the update KB3163018or 1607 AU . Download the archive with the folder jdk , unload VIDA Monitor, delete the folder jdk from C: \ VIDA , unpack downloaded to C: \ VIDA , then reboot the PC. Archive with the necessary, to solve this problem, you can download at the end of the post.
* If the Username field is NOT active– the tablet did not work, apply again (after unloading the VIDA Monitor ) carefully following all the conditions, then restart the PC. Another option is to unpack the contents of 2014A-BD.exe into C: \ VIDA by agreeing to the replacement. Start from the administrator C: \ VIDA \ patch \ filldb.cmd (previously unloading the VIDA Monitor ).