How to Disassemble Instrument Cluster 93C66 for Toyota Camry 2011-2014

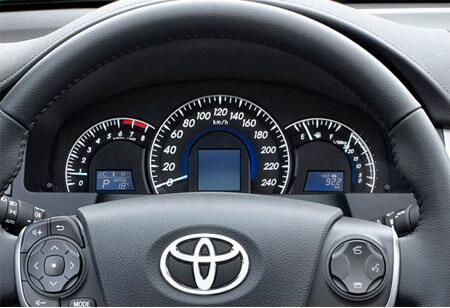
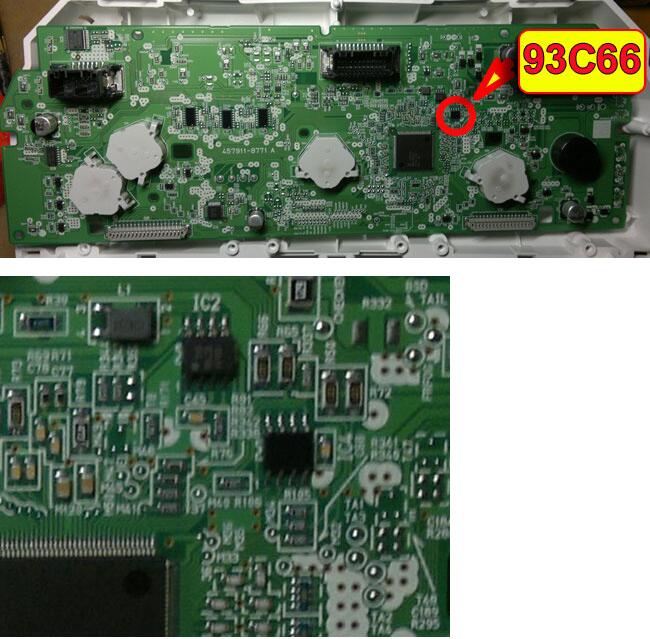
This instruction show you guide on how to disassemble instrument cluster and remove 93C66 chip for Toyota Camry.This guide and many other cases please refer to:DashBook Pro v7.9+SRSBook 1.4 2018 Removal Book 100% Work Solution


How-to-Disassemble-Instrument-Cluster-93C66-for-Toyota-Camry-1


Procedures:

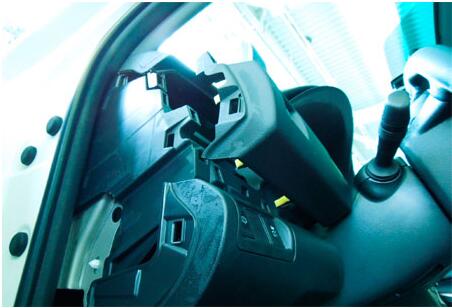
Remove the side cover from the driver’s side

How-to-Disassemble-Instrument-Cluster-93C66-for-Toyota-Camry-2

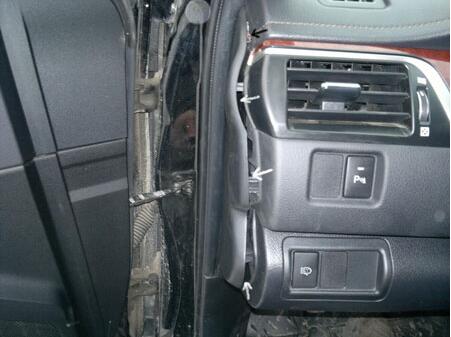
Remove the left duct (clipped)

How-to-Disassemble-Instrument-Cluster-93C66-for-Toyota-Camry-3

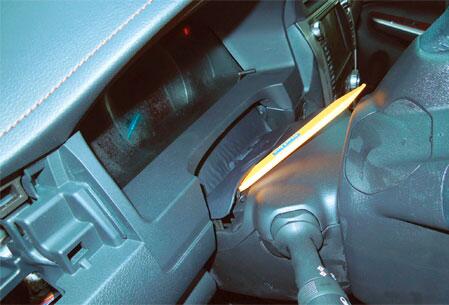
Datachable dust cover

How-to-Disassemble-Instrument-Cluster-93C66-for-Toyota-Camry-4

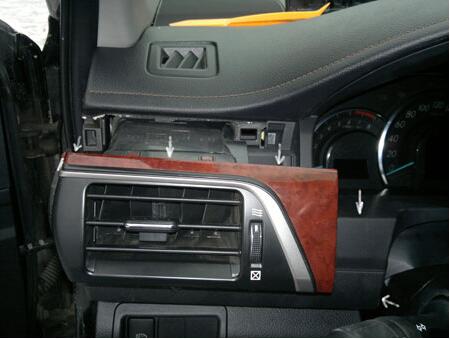
Remove trim on the instrument panel

How-to-Disassemble-Instrument-Cluster-93C66-for-Toyota-Camry-5 How-to-Disassemble-Instrument-Cluster-93C66-for-Toyota-Camry-6


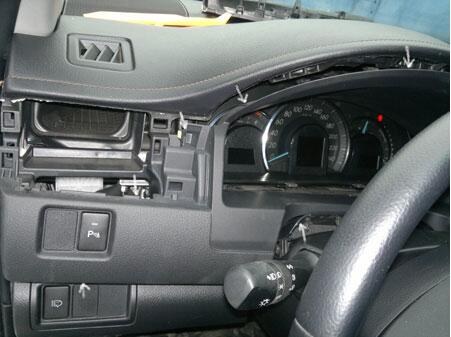
Unscrew the 4 screws fixing the instrument panel and remove it

How-to-Disassemble-Instrument-Cluster-93C66-for-Toyota-Camry-7 How-to-Disassemble-Instrument-Cluster-93C66-for-Toyota-Camry-8


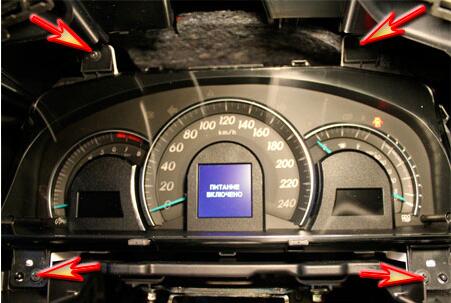
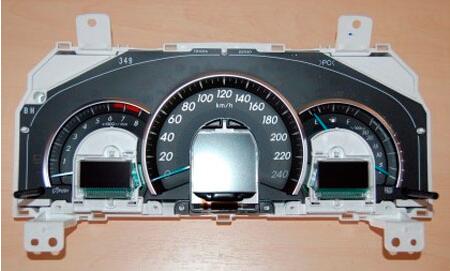
Remove the front trim with glass
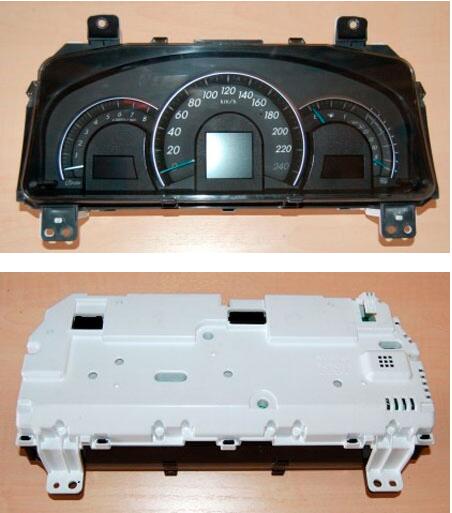
How-to-Disassemble-Instrument-Cluster-93C66-for-Toyota-Camry-9

Remove LCDs

How-to-Disassemble-Instrument-Cluster-93C66-for-Toyota-Camry-10

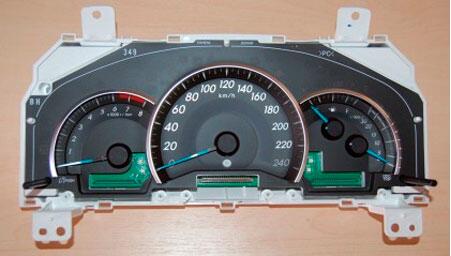
Remove the arrow and scale device

How-to-Disassemble-Instrument-Cluster-93C66-for-Toyota-Camry-11

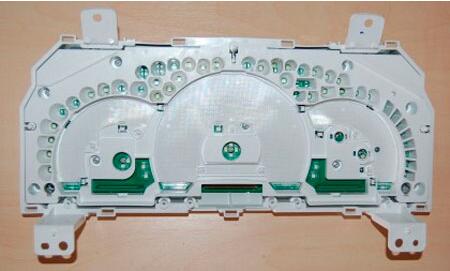
Push the latches to remove the cover
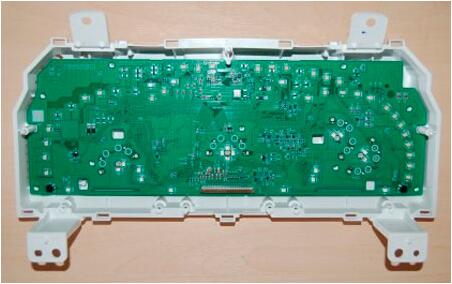
How-to-Disassemble-Instrument-Cluster-93C66-for-Toyota-Camry-12

Remove PCB

How-to-Disassemble-Instrument-Cluster-93C66-for-Toyota-Camry-13

Visited 1 times, 1 visit(s) today