Here show the main step of connect to CAN via Scania VCI interface and connect ECU the user performs the following steps.
Procedures:
1) When using a VCI3 remote connection.Please refer to:How to Connect Scania VCI3 to Scania Network or AdHoc
2) Start XCOM application
3) Connect to CAN by either
Select the menu choice File -> Connect to CAN
Press the ”F4”key
Press the keys ”shift”and ”F4”
4) If the user has the option setting ”display the select ECUs” is enabled the ”Select ECUs” dialog will be displayed. If the shift + F4 were pressed the dialog will always be displayed.
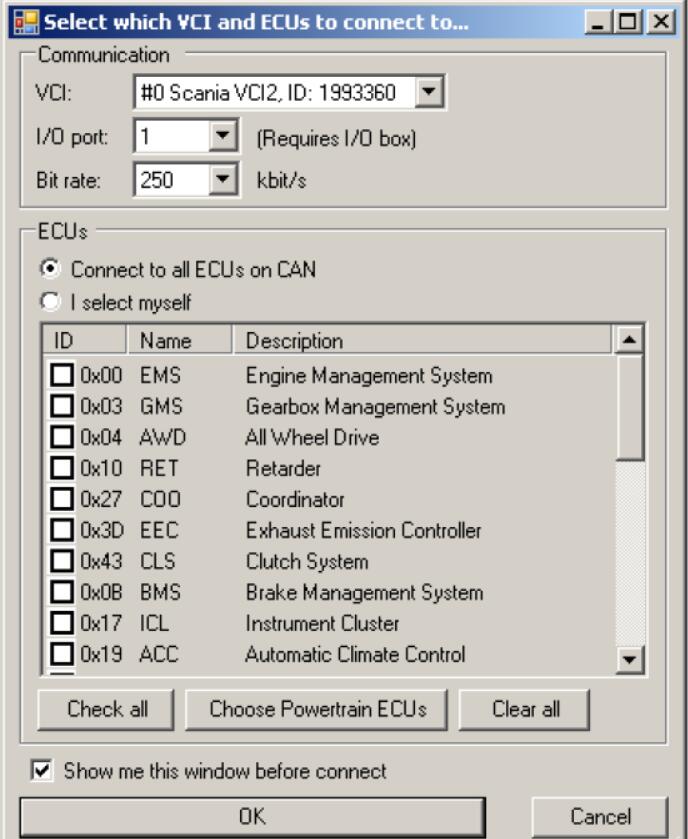
5) In the ”Select ECUs” dialog the user can either…
Scan for all ECUs available on CAN (a functional SetSession KWP command will be transmitted on CAN) by selecting the radio button choice ”Connect to all ECUs on CAN”and pressing the OK-button
Scan for those ECUs that has the check mark set in the list (a physical SetSession KWP command will be transmitted to the marked ECU’s CAN addresses) by selecting the ”I select myself”radio button choice and press the OK-key.
If there are more than one VCI connected to the computer the user can select which VCI to use when connecting to ECUs. The VCI ID can be found on the back of the VCI.
6) The application now connects to CAN via KWP.
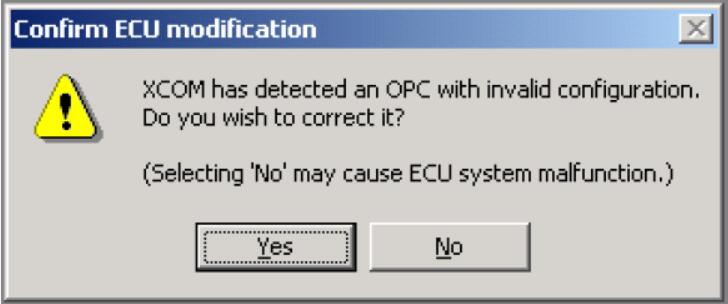
7) If the application detects ECUs with invalid configuration, a message box will be displayed to query the user whether to allow the application to correct the ECU or not. Pressing ”yes” will do the modification (recommended) and ”no” will proceed the connect sequence without any action.
8) The sequence is now complete and the connected ECUs are shown in the ECUs menu and in the ECU explorer tree.