In this instruction car-auto-repair.com show you guide on how to remove and install hood primary latch release cable for Chevrolet Avio.For more GM vehicles projects,check here:Chevrolet Trouble Repair.
Related Contents:
GM EPC GMIO GMNA General Motors EPC 2021 2017 Free Download
GM GDS2 2019 v20.3.05100 Software Free Download
Procedures:
Removal
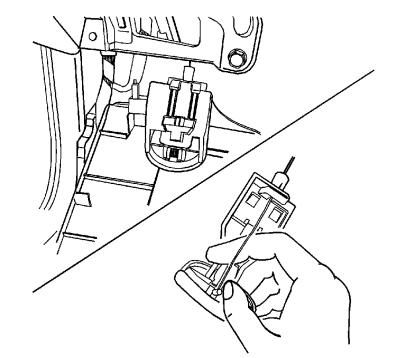
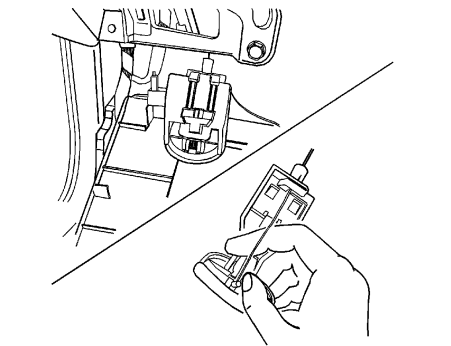
1.Pull out the hood release handle in order to access the screws.
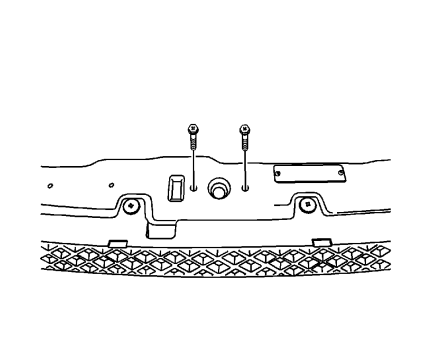
2.Remove the screws and the hood release handle from the instrument panel.
3.Raise and suitably support the vehicle.
4.Remove the front wheel.
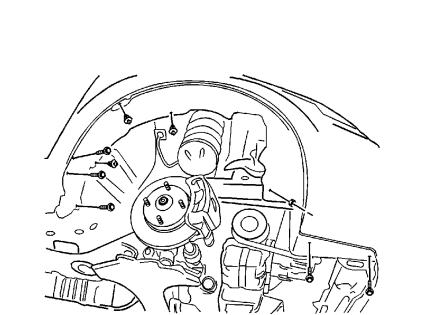
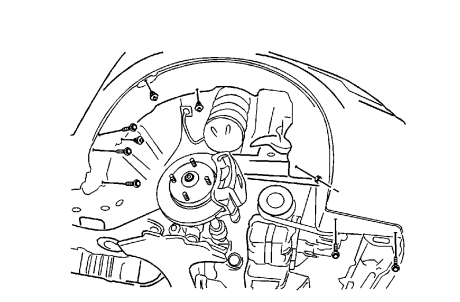
5.Remove the screws and the splash shield.
6.Open the hood.
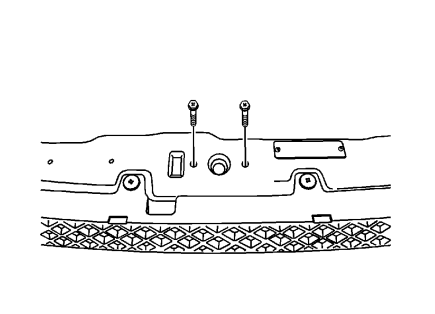
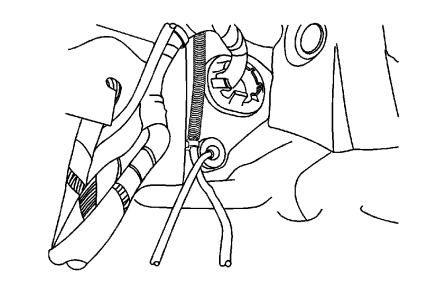
7.Remove the screws and the hood secondary latch.
8.Remove the cable from the hood release handle.
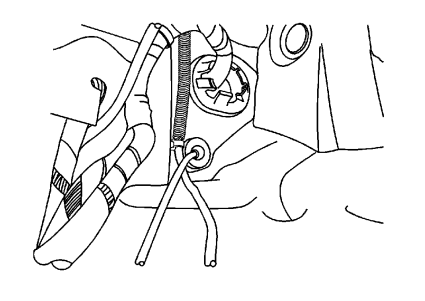
9.Remove the cable from inside the vehicle.
Installation Procedure
1.Install the cable from inside the vehicle.
2.Install the cable to the hood release handle.
3.Install the screws and the hood secondary latch and tighten to 8 N·m (71 lb in).
4.Install the splash shield with the screws and tighten to 1.5 N·m (13 lb in)
5.Install the front wheel.
6.Lower the vehicle.
7.Install the hood release on the instrument panel with the screws and tighten to 1.5 N·m(13 lb in).