This article show a guide on Mazda IDS software installation,update,repair and uninstallation guide.And the Mazda IDS is original version,this guide can not apply for Mazda crack version.
If you want information about crack Mazda IDS,check here:
Mazda IDS V110 V109 V108 Free Download
Original Mazda IDS Software Download:
Web download:
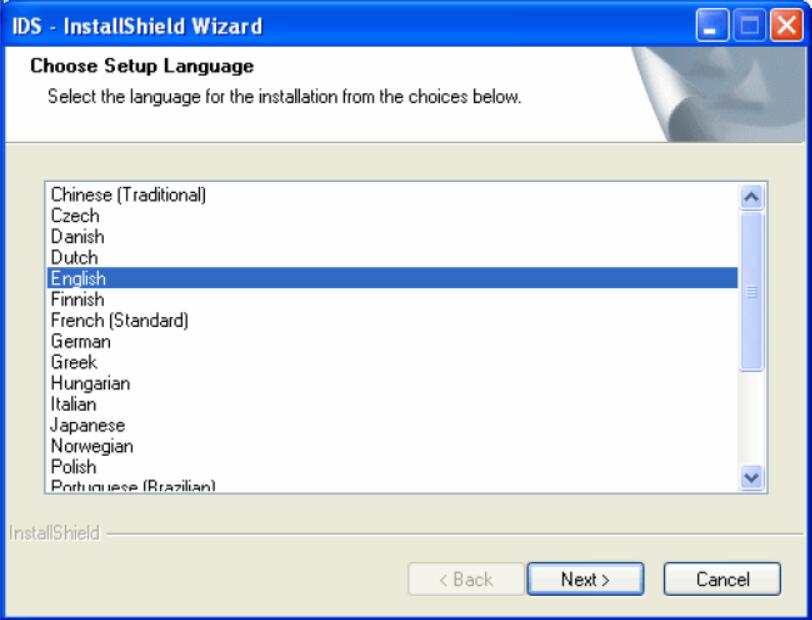
Download IDS.exe from your designated download site to your laptop PC and install
DVD:
Put IDS DVD into DVD drive in your laptop PC. Select “IDS” on the menu and install
Caution: When you install, set, run, or uninstall the IDS, please close all applications (Excel, Word, Internet Explorer etc. ).
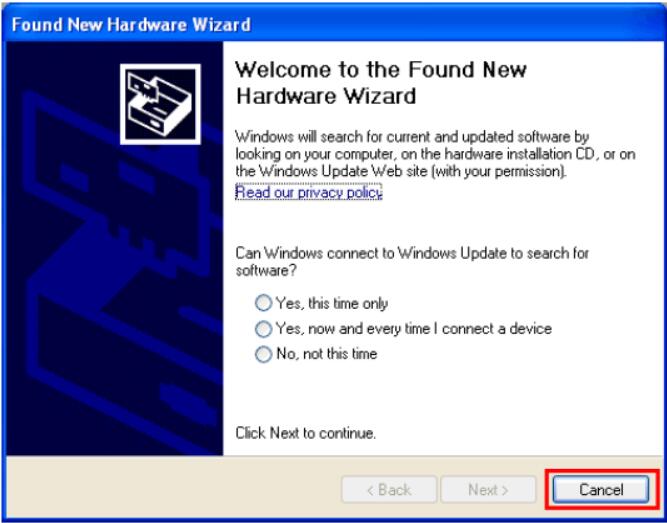
Do not connect the PC USB-Ethernet host cable before installing IDS. If it is accidentally connected, wait until a screen on the right appears, click cancel, and then disconnect the cable before continuing.
To install, update, repair or uninstall, your logon account need to be in administrators or power users group. If your account does not have required privileges, ask your system administrator to configure your account.
“Clean Install” means to install IDS on a PC that does not have IDS installed. “Update” means to install newer version without uninstalling older version. (Usually you cannot update from newer version to older version.) “Repair” means to re-install the same version without uninstalling the current version. (Usually you do not need “repair” unless your PC becomes unstable for some reason.) “Uninstall” means to delete IDS software from your laptop PC.
Web download
Double click the downloaded IDS.exe to run. Go to step 5.
DVD
Step 1:Insert the VCM DVD on DVD-ROM drive. If the dash panel is automatically started in ten seconds or so, go to step 3.
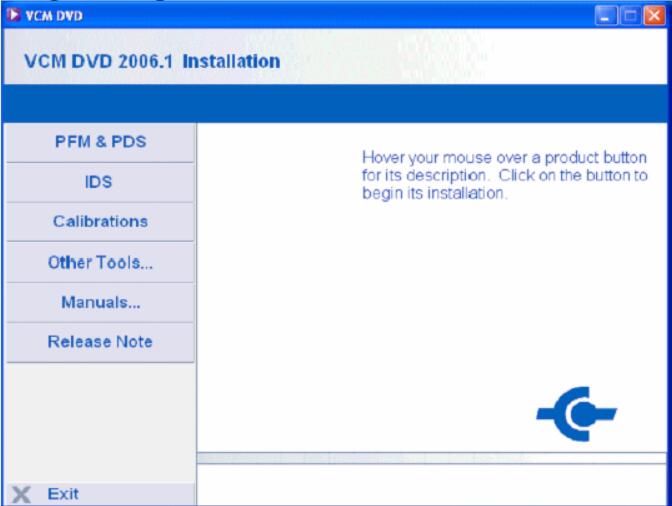
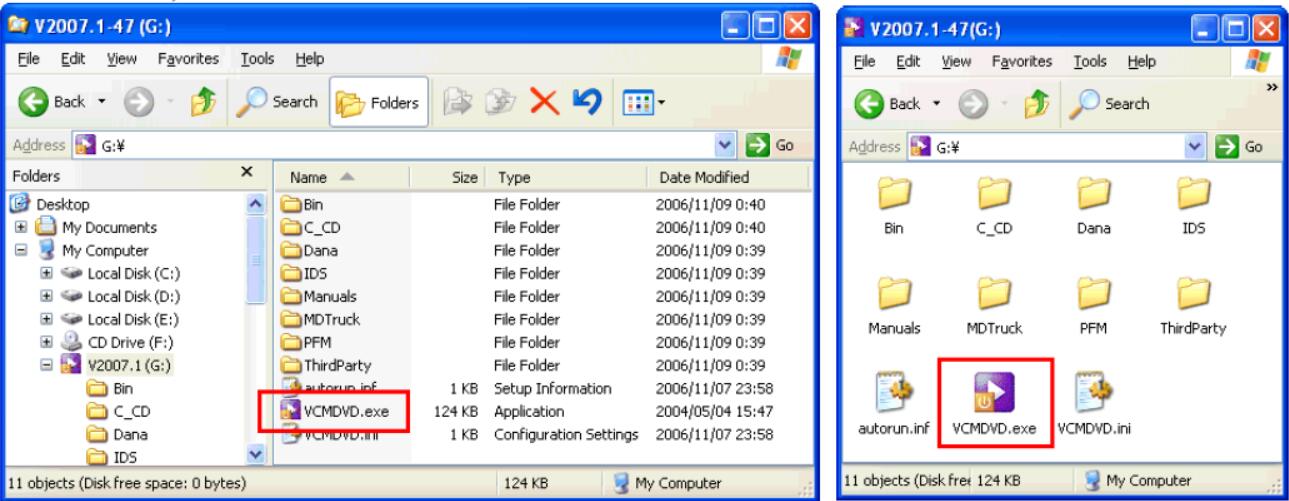
Step 2:If the dash panel does not automatically run, open DVD-ROM drive using Windows Explorer and run ”VCMDVD.exe”. (The application may appear as “VCMDVD” depending on your computer environment.)

Step 3. Click “IDS”.
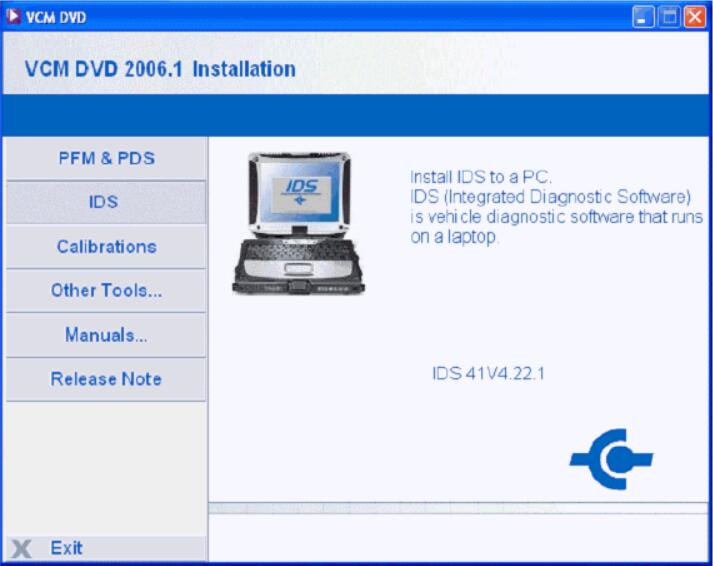
If you are installing IDS for the first time or installing IDS after uninstalling the existing IDS, follow the following step 4.
Step 5. Wait until setup is prepared.

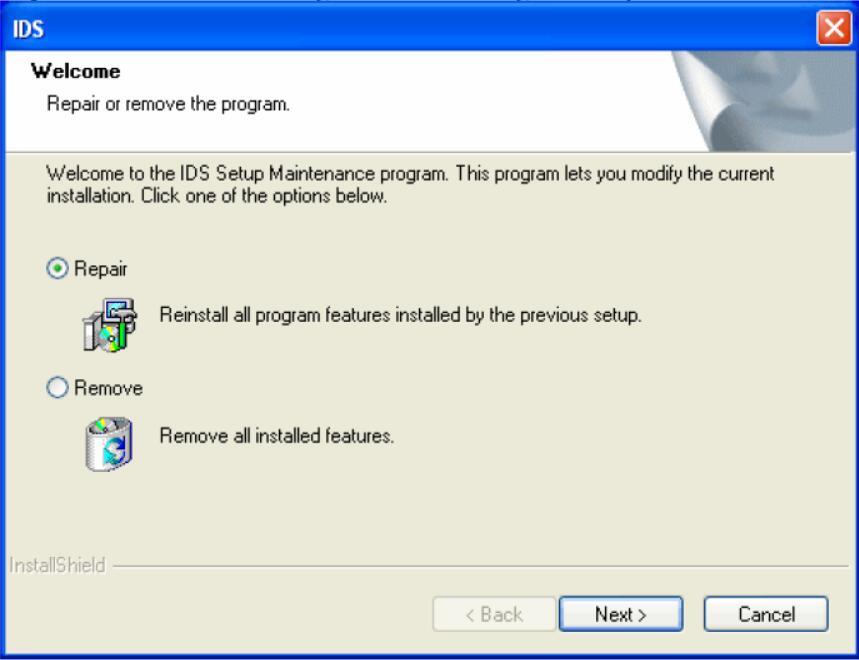
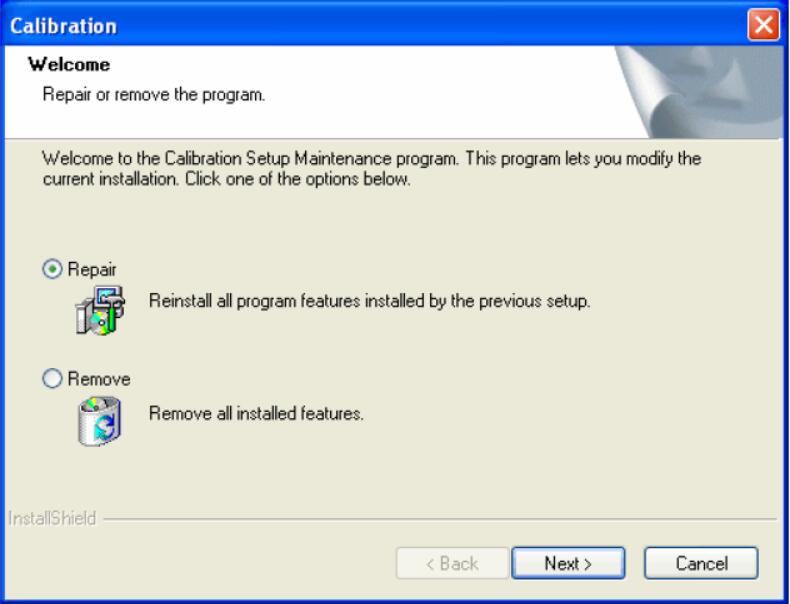
Step 6:If you are repairing (reinstalling the same version without uninstalling current version) the IDS software, the screen below appears. Select “Repair”, click “Next >” and go to step 10. If you are clean installing or updating, the screen do not appear. If you are updating the current software, go to step 10. If you are clean installing the software, go to step 6.
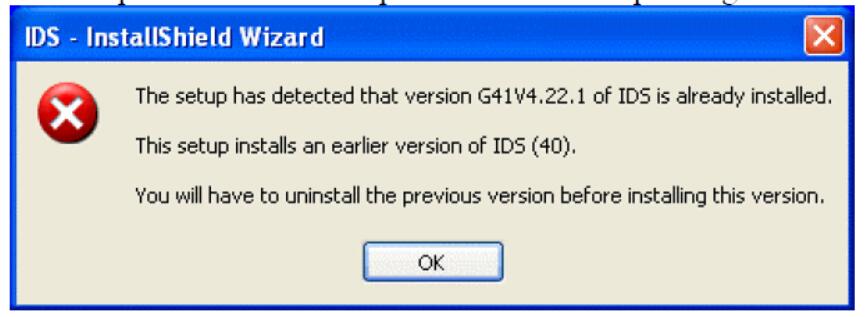
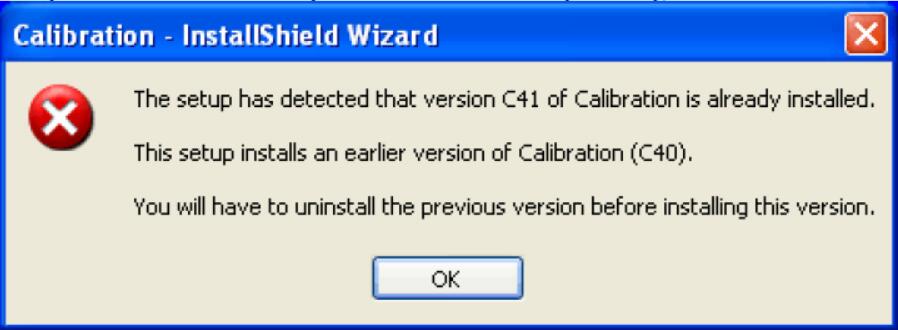
Note: If the warning shown below pops up, this means you are not able to update the software. Click “OK” to exit and uninstall the previous version prior to installing the newer version. Usually, software cannot be updated from newer version to older version. Some newer versions may not be able to be update installed over previous version depending on contents of the newer software.
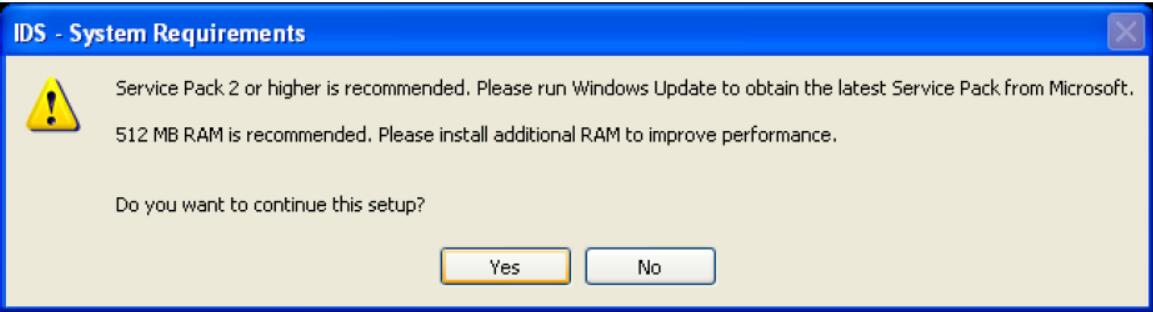
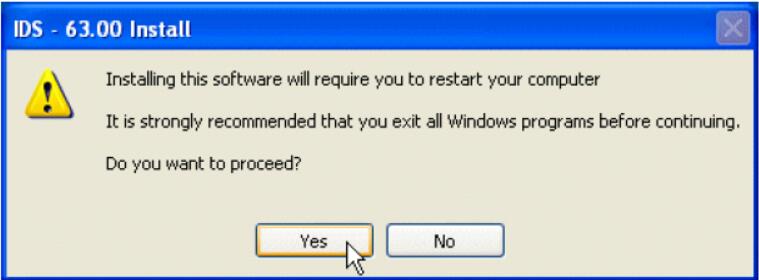
Below (or similar) window appears if your laptop has RAM smaller than 512MB or your Windows OS is XP Service Pack 1 (SP1). You must click “No” and install additional RAM if your RAM is smaller than 512MB. You may click “Yes” and continue if your Windows OS is XP SP1 but have 512MB or larger RAM.
Step 7. When a window shown on the right appears, close all Windows programs and click “Yes” to continue. If you wish to let the programs to continue their process and install IDS later, click “No” to abort the installation.
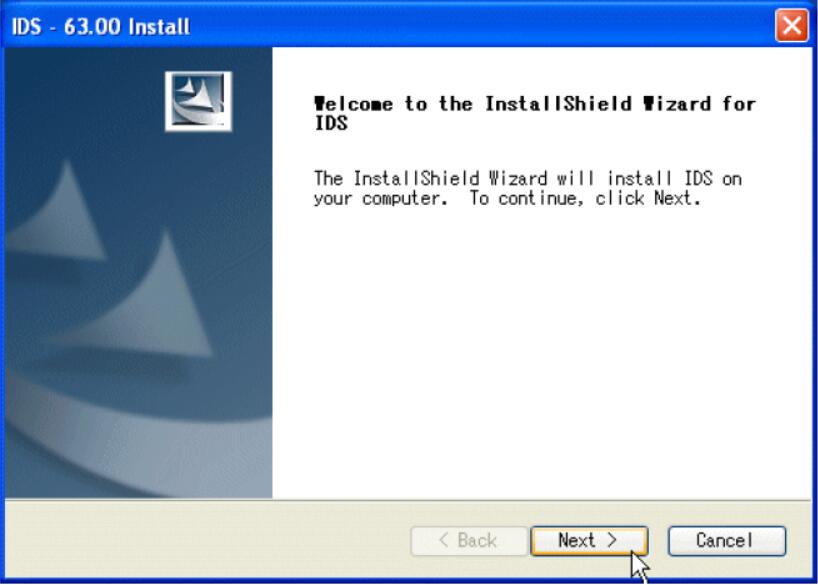
Step 8. Click “Next >”
If you are newly installing the IDS, follow step 9.
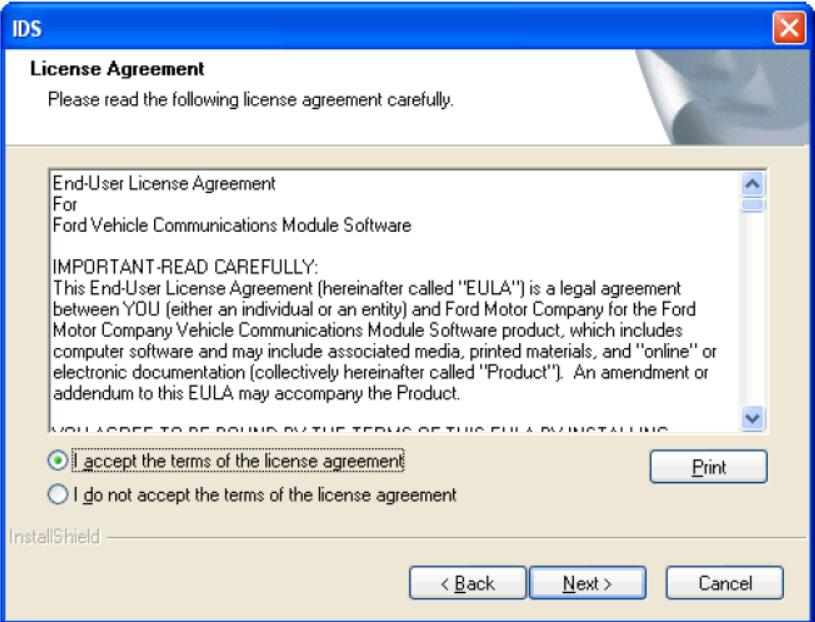
Step 9:Read “License Agreement”, select “I accept the terms of the license agreement” and click “Next >”.
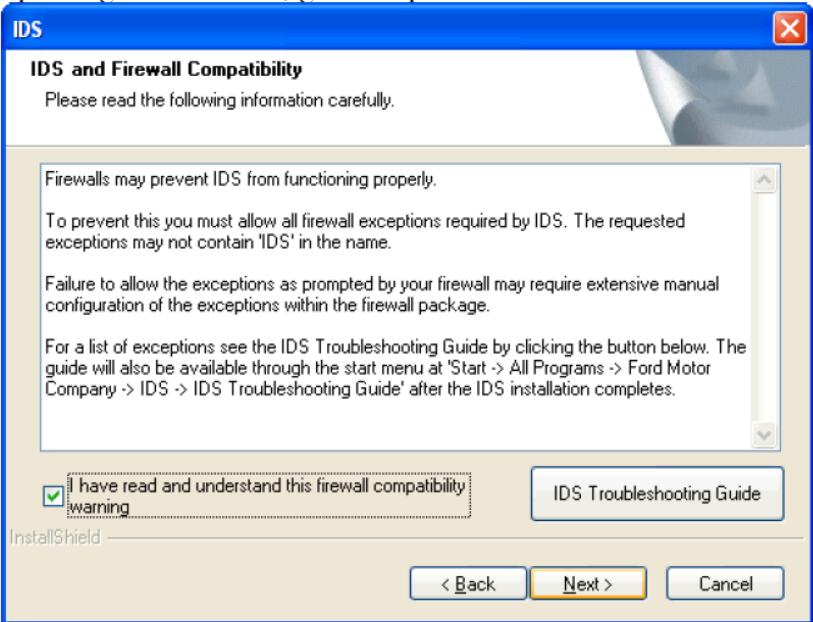
Step 10:Carefully read “IDS and Firewall Compatibility”, select “I have read and understand this firewall compatibility warning” and click “Next >”. If you are clean installing IDS, go to step 12. If you are updating the software, go to step 14.
If you are clean installing IDS, follow steps 11 and 12.
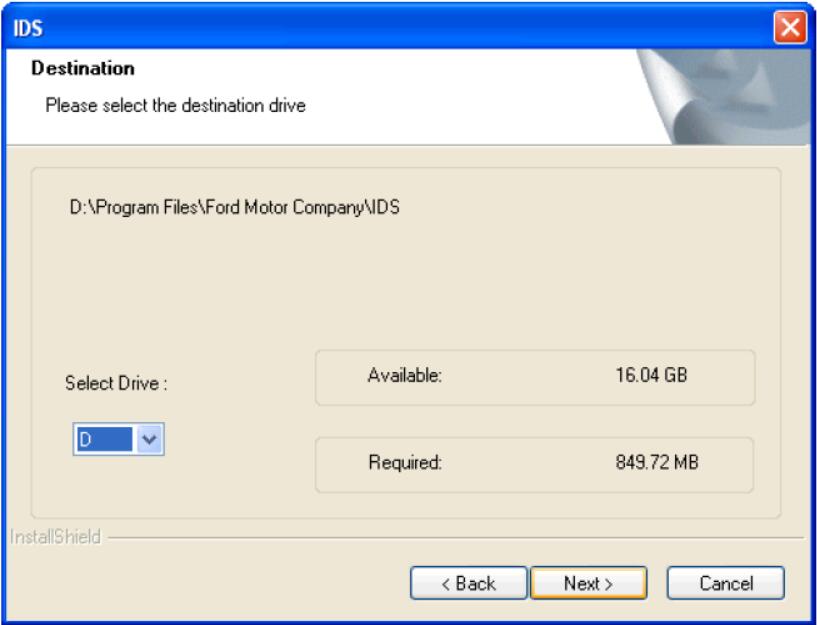
Step 11:Select a drive to install the IDS and click “Next >”.
Step 12:Click “Install” on below window.

If NET Framework 3.0 has not been installed on your laptop follow steps 13 to 15. Otherwise, go to step 16.
Step 13: Wait while windows below are displayed.

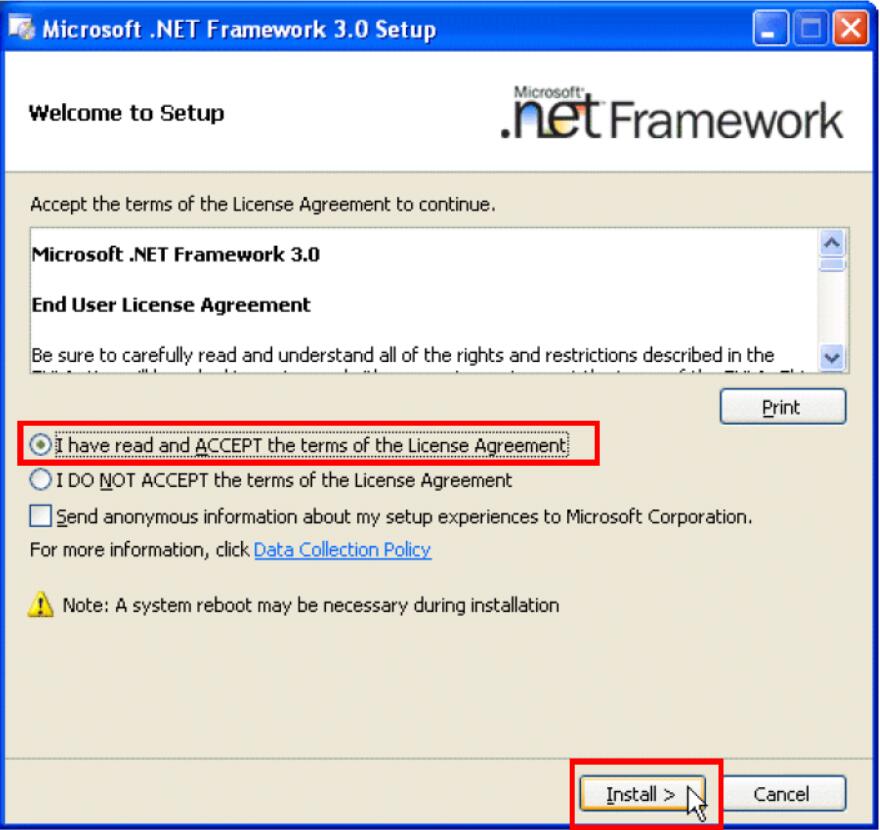
Step 14: Carefully read an End User Licence Agreement, select “Accept (A)”, and then click to continue.
Step 15: Wait until the installation completes.
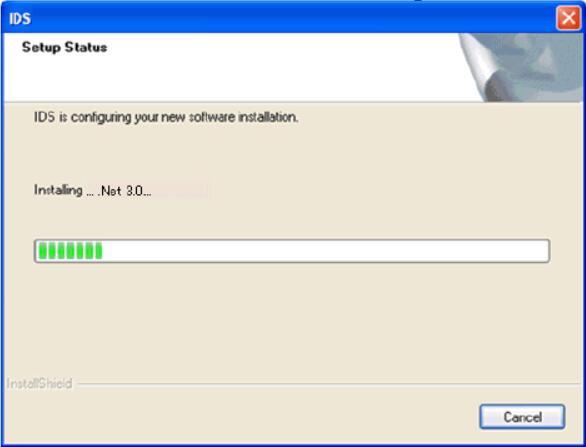
Step 16: Please wait until the installation is completed.
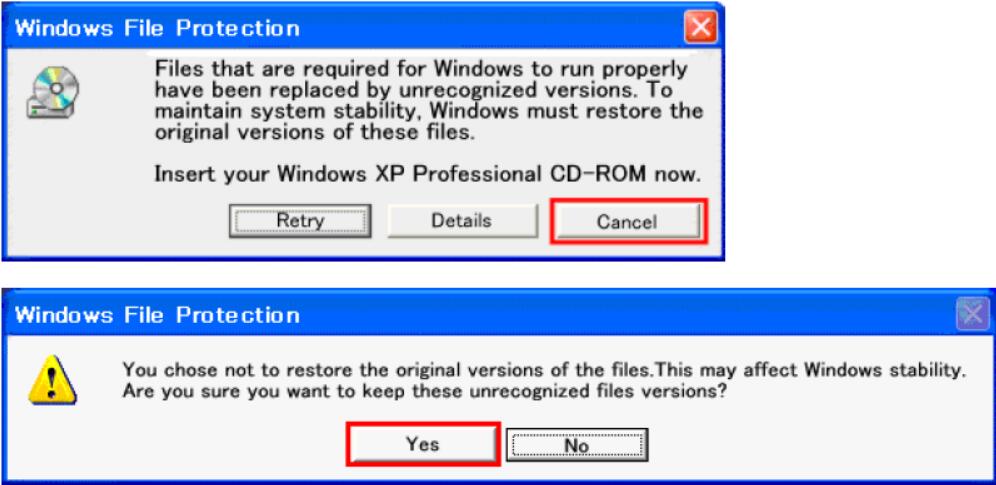
Note: Windows File Protection window may appear depending on your laptop environment. If you see a window below, click “Cancel” and then click “Yes” on the next window to continue installation.
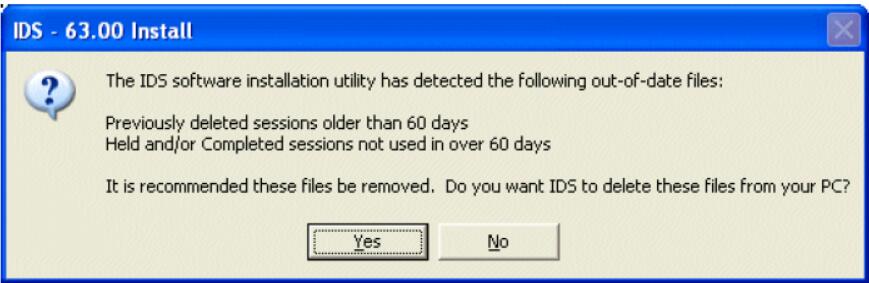
Step 17: If any sessions that have not been updated for 60 days or longer, a message shown here appears. If you wish the out-of-date sessions be deleted, click “Yes”. If you wish the ssessions remain on the laptop PC, click “No”. For more
information about “Sessions”
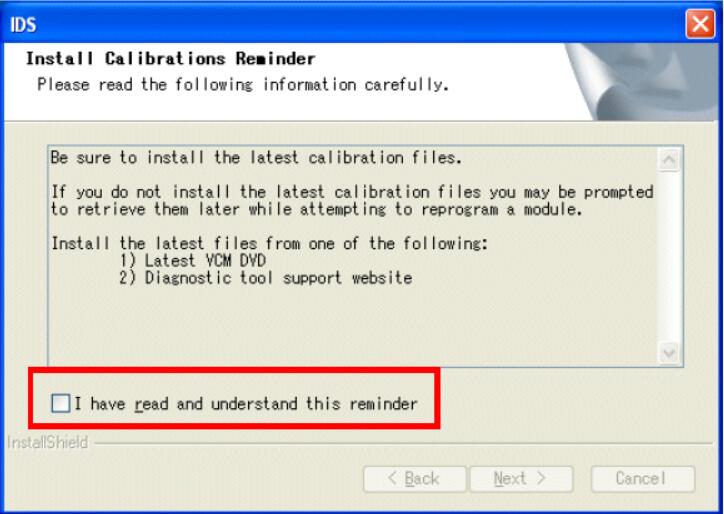
Step 18:The following screen appears at the end of installation if the latest Calibration Files are not installed. Check a box next to “I have read and understand this reminder” and click “Next >” to continue.
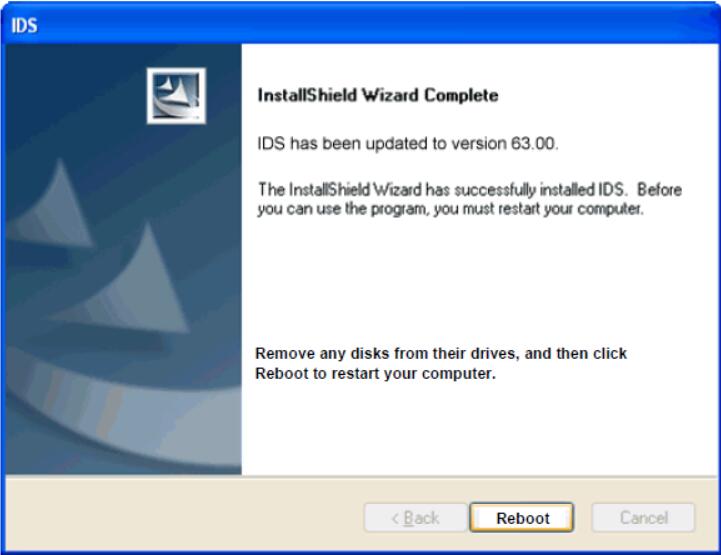
Step 19:At the end of installation, this screen appears. Clicking on “Reboot” button automatically reboots the laptop PC. If any other programs have on-going/unsaved tasks, click on the button after the task is finished. If you do not have the latest Calibration Files installed, update it after clicking the button and the laptop PC is rebooted.
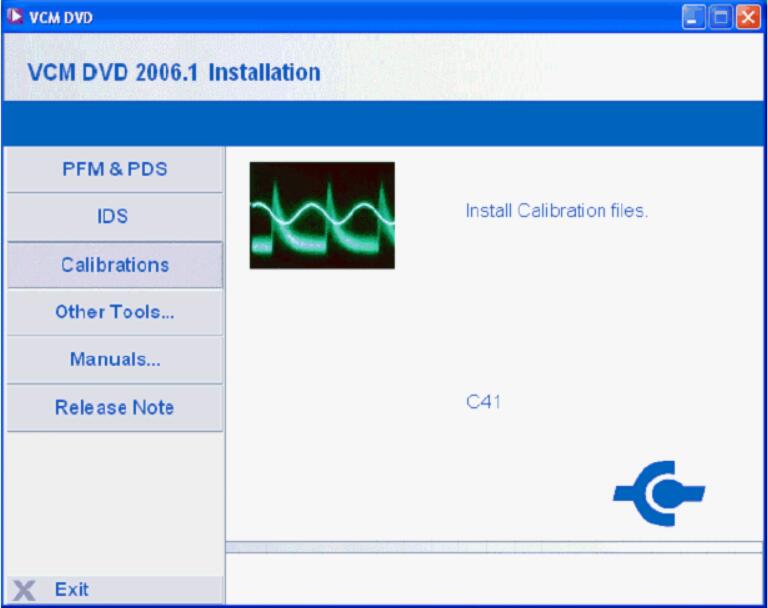
Installing and Updating Calibration
- If the dash panel appears as shown below, click “Calibration” and go to step 3
- If the dash panel does not automatically run, open DVD-ROM drive using Windows Explorer and run ”VCMDVD.exe”. (The application may appear as “VCMDVD” depending on your computer environment.)
- If you are repairing the existing Calibration, the following screen appears. Select “Repair”, click “Next >” and go to step 9. If you are clean installing or updating Calibration, this screen does not appear. If you are updating Calibration, go to step 8. If you are clean installing Calibration, go to step 4.
Note: If the warning shown below pops up, this means you are not able to update the software. Click “OK” to exit and uninstall the previous version prior to installing the newer version. Usually, software cannot be updated from newer version to older version. Some newer versions may not be able to be update installed over previous version depending on contents of the newer software.
If you are clean installing Calibration, follow steps, 4 to 7.
- Click “Next >” on below screen.
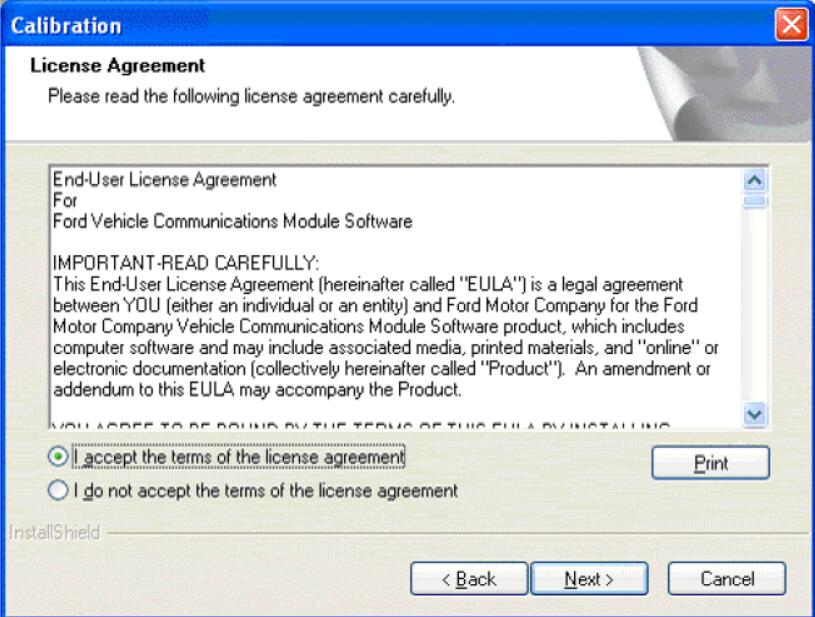
- Read “License Agreement”, select “I accept the terms of the license agreement” and click “Next >” when below window appears. (This window may not appear depending on software being installed and laptop PC environment.)
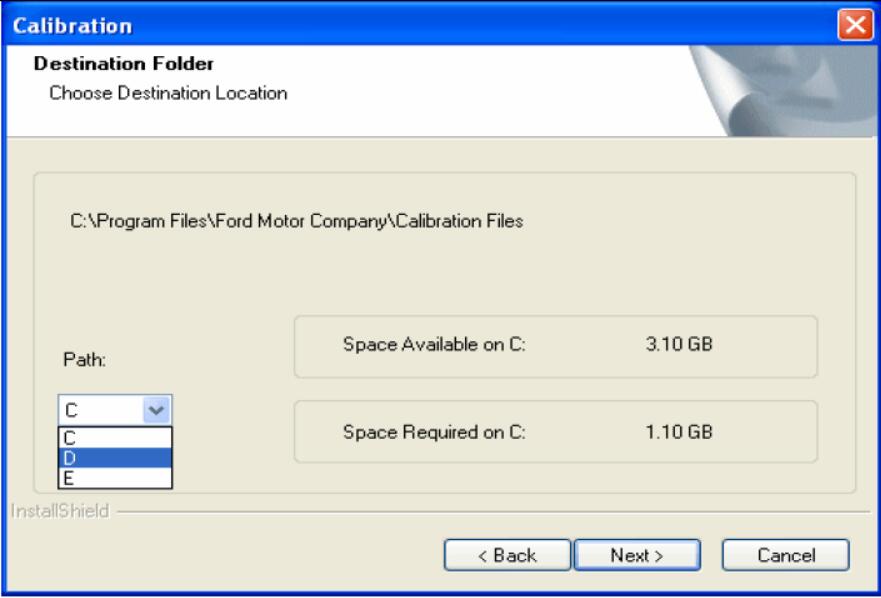
- Select a drive to install the Calibration and click “Next >”.
Note: The Calibration needs to be installed in the drive in which the IDS is installed.
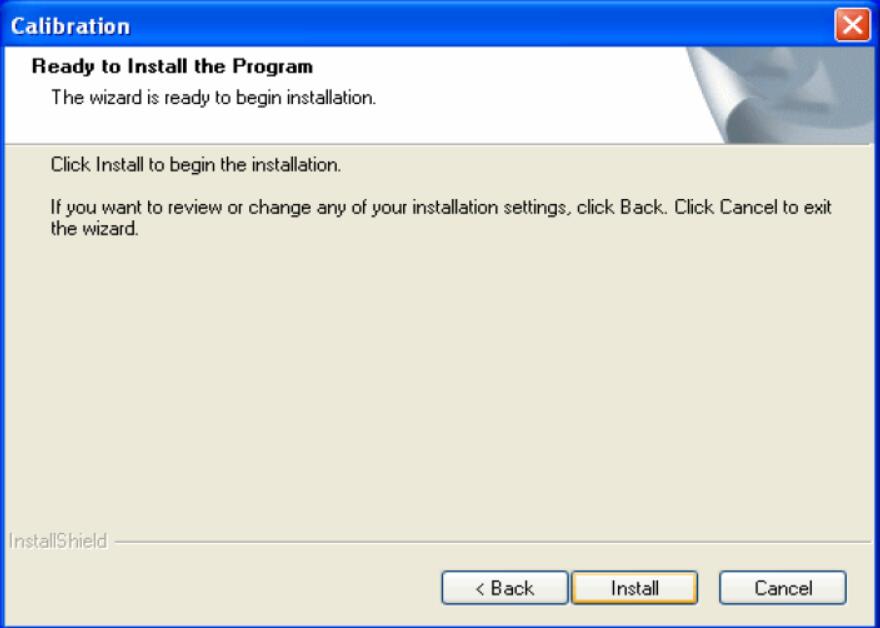
- Click “Install” on below window and go to step 9.
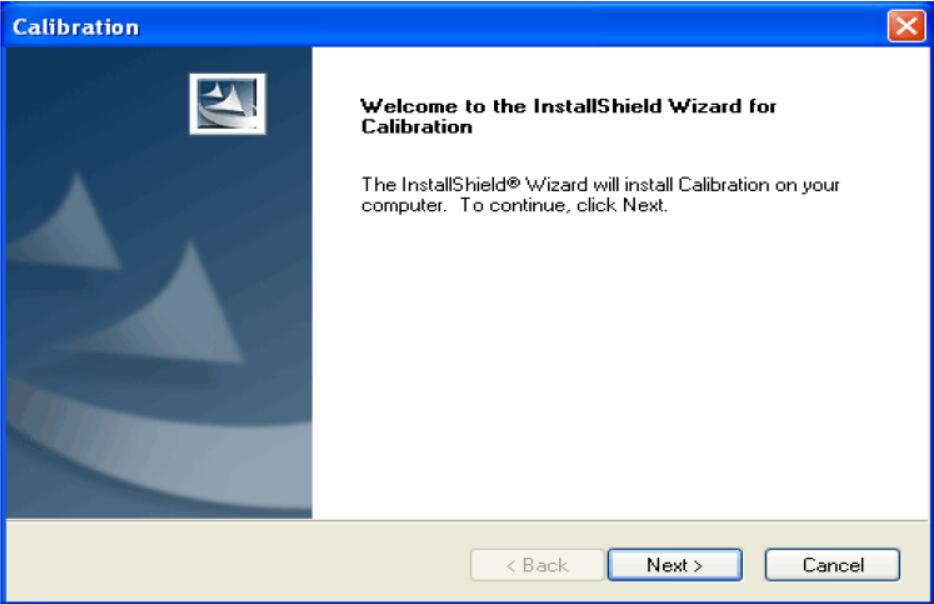
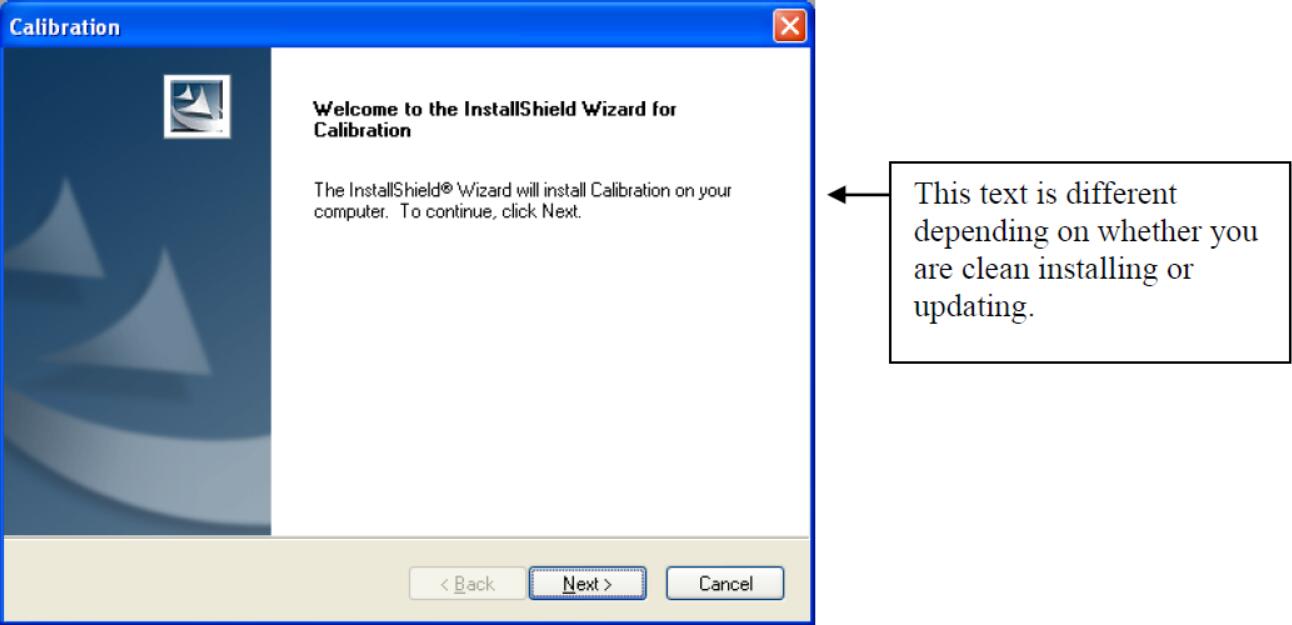
- Click “Next >” on “Welcome to the InstallShield Wizard for Calibration”.
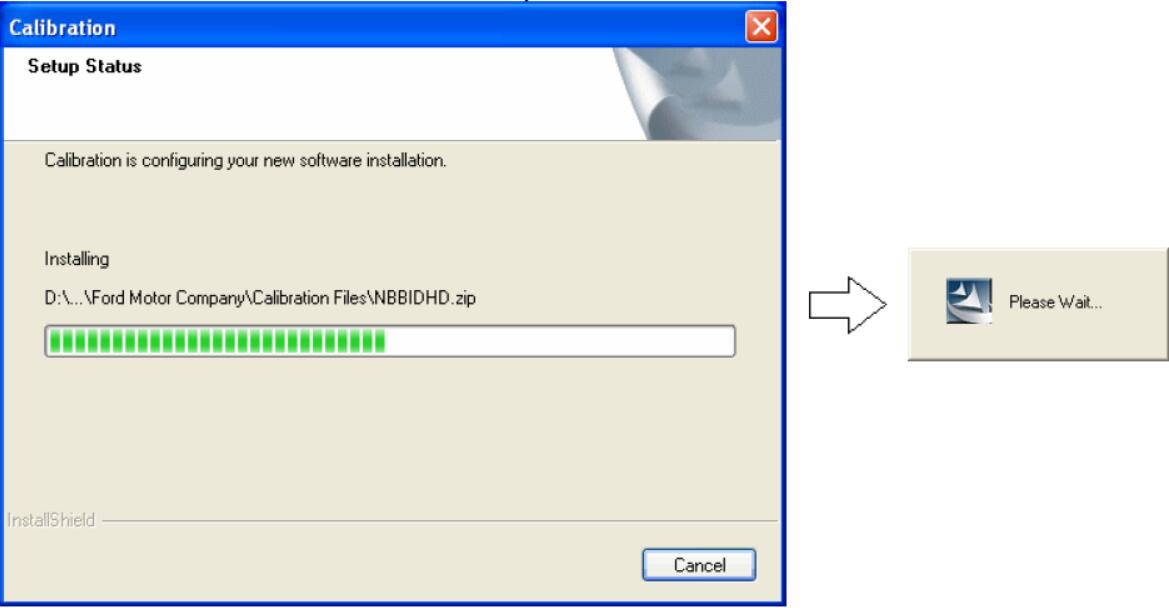
- Please wait until the installation is completed.
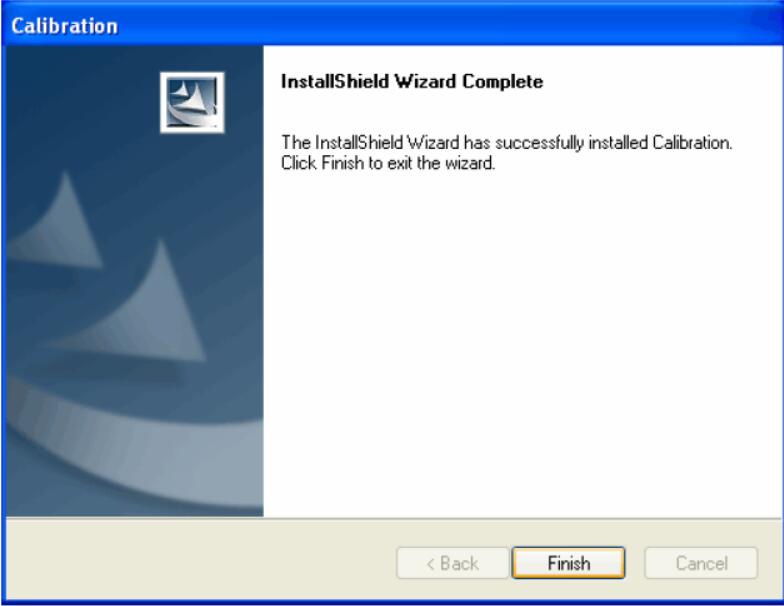
- Click “Finish” on below screen.
- If your laptop PC has not been rebooted after installing IDS, reboot it.
Uninstalling IDS and Calibration
When IDS operation becomes unstable and it cannot be solved by rebooting your laptop PC, uninstall and re-install the IDS may solve the issue. Note that uninstalling the IDS will remove the Calibration Files folder unless it has been installed manually from the VCM DVD.
- If you are willing to uninstall the IDS, go to step 2. If the “Uninstall IDS” option cannot be found, go to step 9.
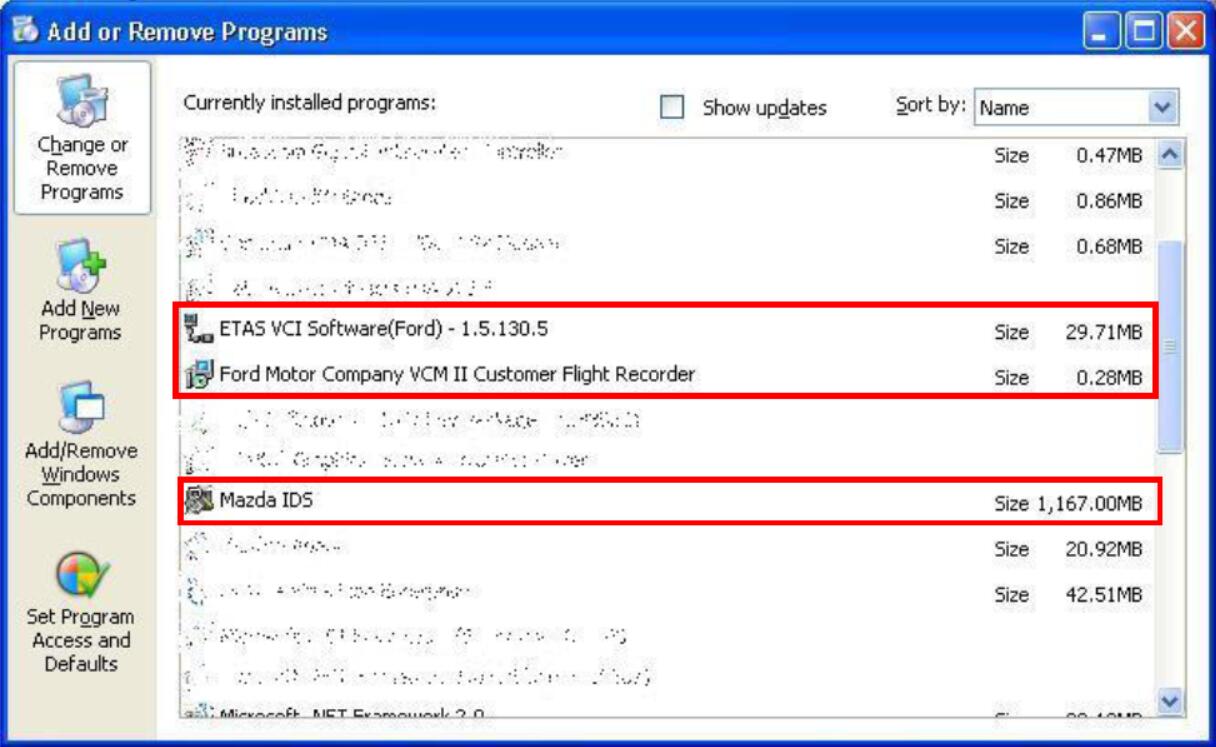
- Select “Start”, “Settings”, “Control Panel” and then “Add or Remove Programs”.

- Before uninstalling “Mazda IDS”, you need to uninstall “ETAS VCI Software (Ford)” and “Ford Motor Company VCM-II Customer Flight Recorder”. You must be very careful doing this step to avoid uninstalling other necessary software that you are not willing to uninstall.
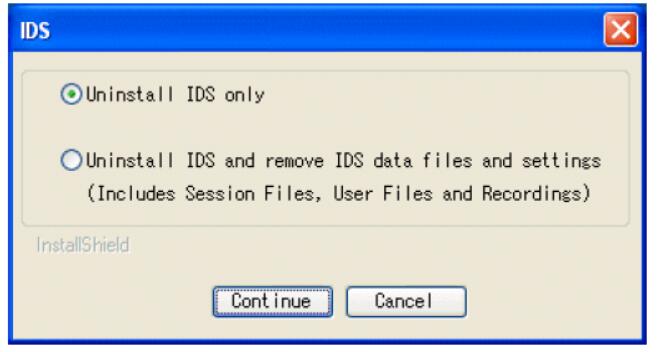
- Please select “Mazda IDS”, and delete it. If you are attempting to uninstall IDS, below window appears. At normal uninstallation, make sure “Uninstall IDS only” is selected and click “Continue”. If IDS will not be used on that specific laptop PC and you are willing to delete all IDS related files, select “Uninstall IDS and remove IDS data files and settings” and click “Continue”.
- Click “Yes” if below screen is displayed.
- Please wait until the uninstallation is completed.
- Click “Finish” on below screen.
- If you need to re-install IDS software, make sure to reboot your laptop PC before installing.
- When you uninstall Calibration, please select “Start”, “Settings”, “Control Panel” and then “Add or Remove Programs”.

- Please select “Calibration”, and select “Delete”.
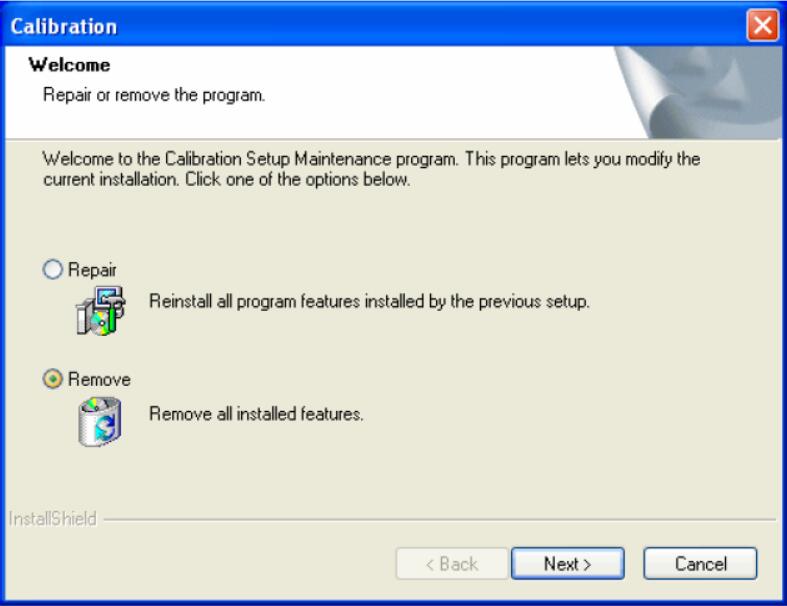
- Select “Remove” and click “next >” on below screen.
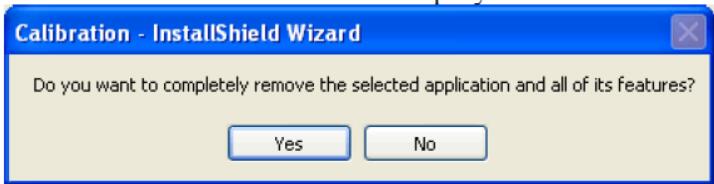
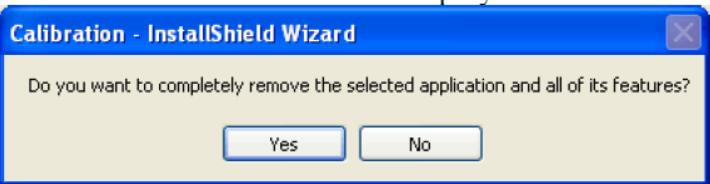
- Click “Yes” if below screen is displayed.
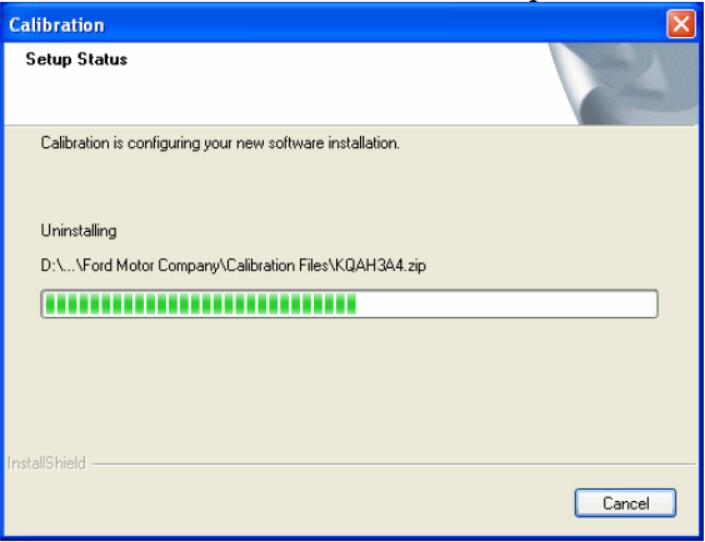
- Please wait until the uninstallation is completed.
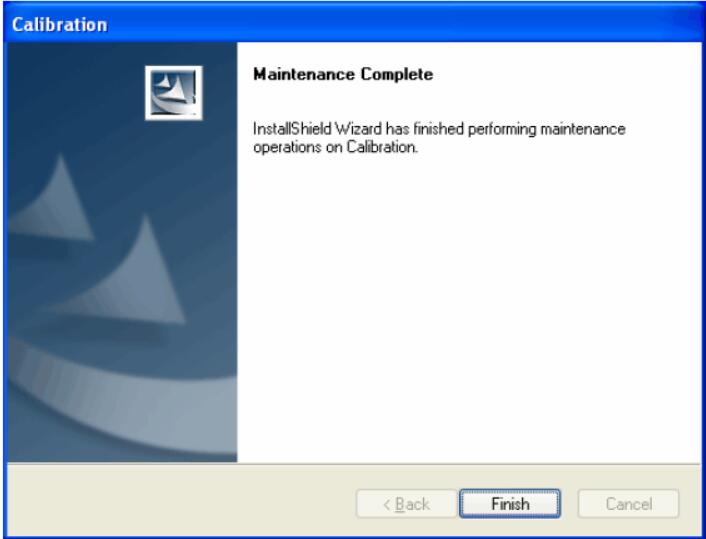
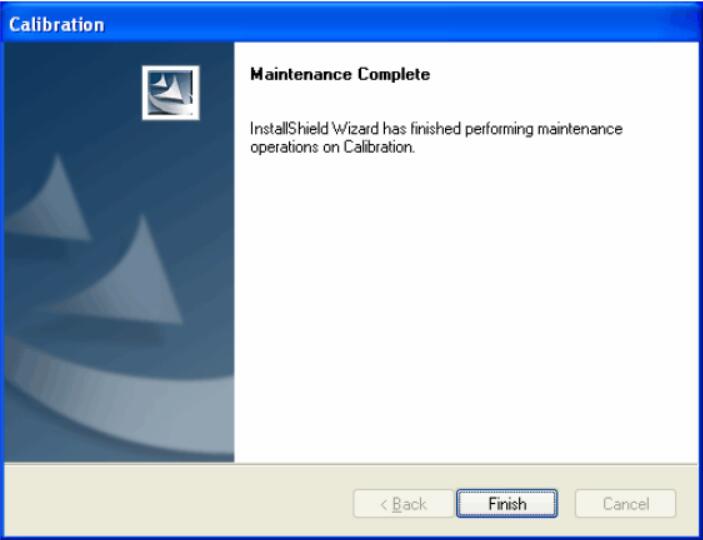
14. Click “Finish” on below screen.